
The reason was that the new fretsaw balanced better using two hands rather than one ..

New Handles for the Knew Concept Saws
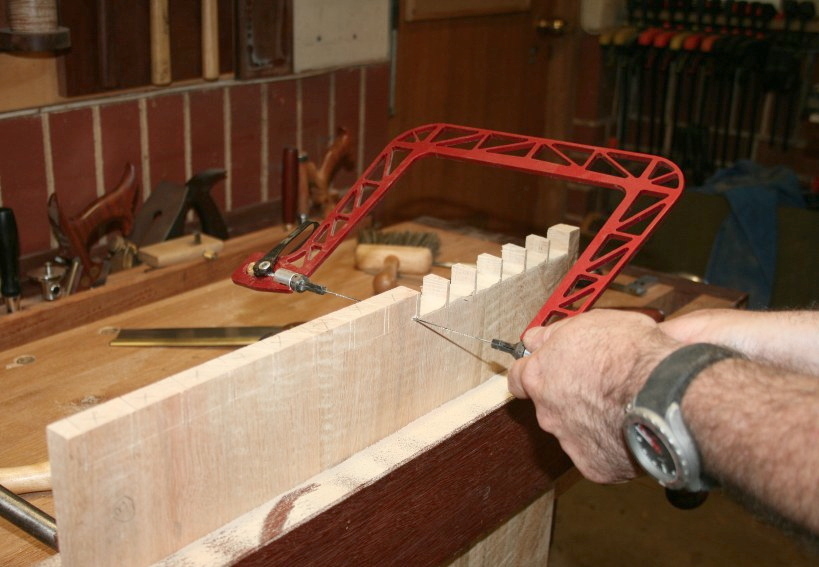
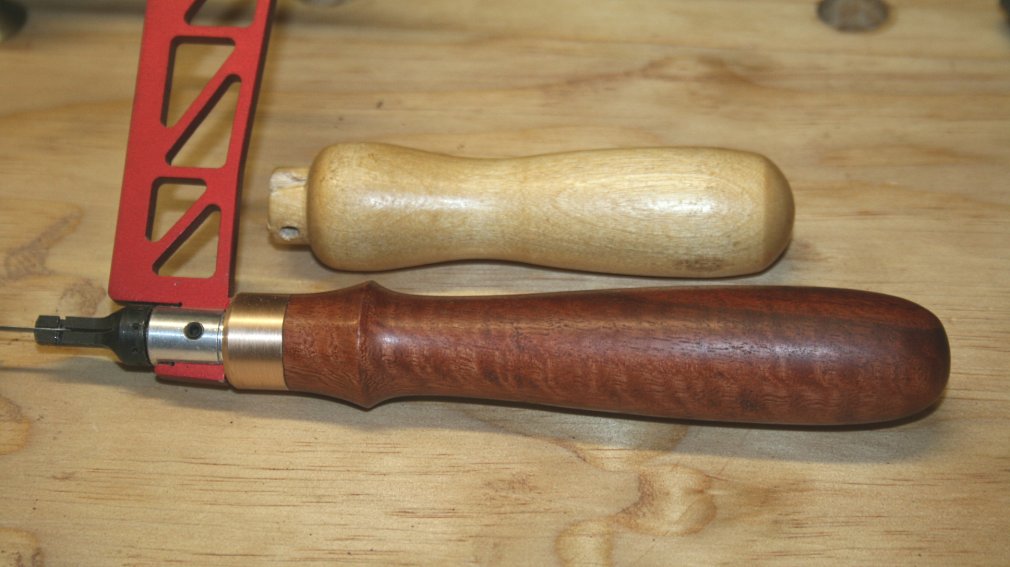
In a review of the Birdcage version of the KC fretsaw I mentioned my preference for a handle that was longer than the original. Here you can see the KC handles alongside one I made ...
The
reason was that the new fretsaw balanced better using two hands
rather than one ..
I decided to replace the handles on the Birdcage fretsaw and the coping saw.
There were a few nice pieces of Jarrah in the scrap bin …

For this pictorial we shall replace the handle of the coping saw. The fretsaw handle is exactly the same.

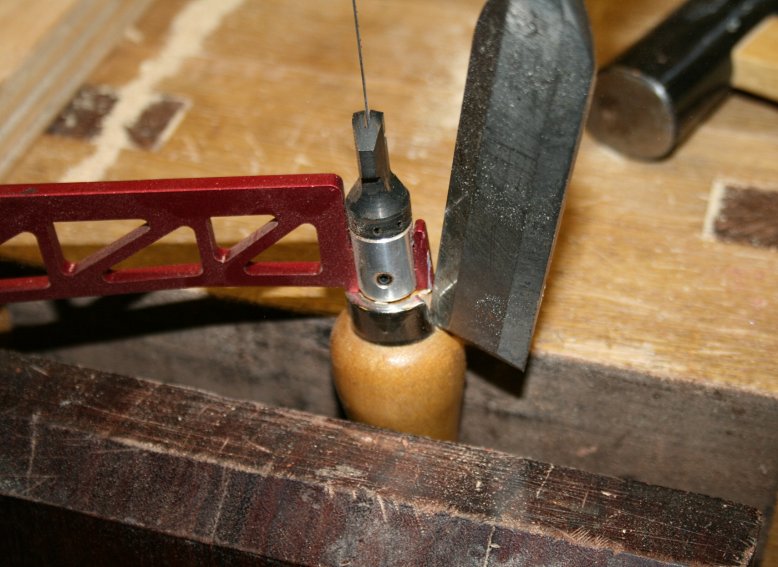
The first task is to remove the old handle. Use a beater chisel to punch through the thin steel of the existing ferrule …

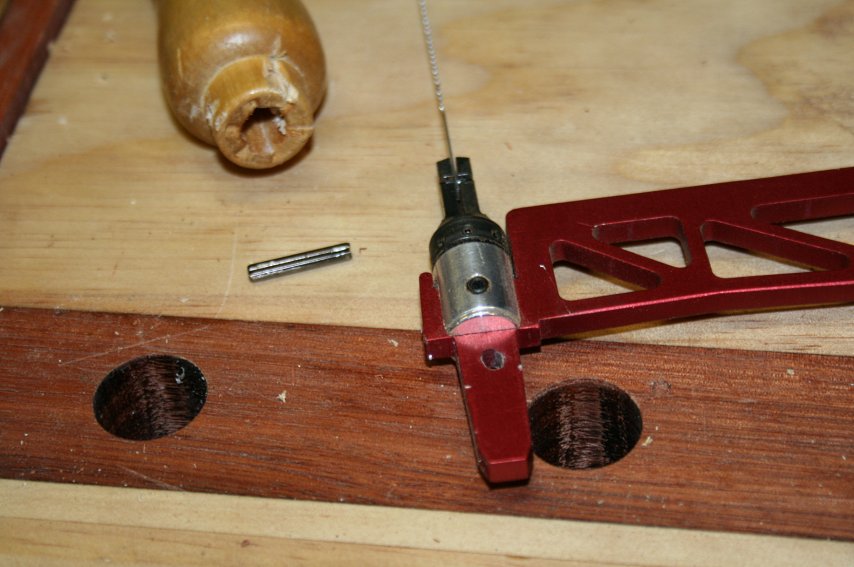
Once it has been peeled away, you will discover that the handle is held onto the frame with a pin. Punch this out from the rear …

The tang is tapered …
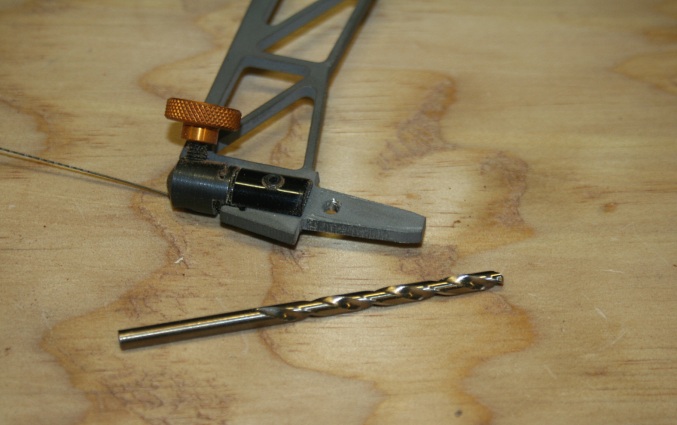
The tang will seat in a tapered mortice. This will be created with a drill. Choose a drill bit that is the same thickness as the tang …
Mark the widest point of the tang …
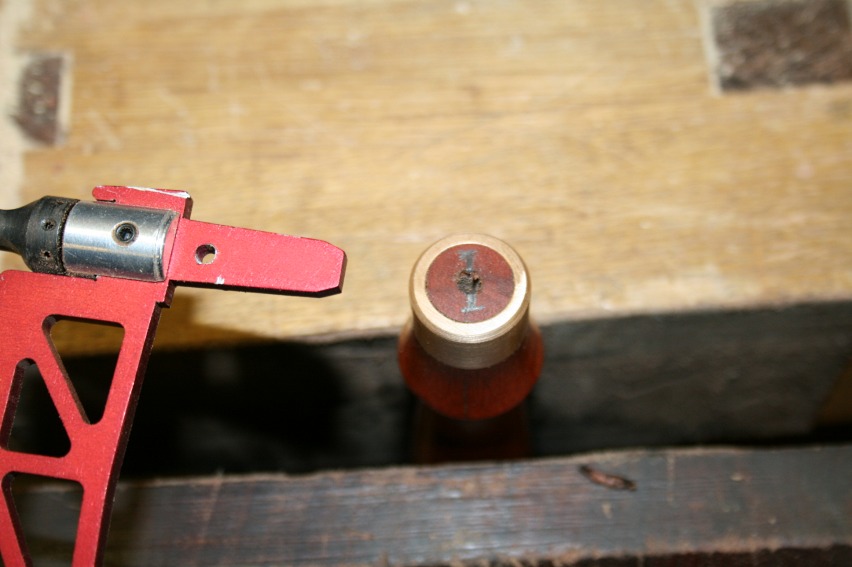
Begin by drilling straight down, then pull the drill bit over to one side …
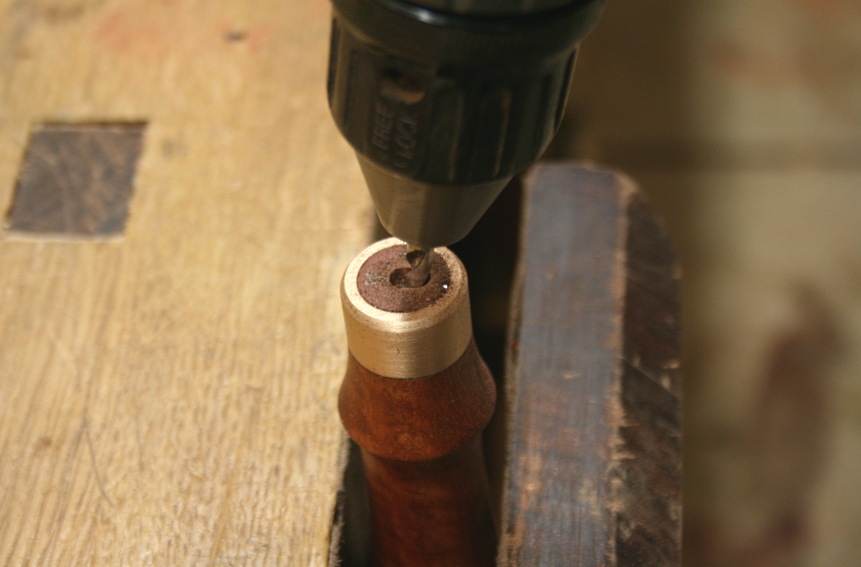
Pull it over to the other side, and you will have drilled a wedge-shaped mortice. Straighten it up a little, as needed.


The tang is epoxied in. I used 5-minute two-pack epoxy. Ensure the handle and frame are square with one another …

Here is a comparison of handle sizes, old and new …
Completed refit …

One more …

Regards from Perth
Derek
March 2014