Old Woman’s Tooth (OWT)
Router planes are just so useful in joinery that I cannot imagine a workshop without one. Sliding dovetails, stopped rebates, stopped drawer grooves, hinge mortices, inlay … any and all surfacing tasks.
If you are not keen on vintage Stanleys or new LVs and LNs, then make your own!
Step 1 – Create a template and trace this out on a piece of hardwood. The size is up to you. This plane will be 6 ½” x 3” in final form.

Step 2 – Drill out the round and curved rough. I used forstner bits in a drill press.

Step 3 – Shape the outline. The basic form was cut out on a bandsaw and then shaped with rasps.

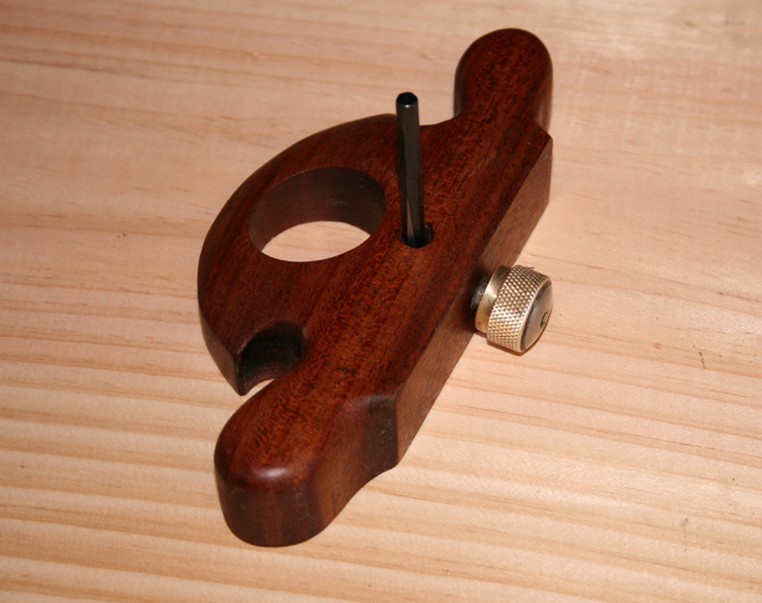
Step 4 – Finish with sandpaper, Danish Oil, Shellac and wax. This is the final product, but we still have the blade and blade lock knob to make.

Step 5 – Make the blade. The blade is from a hex/Allen key. The sides were flattened on a disk sander, with the final dimension 1/8”. The back of the blade was relieved by 7 degrees, and the bevel ground at 25 degrees, both once again using the disk sander. The steel is hard and does not require further preparation for this task. However, be sure to cool it frequently in water.
.

This is the underside of the router. You can see where it was rebated so that the blade can sit flush with the sole.


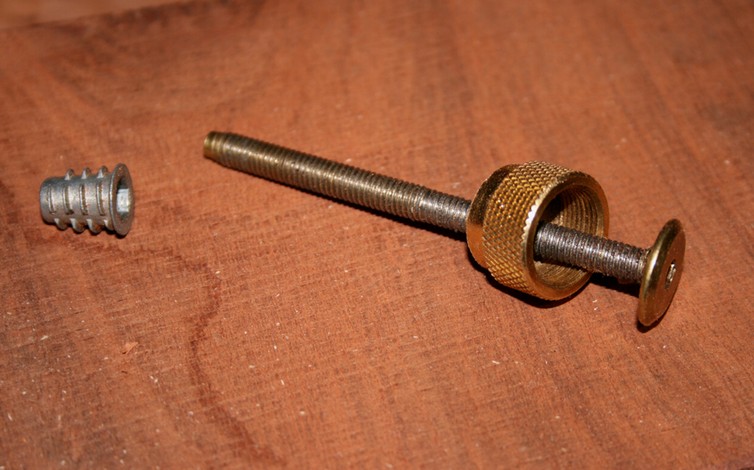
Step 6 – Building the knob. My knob is built up from a brass garden hose fitting and a steel bolt.


These are epoxied together, and a little shaping/cleaning is completed on the disk sander before polishing on a deburring wheel.

A comparison with the LN and LV small router planes.

Regards from Perth
Derek
June 2008