Accessory Blades for the Veritas Small Plow
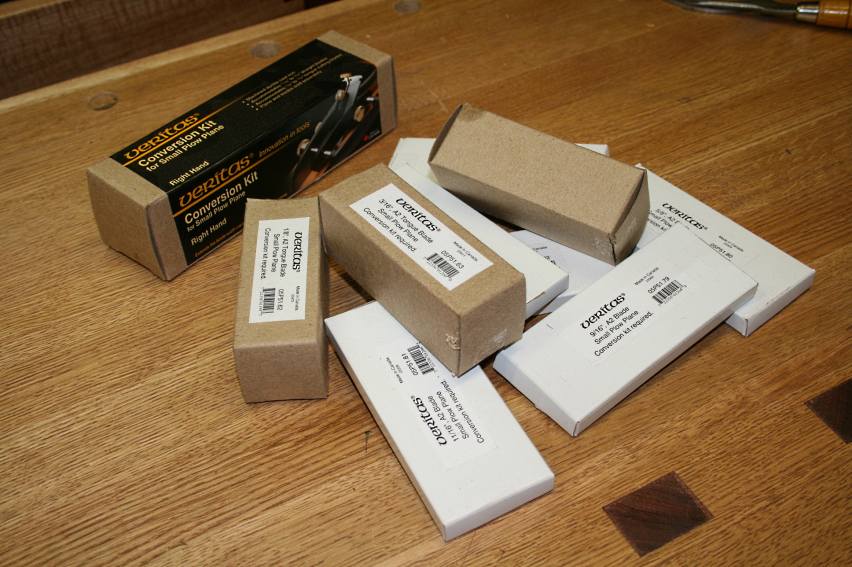
The postman delivered a small box from Lee Valley the other day. Inside were a bunch of smaller boxes.
And inside these boxes were blades. Straight blades from 7/16” through to ¾”, and three tongue cutting blades sized from 1/8” to ¼”.
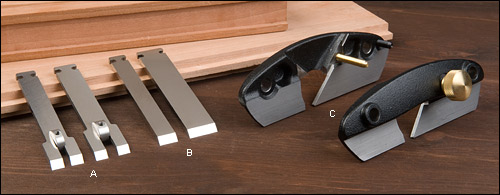
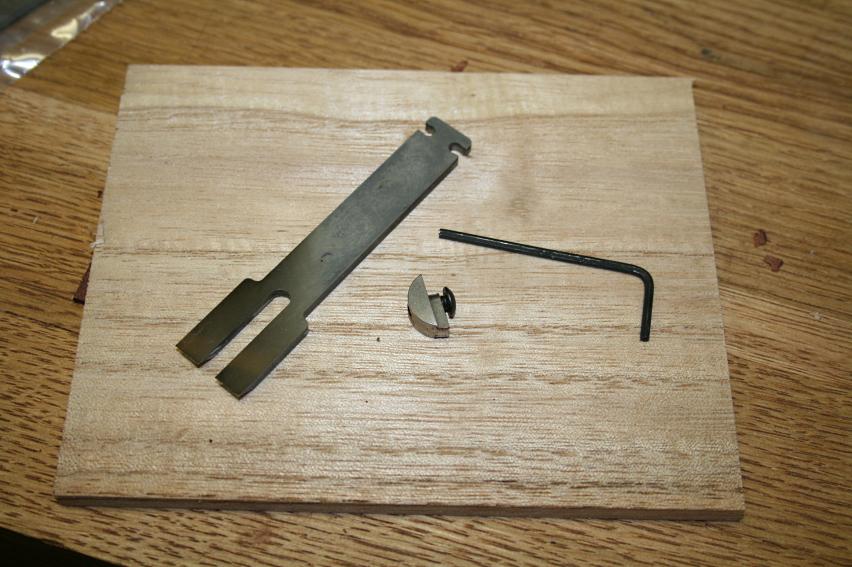
… and this curious insect-like contraption that converted the Small Plow from single skate into a double skate.
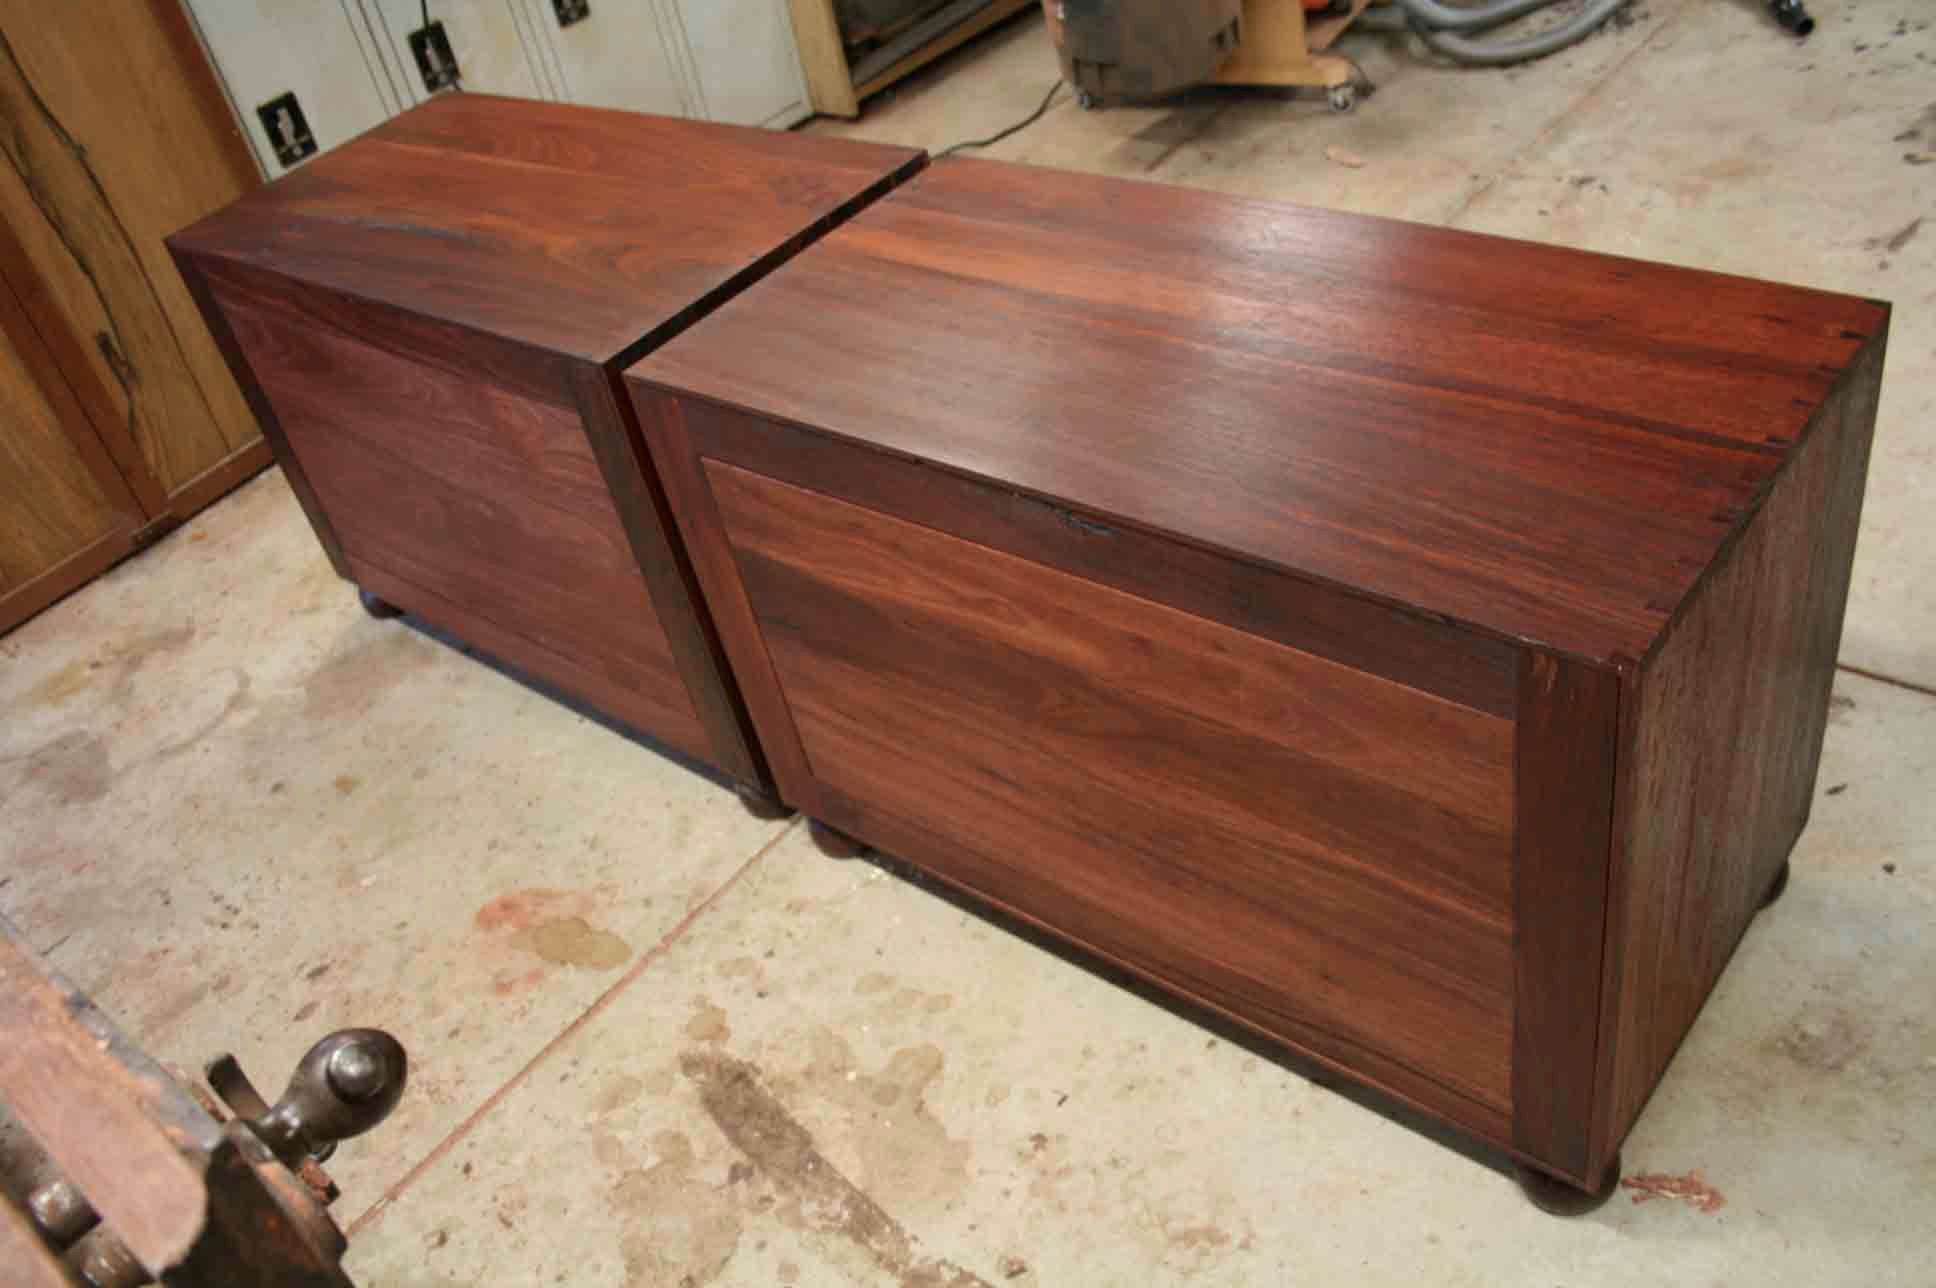
I was interested to find out how the Veritas set up compared with the Lie-Nielsen #49 T&G plane I purchased last year in time to use on the rear panels of the Military Chests I built ..
The panels made with the #49 came together with the minimum of fuss ..
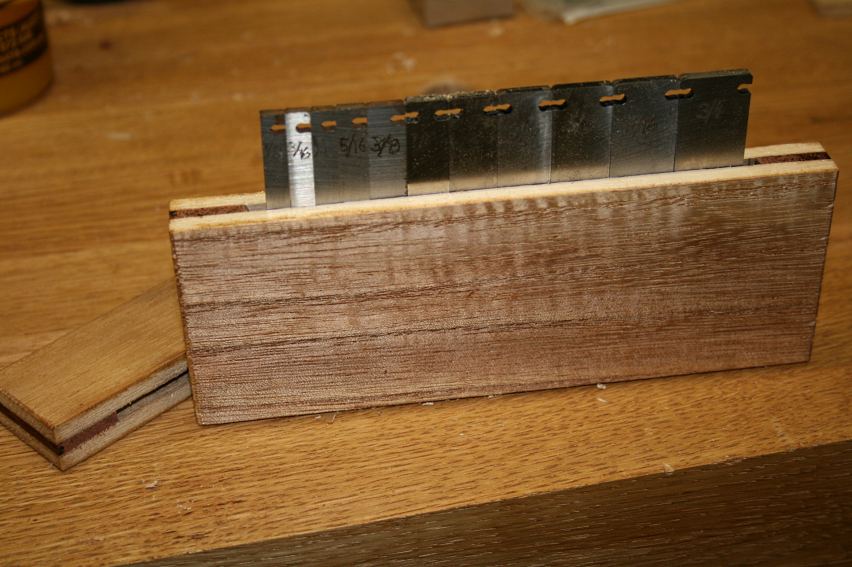
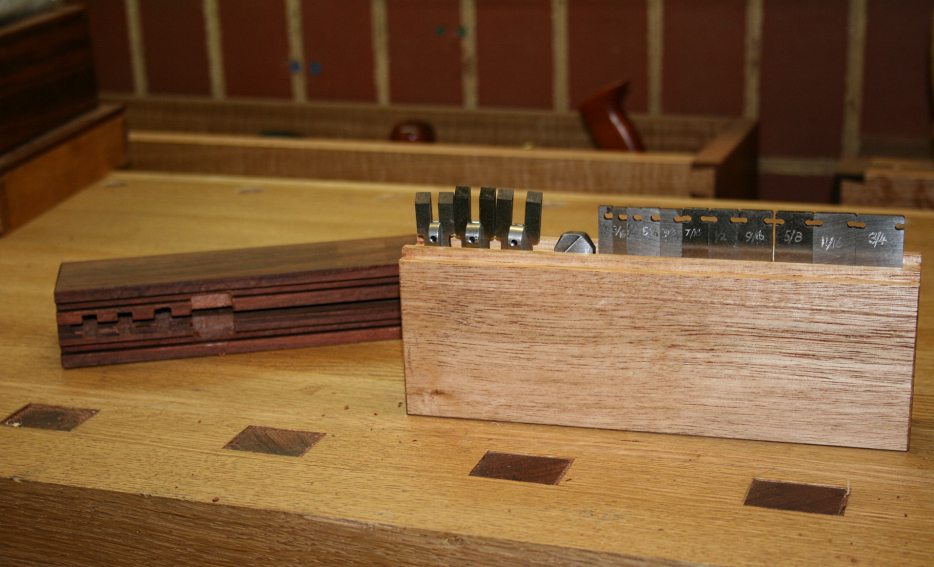
So there I was looking at a pile of blades, and it seemed the right thing to do to build a box in which to store them. Not only were there 3 blades for cutting tongues, there were 6 new straight blades and, in addition, the 5 blades that came with the Small Plow at the start.
Looking over these A2 blade, all beautifully made in the Lee Valley tradition, I noted that none were labeled for size. When you have several blades, it helps to know which one you are grabbing. So, first order of the day was to engrave the sizes …

And so onto the box building!
The idea for this box came from Jim Reed at WoodNet. Thanks Jim!
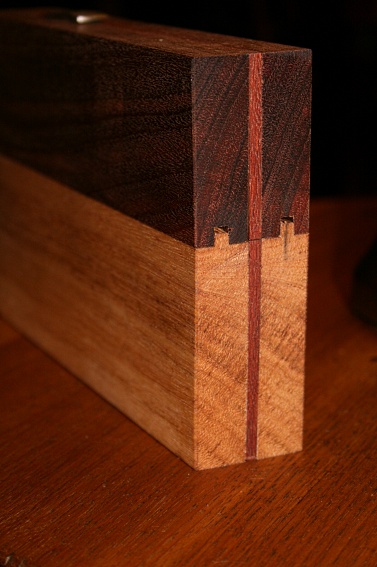
The wood used was a scrap of Paulownia from a tree we cut down in our garden several years ago. This is great wood for blades. The spacers are Jarrah ..
A very simple box. The spacers are sized a smidgeon thicker than the blades. The internal height is left long enough to take into account the saw kerf that will separate the top and bottom.

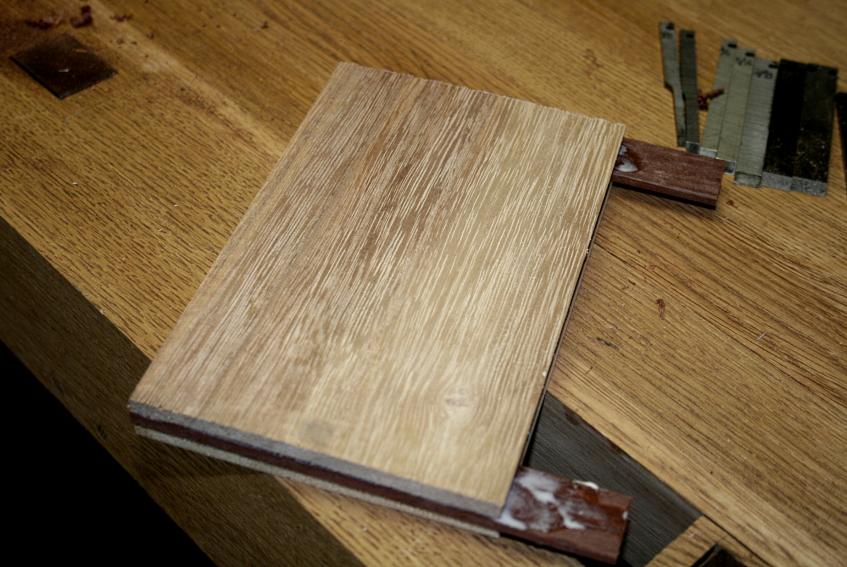
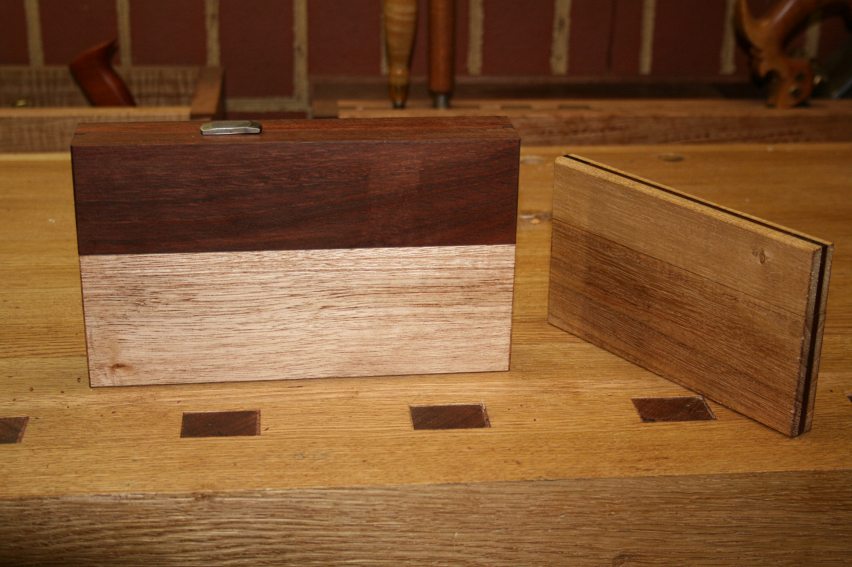
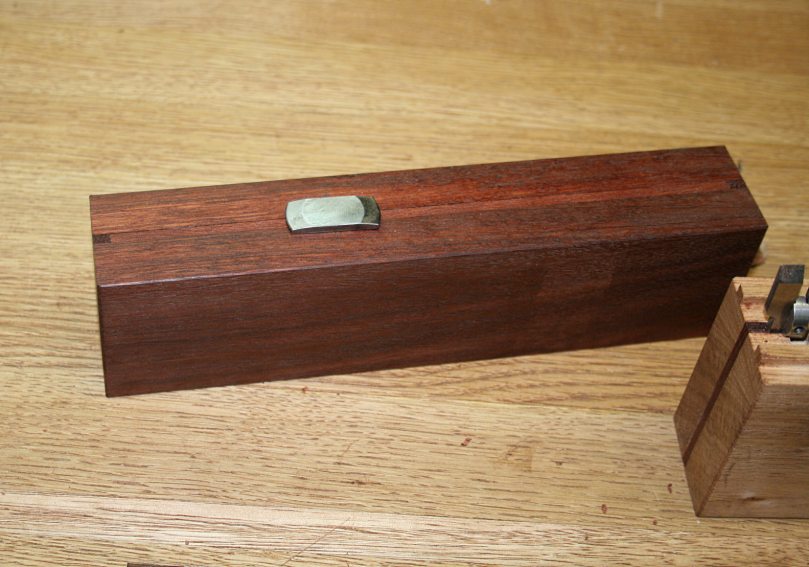
Here is the finished box. Quick and easy.
It occurred to me that, as useful as this box was, it was not large enough for the Tongue blades as well. Furthermore, it seemed somehow more fitting to build a box with the blades, themselves. Mmm … a tongue-and-groove box? I’d never seen anything like this before.
It also seemed to be a way to try out the tongue-and-groove conversion kit – how easy was it to set up and use, and how good were the results.
I looked over the manual on the Lee Valley website. All the information is there. I must admit though, when it comes to manuals, I like mine to lead me by the hand like a storyboard. So here is my version for those as instruction challenged as I …
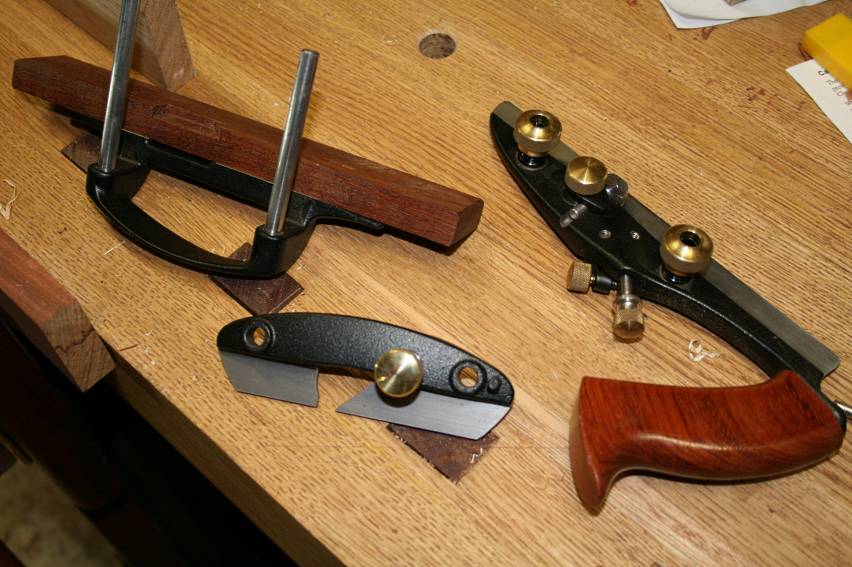
Converting the Small Plow to plane tongues
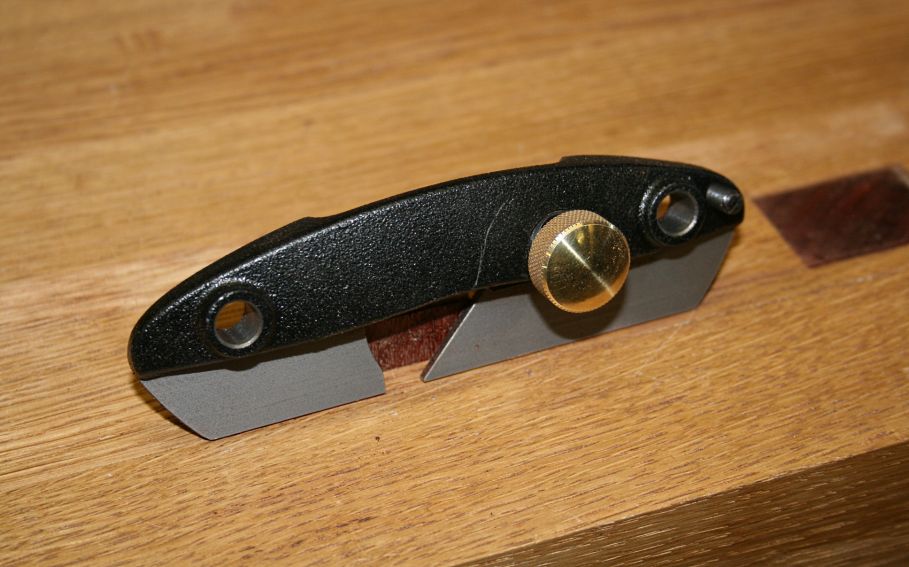
Step One: remove the depth stop …
… and replace it with the shaving deflector.
Step Two: remove the blade guide knob …
… and put it somewhere safe! I drilled and tapped a hole at the end of the subfence.
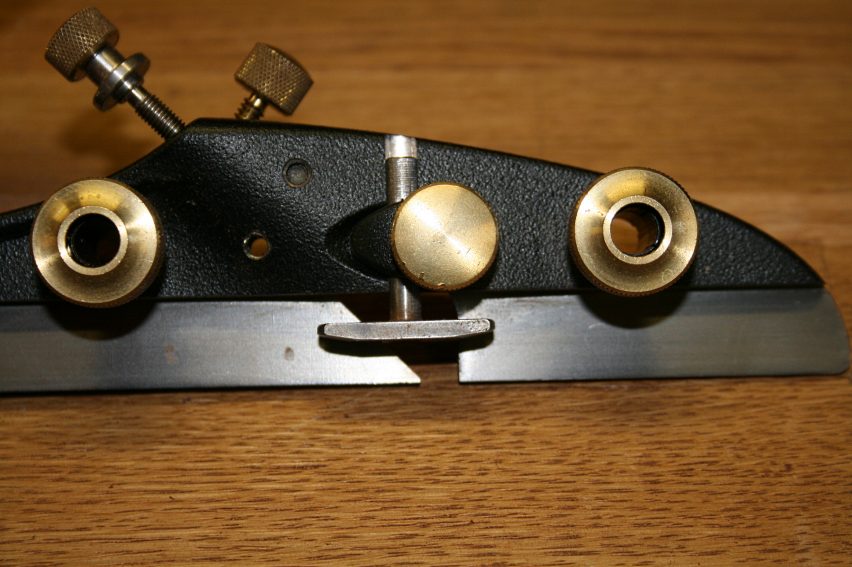
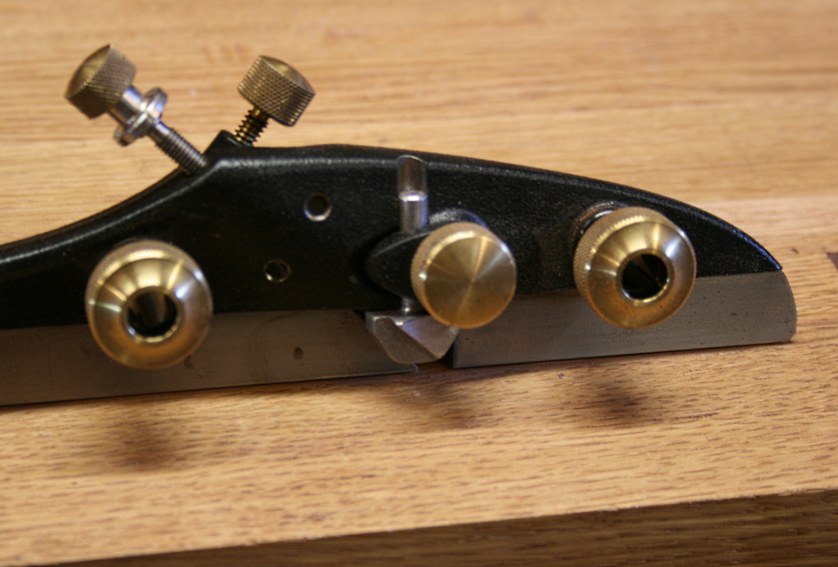
Step Three: The sliding skate will be attached to the body, with the long brass screw (called the Clamping Knob) replacing the blade guide knob …
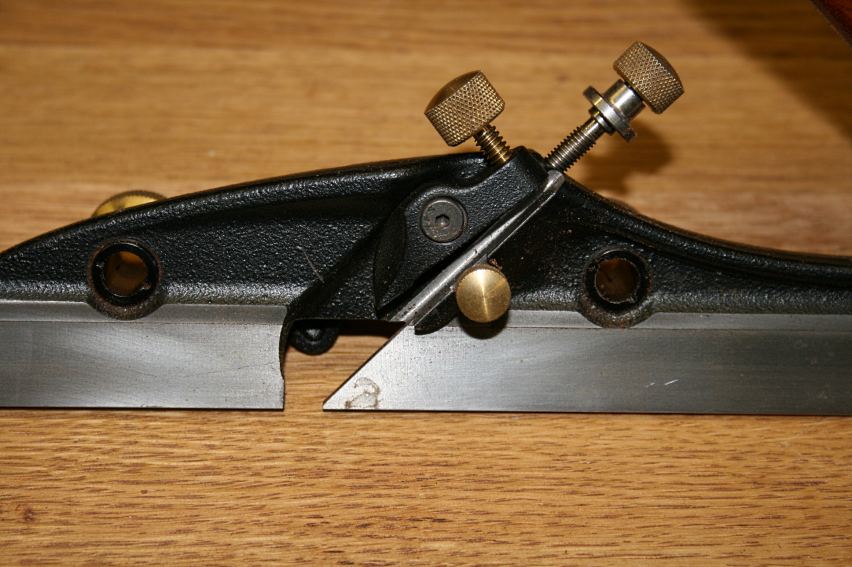
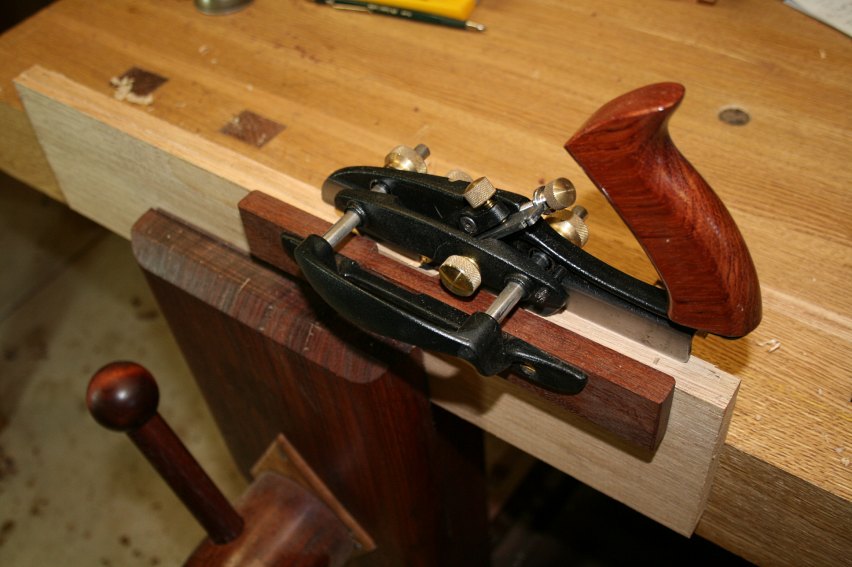
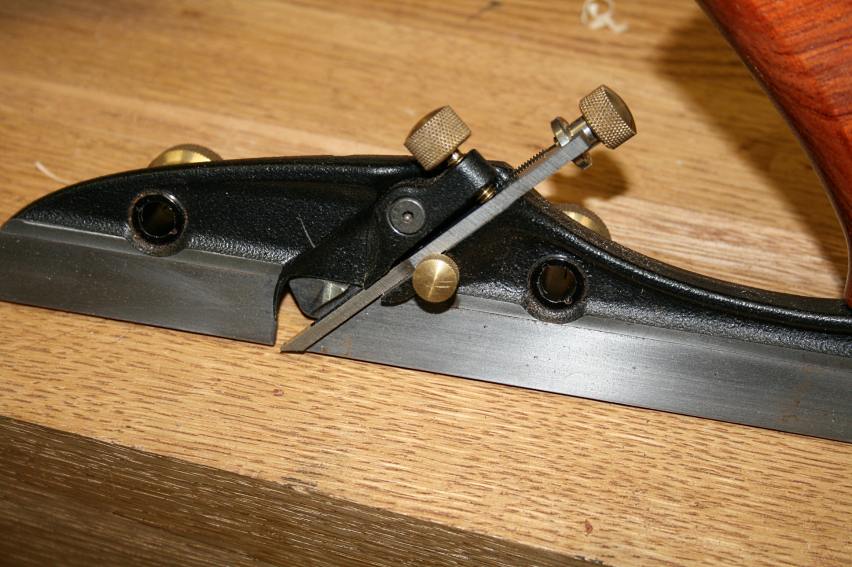
Below, the fence rods and sliding skate have been fitted to the plane body. On the extreme right end of the sliding skate is a screw. This is used to adjust and ensure that the skates are parallel to one another. You set this once they come together. It should only need to be done once.

Step Four: take time out to hone the blades. The blades lap very easily as they are flat. The bevels are at 35 degrees. While sharp, they do benefit from polishing. Before you can do this, you need to remove the depth stop with the supplied Allen key (Hex key).
 Courtesy of Lee Valley
instructions
Courtesy of Lee Valley
instructions
Step Five: In practice it may be that one would have a basic set up for each blade, and then vary this for wood type if necessary (for expansion purposes - ideally, the tongue should be slightly shorter than the groove). The 1/4" blade cannot be adjusted and will only accept a depth of 1/4". For the others I plan to simply make a template with a couple of depths, and use this to set the blade beforehand. It should be quick and simple. Watch this space.
Step Six: Insert the tongue blade. Below I am using the 3/16” size. Keeping the sliding skate out, I inserted the tongue blade from below, and hooked it into the blade adjuster. The sliding skate may then be closed up against the blade with the clamping knob.
Adjust the blade projection for a fine cut.
Ignore the setting of the fence for now.
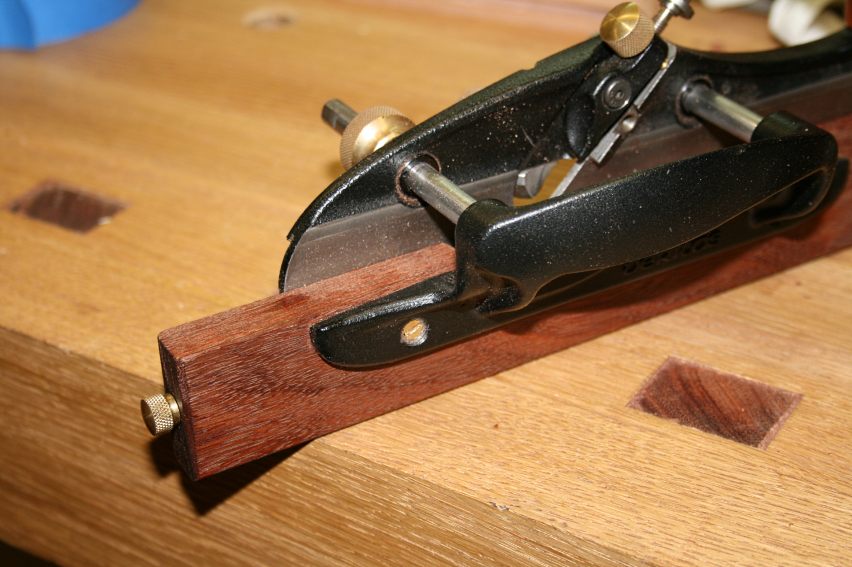
Step Seven: Place the plane on the edge of the board …
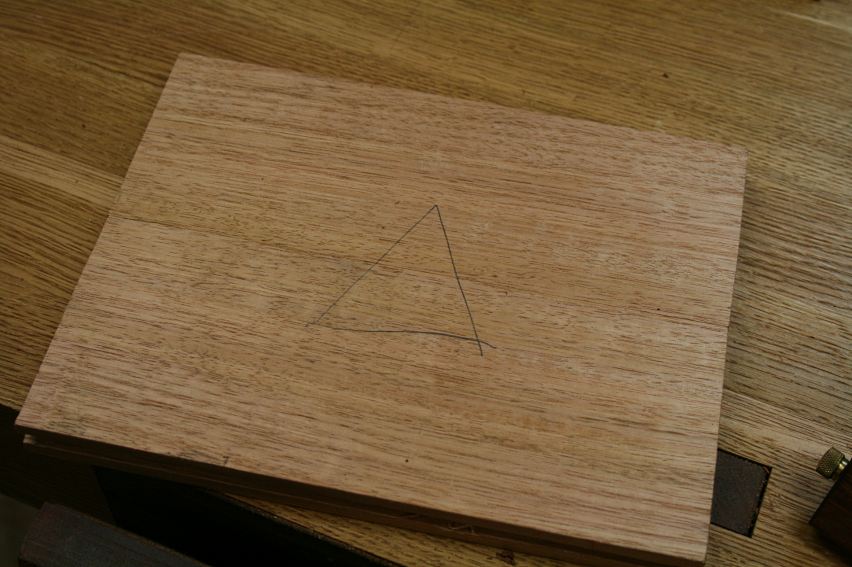
It is important that you mark out the faces of the joining boards. These remain the reference sides …
Align the edge if the left edge of the blade with the left edge of the board to receive the tongue (Note that I am right-handed and planing with a right-handed plane).
You can check the alignment by pressing down on the blade. Look at the marks in the wood for confirmation …
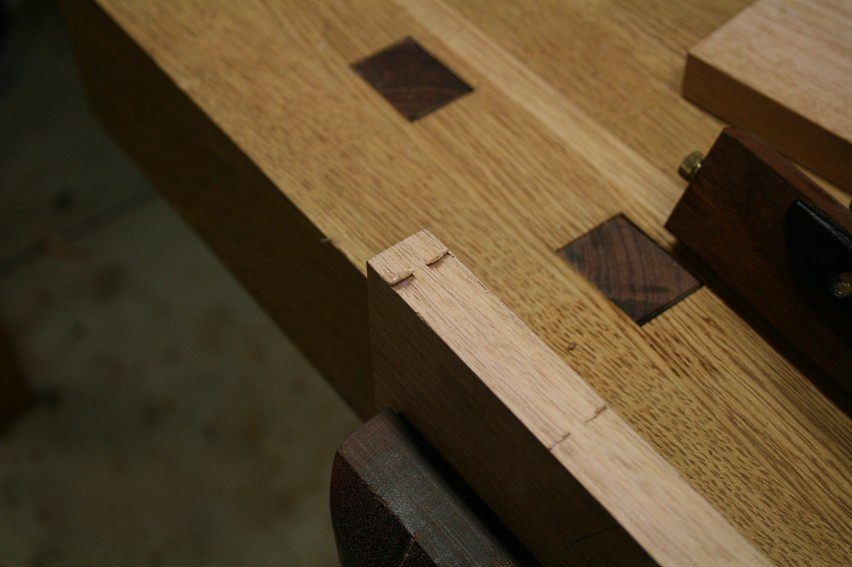
You may notice that the right side of the board is fractionally wider than the blade mark. Don’t be concerned. It is important to reference one side, the left side. The right side can be adjusted later.
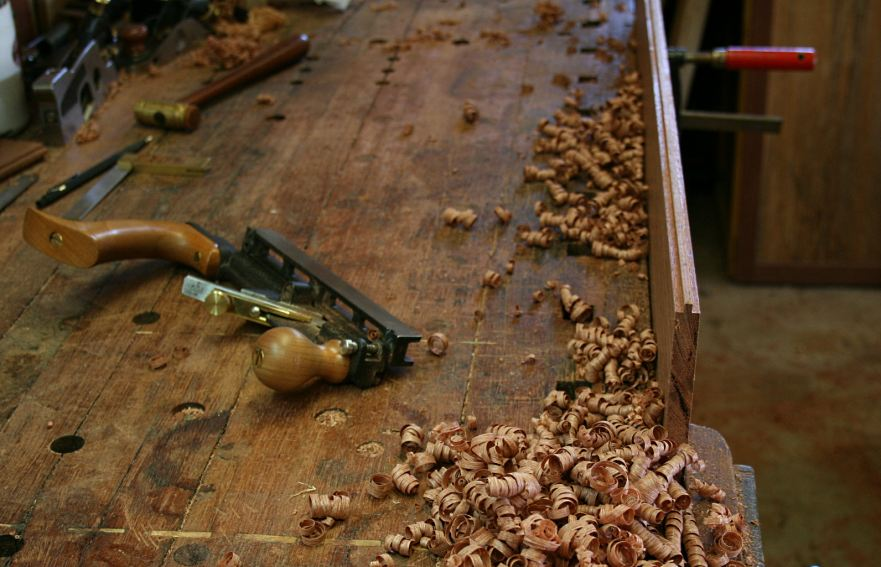
Step Eight: You are now ready to plane the edge. Begin at the end of the board, and work your way backwards to the near end.
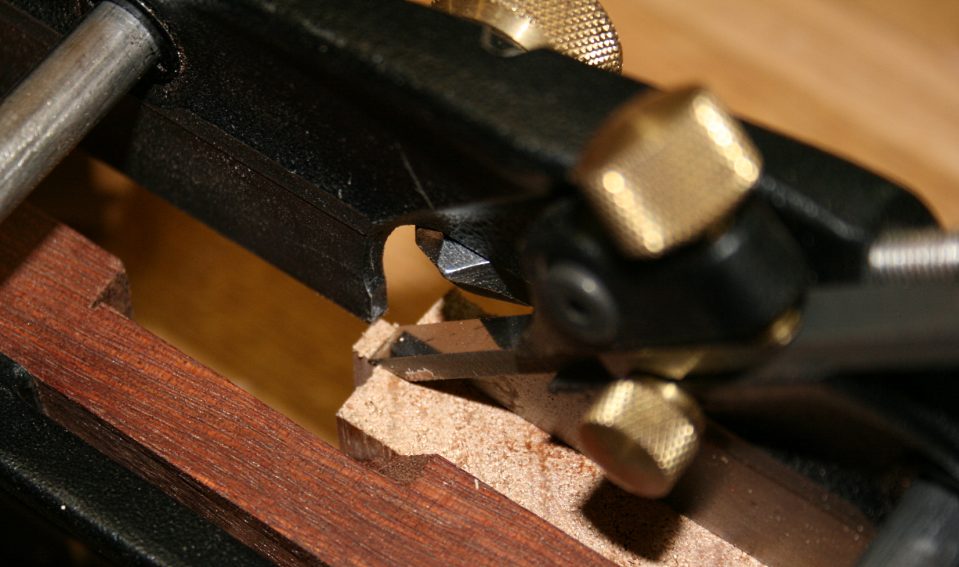
You know that all is well when you see the shavings coming off in two streams, as illustrated below. This indicates that the blades are cutting evenly, and the blade deflector is aligned correctly.

Keep planing until shavings end. This will indicate that the depth stop has bottomed out.

Step Nine: Time to change the plane back into a groover. Disassemble. Replace the parts as original …
Step Ten: align the left side of the grooving blade with the left side of the newly cut tongue. You can do this by eyeballing the alignment or, for absolute accuracy, you could place a small steel ruler against the tongue and align the grooving blade against it …
Now adjust the fence against the side of the board, and tighten it down.
Step Ten: plane the groove.
Same as before, begin at the end and end at the beginning.
The plane will stop cutting when it reaches the end of the depth stop.
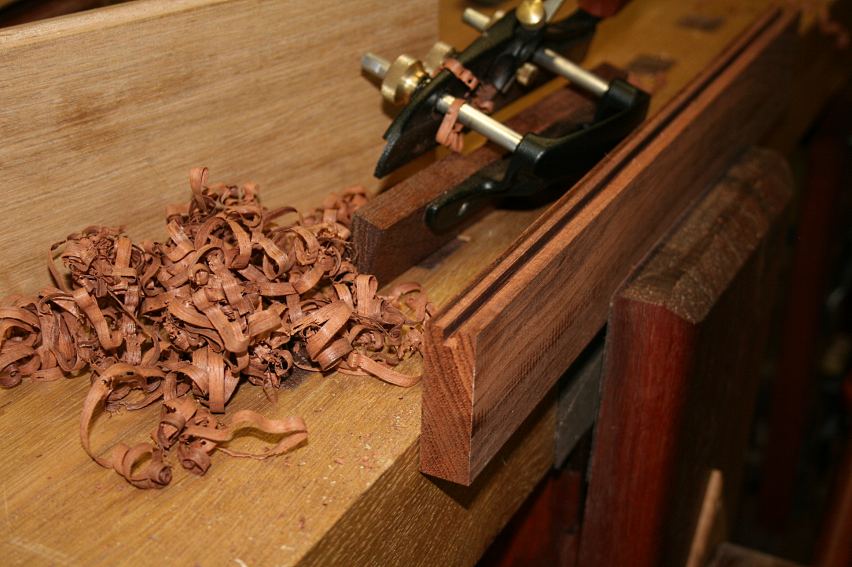
So what did we make?
Using the same lamination principles as in the earlier box, this was the result …
The blades all fit, along with a shaving deflector (note: there is a shaving defector and hex key for each tongue blade. Keep one handy and place the others in a safe place.
You can see in a picture below that the lid has a hole drilled for the depth stop. This is just so that it does not lie around and get lost. The shaving deflector would fit as well …
Observations
Overall I think that the T&G accessory for the Small Plow works well. It took me a few hours to figure it out, and then a few more to realize the errors I could have avoided. Even now I am sure that there are better ways of doing some of the procedures.
Compared to the LN #49 the Small Plow is much slower to set up. The LN is a snap to use with its swiveling fence system. The LN is really a lovely plane. The Small Plow does have an advantage over the LN, however, in terms of its wider application. The #49 is optimized for ½” thick boards. The #48, its sibling, is optimized for 3/4” thick boards. By comparison, the Small Plow can do all this and more.
Setting up the Small Plow is relatively easy work, but not as easy as the LN. While the Veritas produced accurate results the first time I used it, it is less user friendly than the LN T&G. However we are not comparing apples with apples. One is a dedicated plane and the other is a combination plane. If you are looking for a plane to create T&G joints and do not own the Small Plow, then I would recommend the LN T&G plane. On the other hand, if you are already the owner of a Veritas Small Plow – or plan to purchase it – then these accessory blades are a very valuable addition to a wonderful plough plane.
Regards from Perth
Derek
May 2012