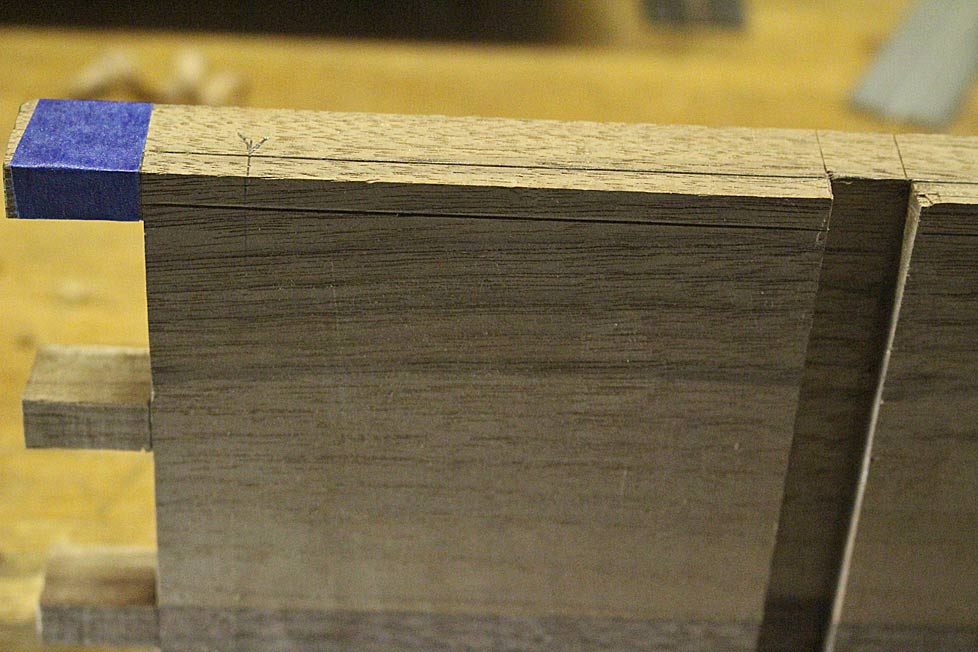
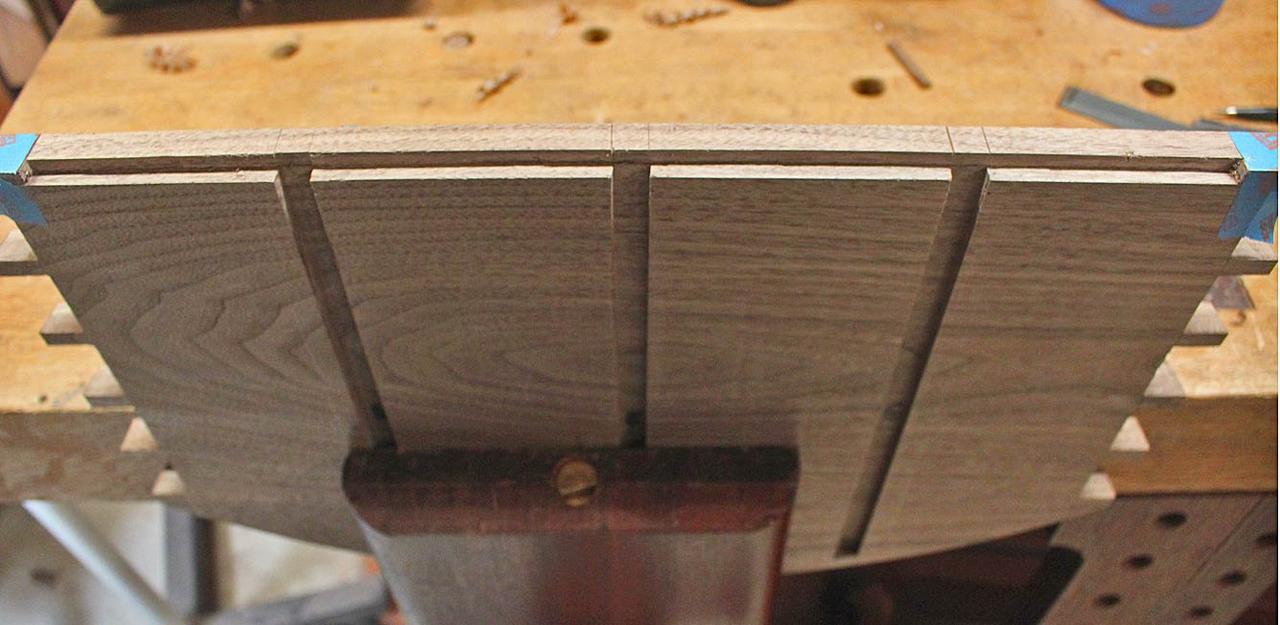
Rebating the side panels of the carcase is pretty straight forward. The rebate is 6mm x 6mm. Planing the full width is unobstructed.

However, where the upper and lower panels need a rebate, planing through will lead to gaps in the panels as these end in dovetail pins. There would have not been an issue here had I used mitred dovetails, but this was an oversight at the time. Now I have a couple of choices, one being that I add a bead around the read panel, however I do not want additional adornments on the chest.
The decision is made to use a stopped rebate at each end. If completed at this stage it would lead to a weak set of pins. This is where the rebates would end ...
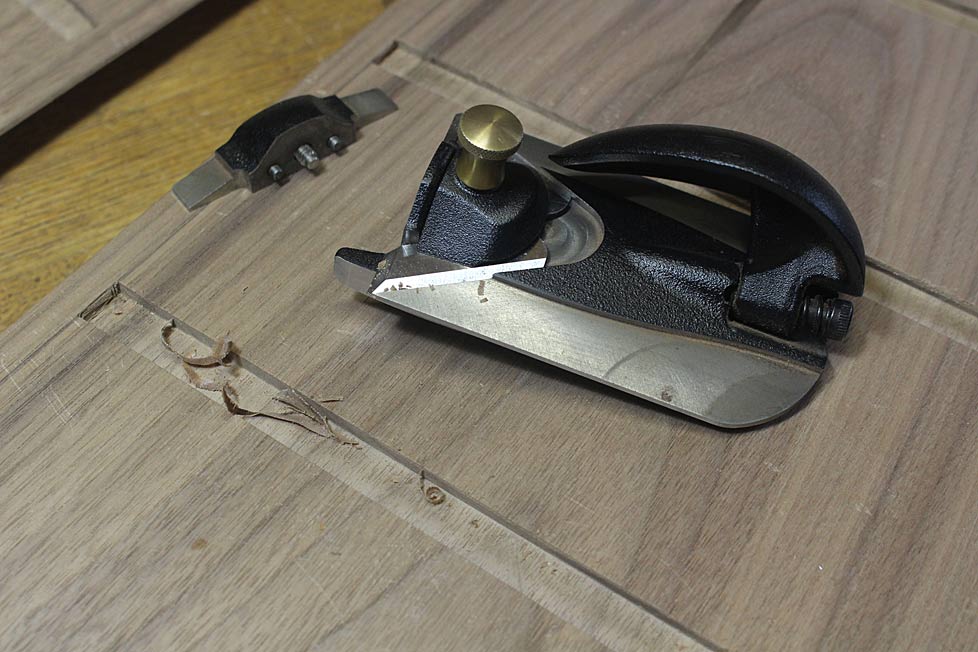
Instead, they will stop short of the end at this stage, and the remainder chiselled out after the carcase is glued up (glueing up will support the weakened pins) ..
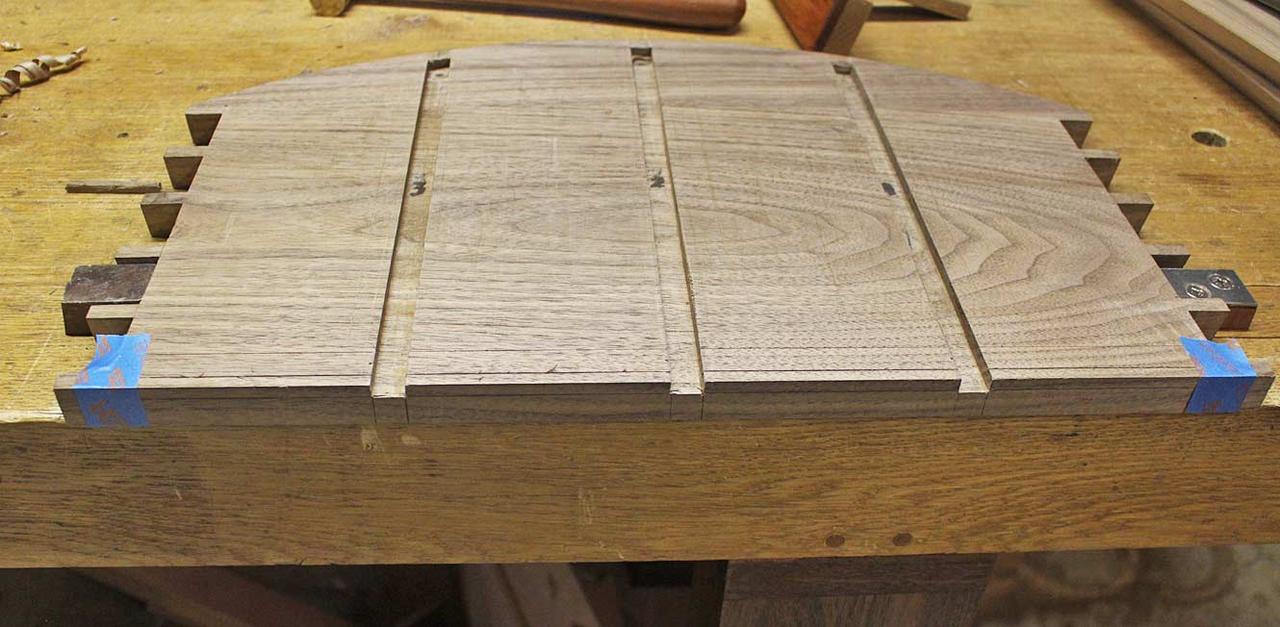
The ends of the panel are excavated to start and end a saw cut, and then the shoulders are sawn with a azebiki ...

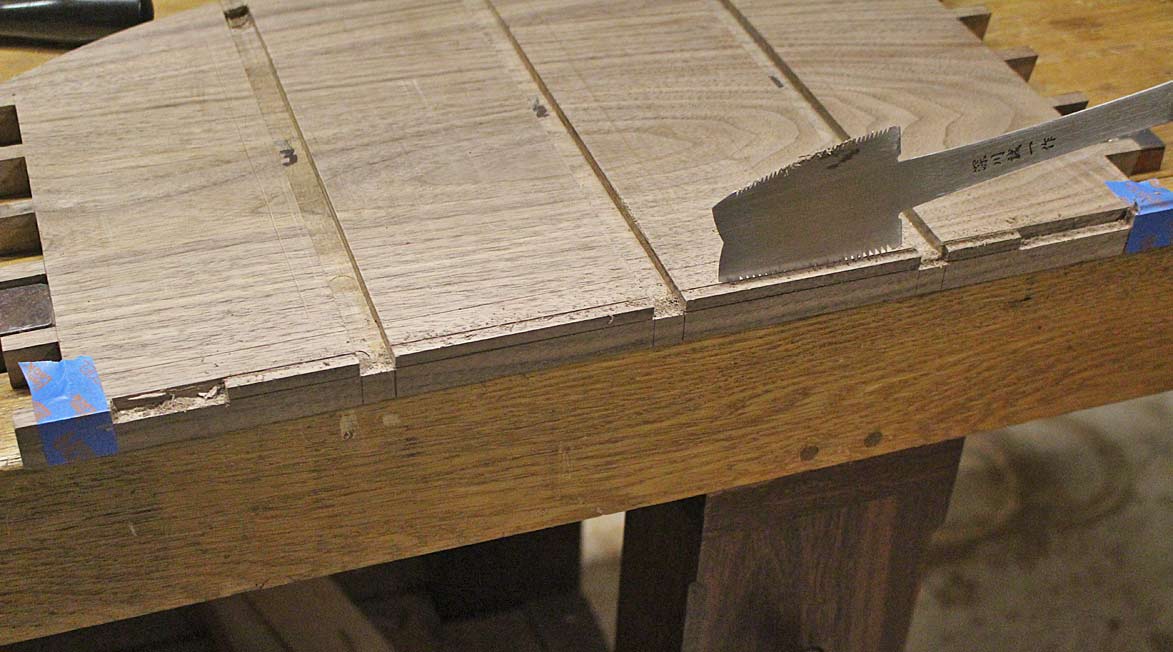
You do not need to create a chisel wall for the saw teeth if you knife the line with a Japanese cutting gauge or a thickish knife. This opens a wide enough kerf ...
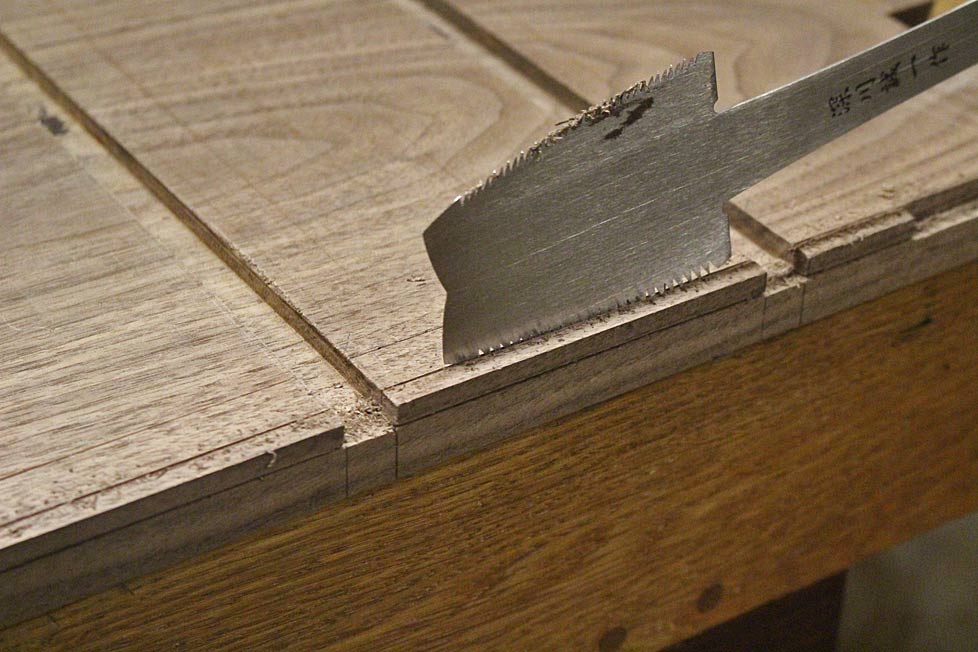
No guide, just muscle memory...

A cutting gauge from each side will clean out the rebates ...

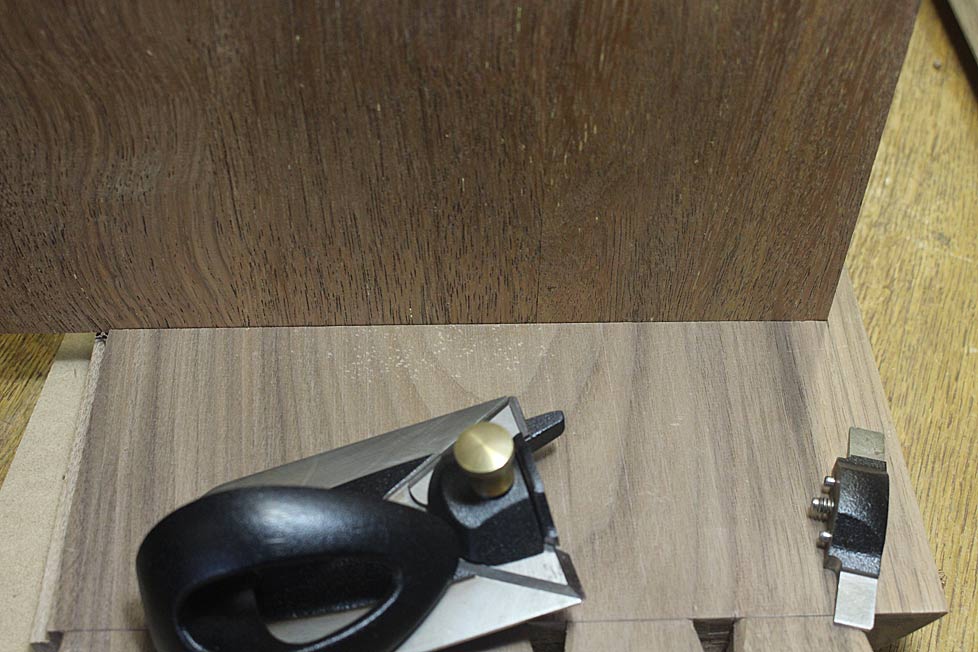
Cleaning up the dados
The strategy for the dados was to make them 20mm with a power router, which was done, and then fit panels to these. The panels were completed with the assistance of a jointer-planer/thicknesser, and this made it easier to dial them close to 20mm. Final surfacing was with handplanes.
Although the dados were made with a brand new 20mm straight bit, they were not as precise as I would have expected. A little tuning was necessary to bring them to width.
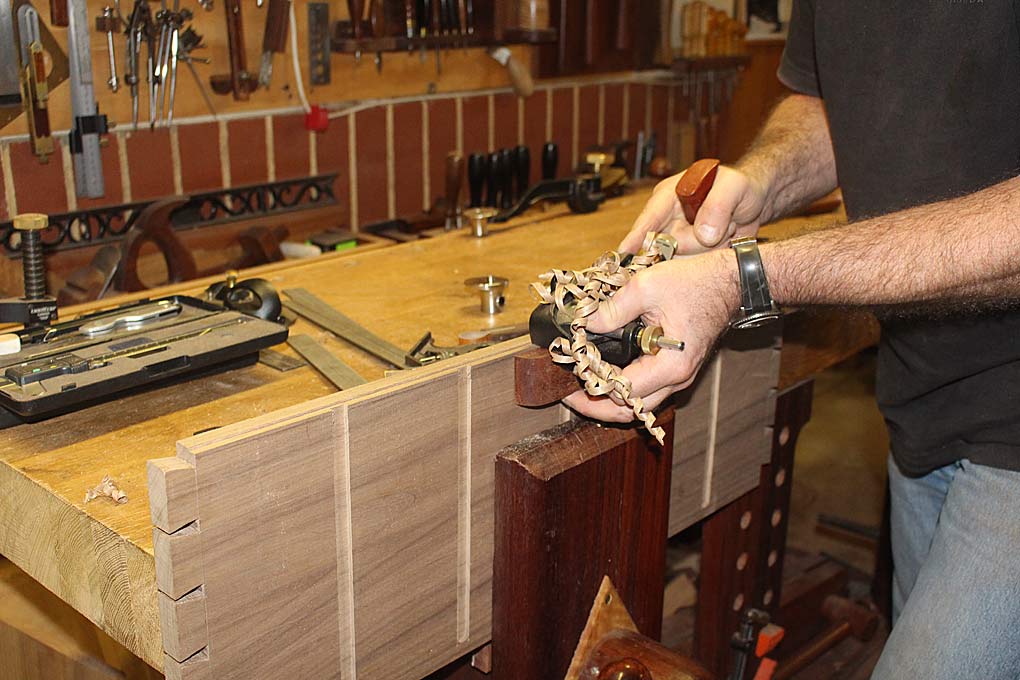
The tool of choice here is a side rebate (rabbet) plane. This one is by Veritas. It is in stopped mode to cut to the end of the stopped dado ...
This was the fit ...
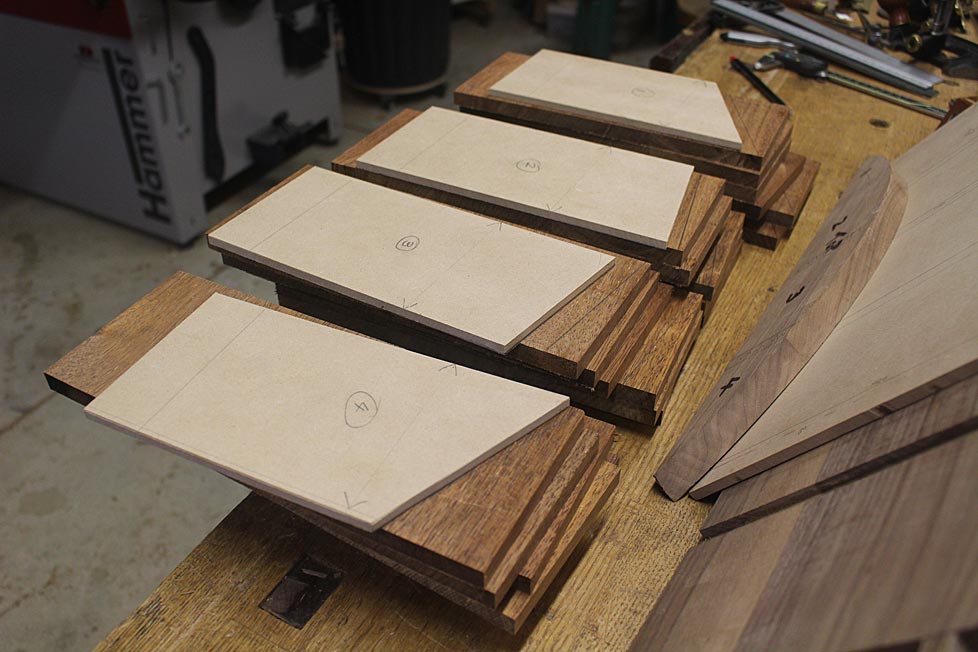
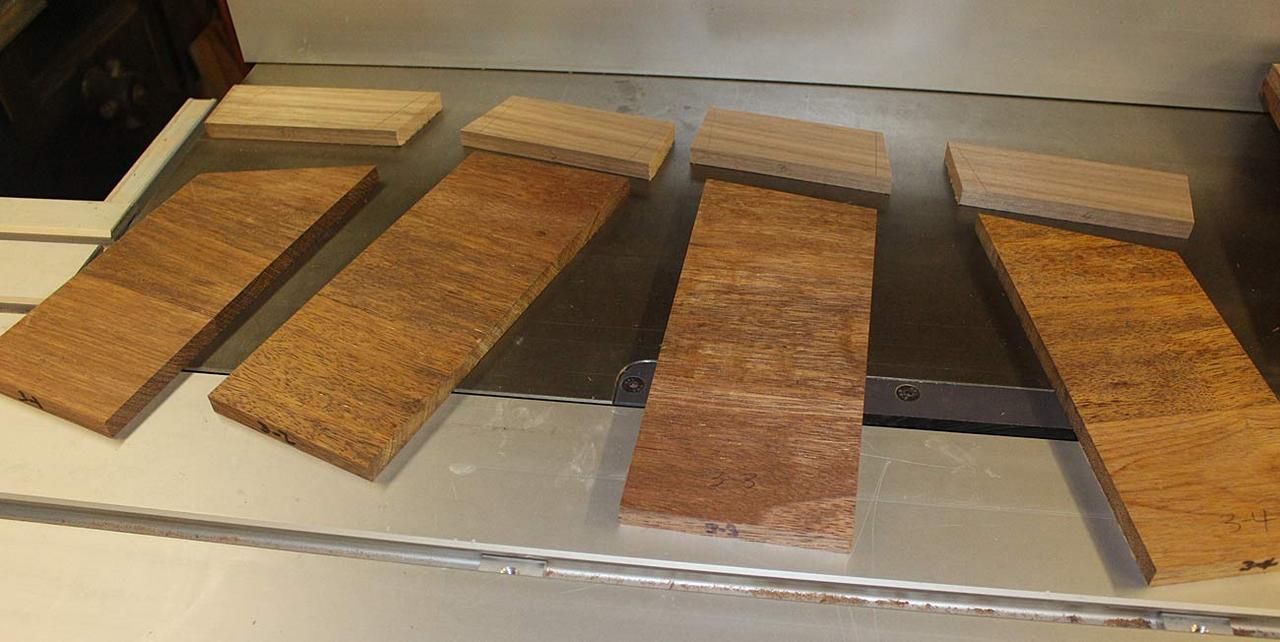
A total of 40 dados needed to be tuned (that took a few hours!). The drawer blades below are, in fact, for the 24 drawers, and will be cut to fit the compartments.
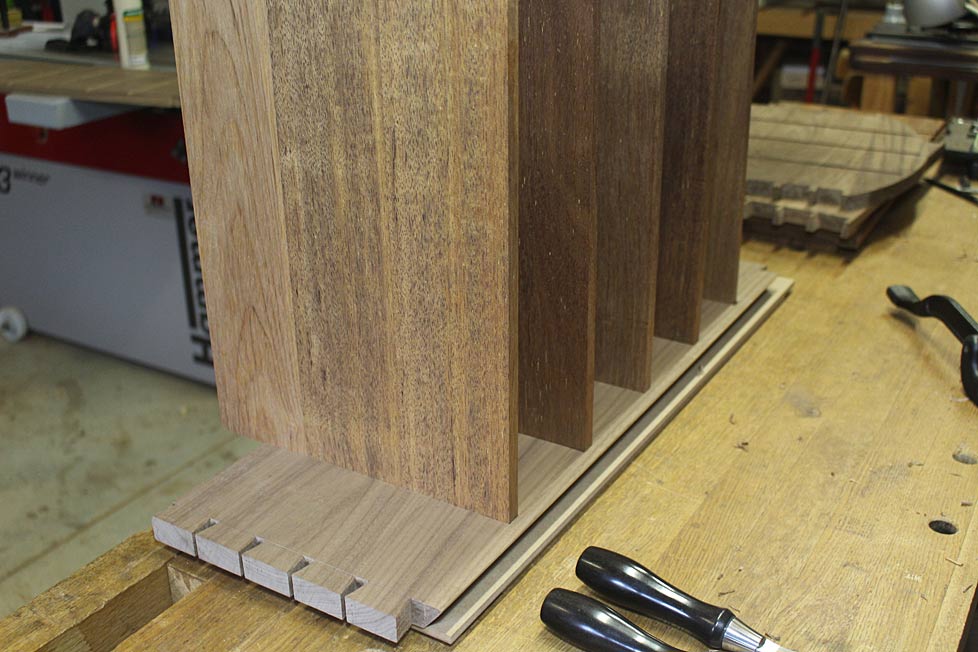
The drawer blades
The design of the chest called for vertical dividers. This would create an emphasis on the vertical. Every apothecary chest I have seen used horizontal dividers/drawer blades as the primary construction. It would have been a lot easier to have done so as well since the bow front could be shaped in, and then the curved drawer blades attached to the carcase. This would have been followed with the individual vertical dividers which, while needing to be aligned, would be straight and uncomplicated to align. Starting with the vertical dividers meant that the bowed horizontal drawer blades presented a complication with alignment.
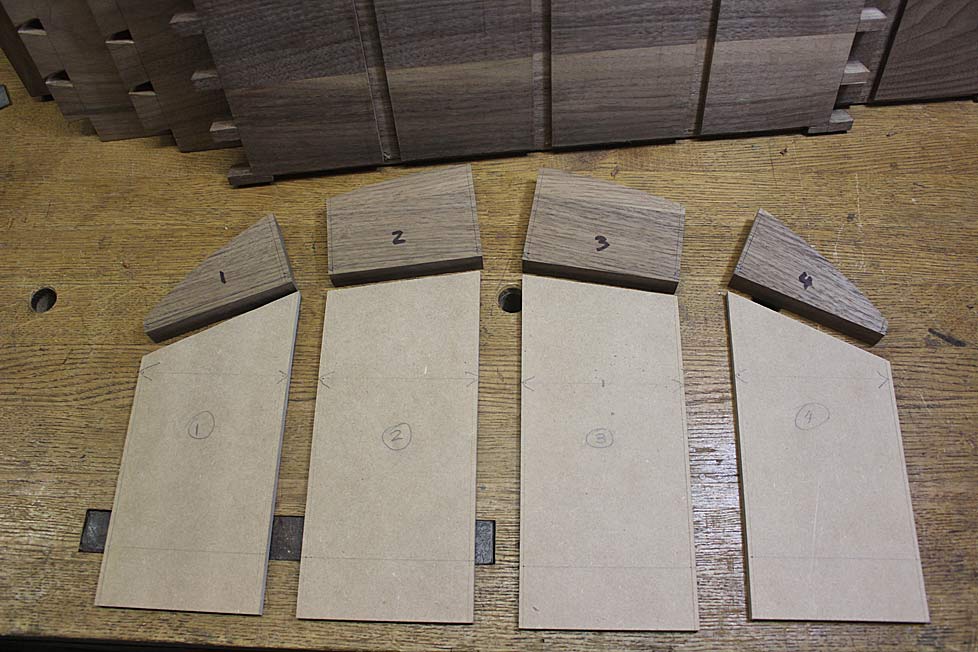
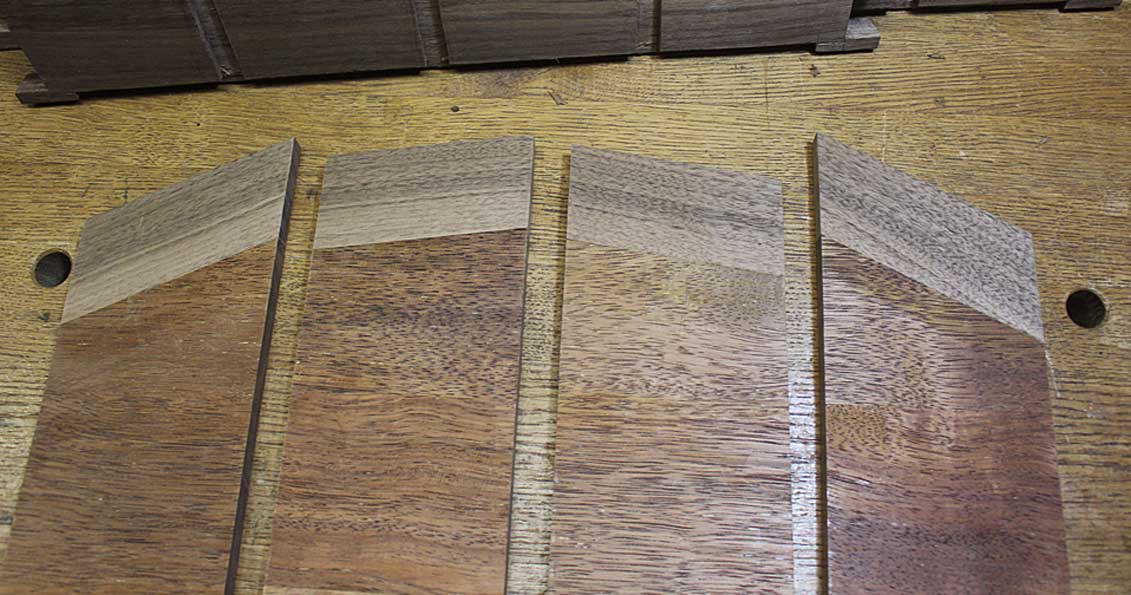
I built another template ...
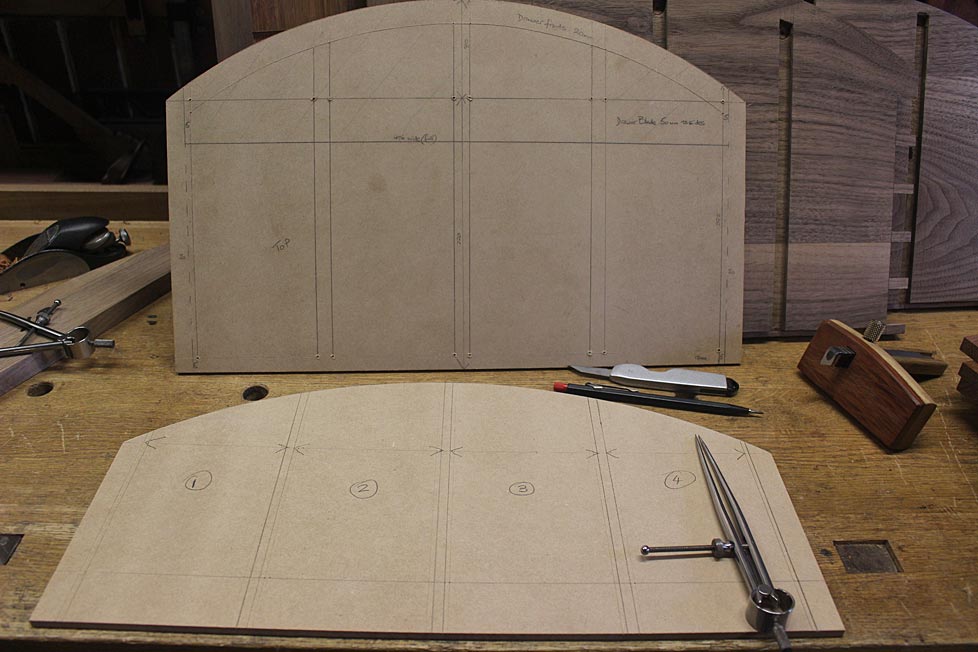
This was similar to the plan drawn up at the start. It differed in that it represented the drawer blades plus the area seated into the 3mm deep dados.
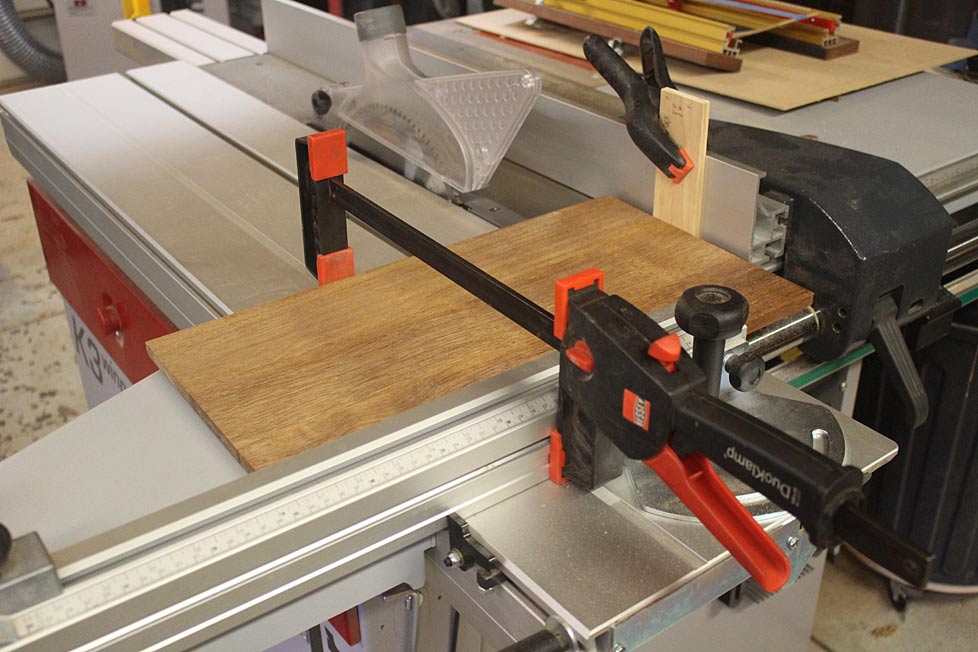
Cut to size ...
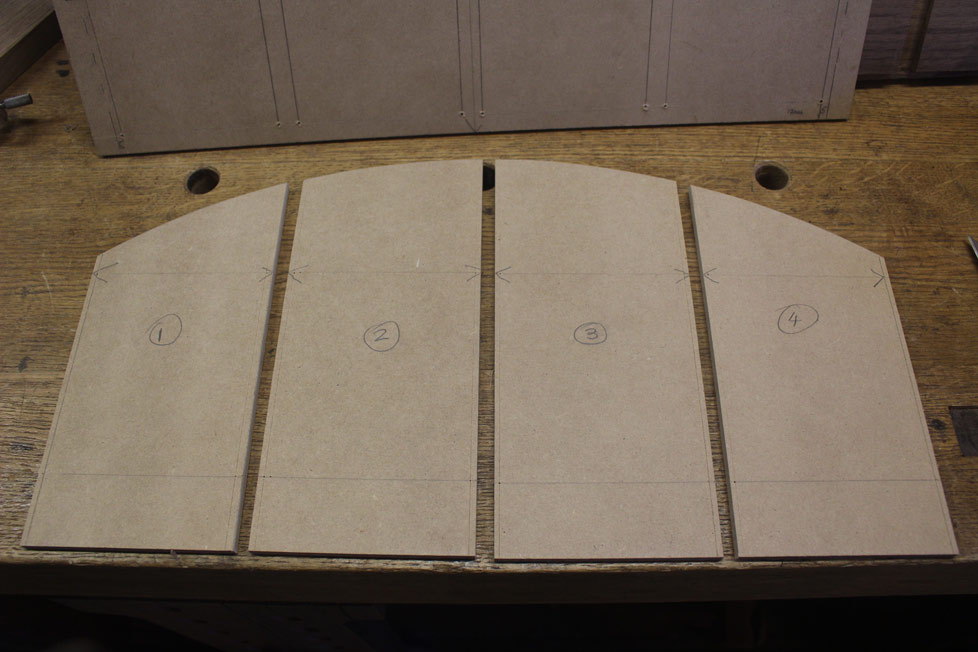
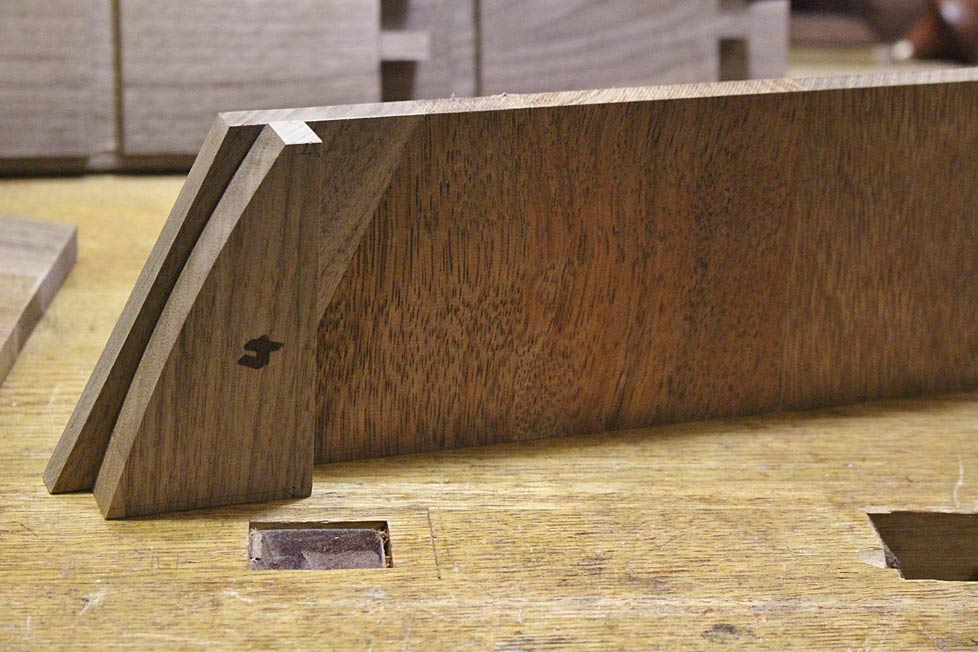
The curved ends were removed ...
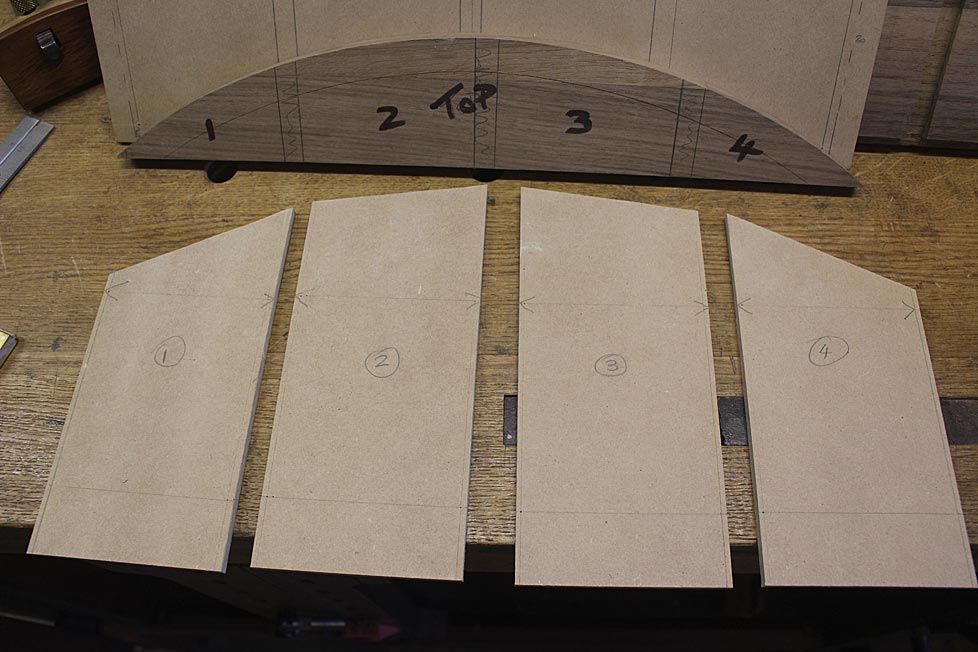
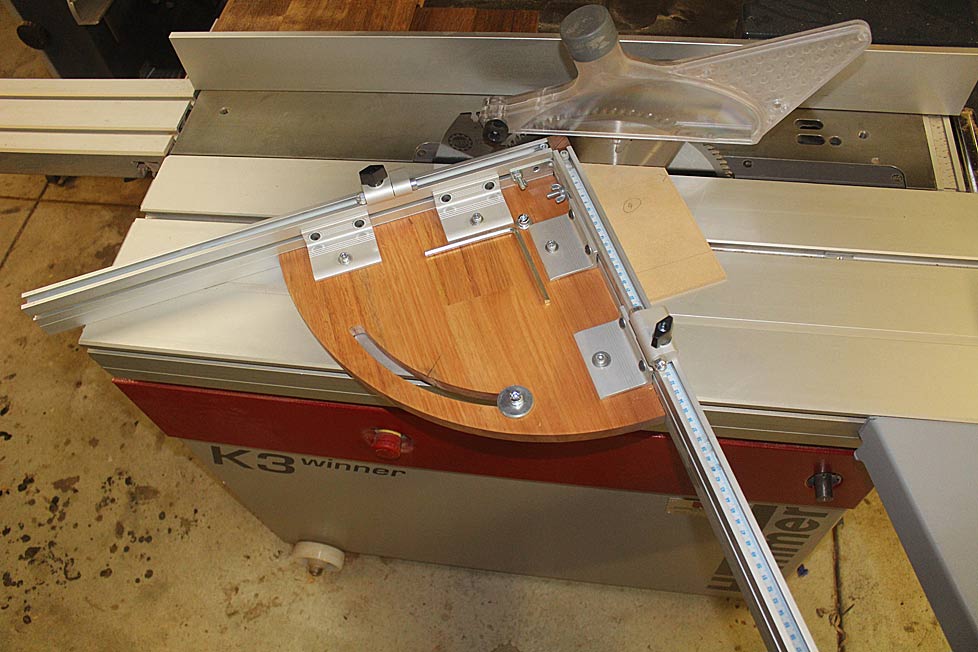
... and a second template made to form the bow front of the drawer blades (above and below) ...