Breadboard Ends
Breadboard ends are used to (1) aid in maintaining a flat surface, such as a tabletop, and (2) to hide endgrain.
While maintaining the mechanical integrity of the tabletop, a breadboard also has to account for the expansion and contraction of the wood as it moves across the grain.
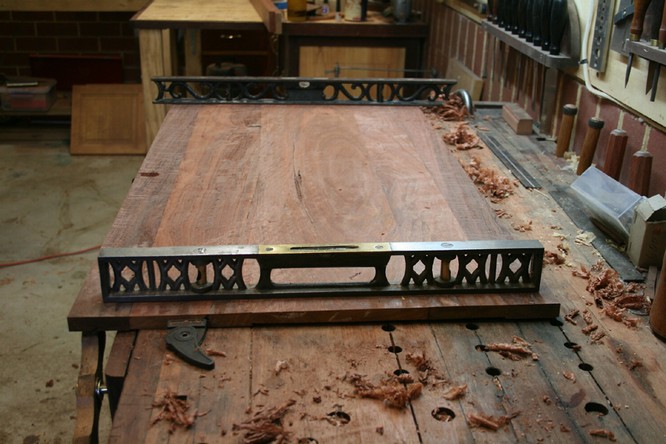
Start with a dimensioned, flat and squared surface.
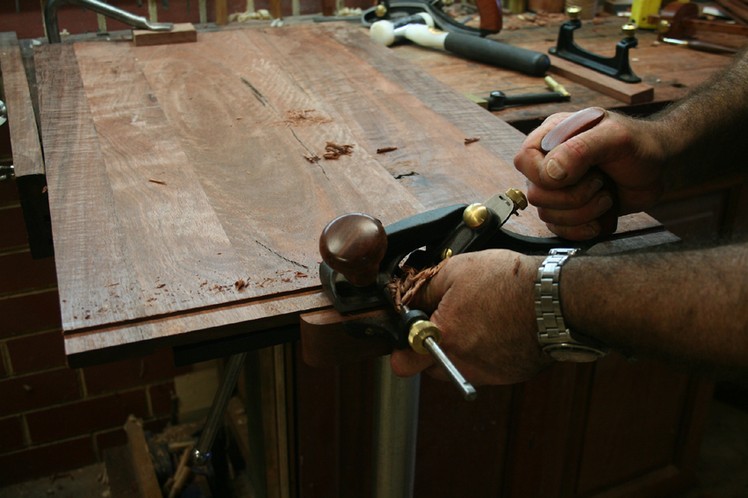
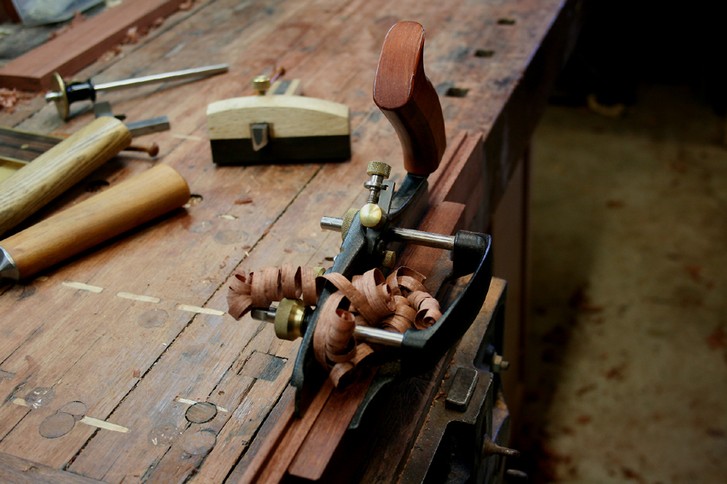
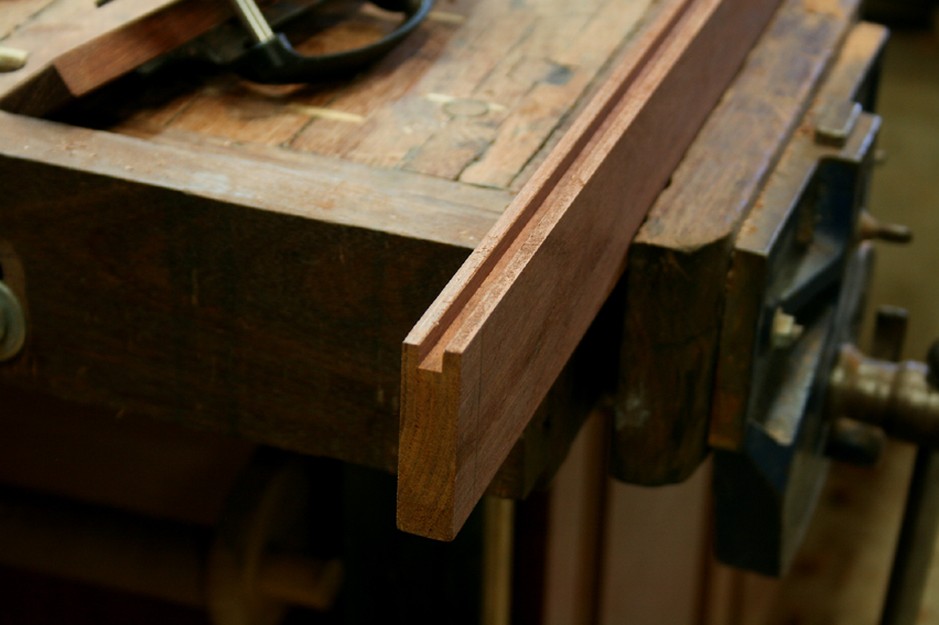
Begin by planing a rebate for the tenons and the tongue ….
The rule here is the same as a tenon in a mortice-and-tenon joint: make the width about 1/3 the thickness of the top. In this case the top is ¾” and the tenons/tongue is ¼”.
Veritas Skew Rebate Plane …
Check for square – otherwise the ends will not lie coplanar with the top . Mmmm .. this is a tad off the mark.

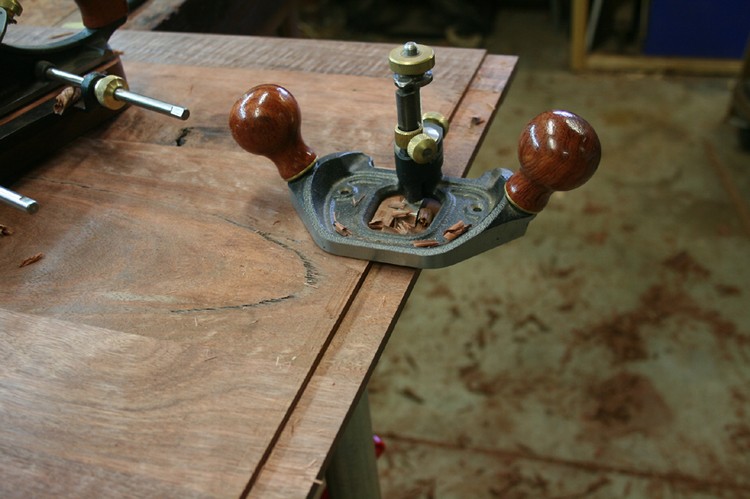
Use a router plane to achieve the desired result.
Move on to the end piece. This is the same thickness as the table top.
Plane a groove to receive the tongue.
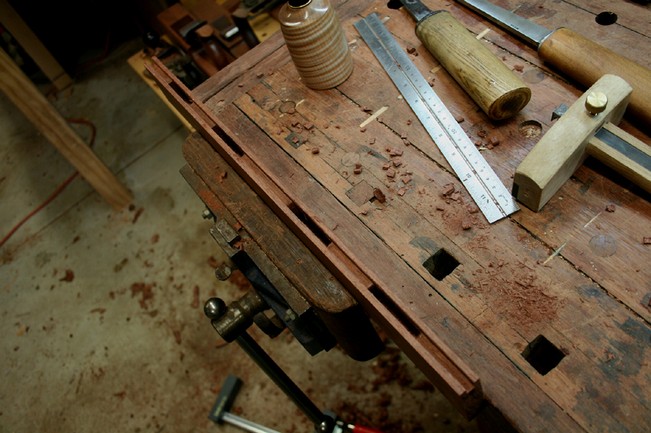
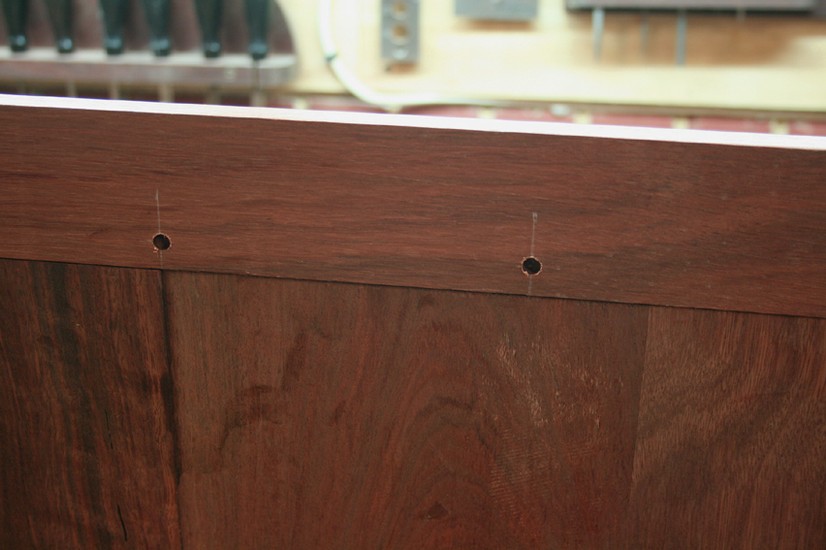
Below are the marks where the mortices will go. How many? As many as will support the breadboard end.

Chopping out a mortice.
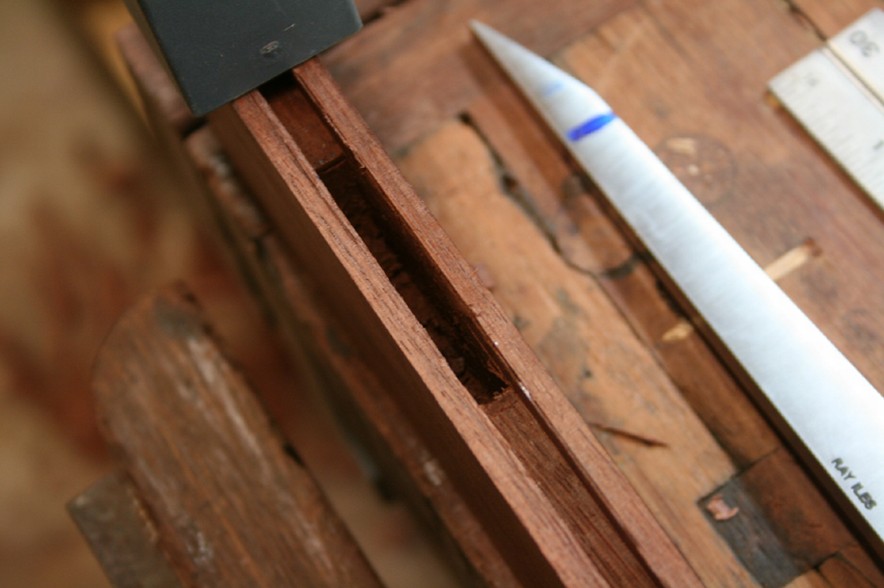
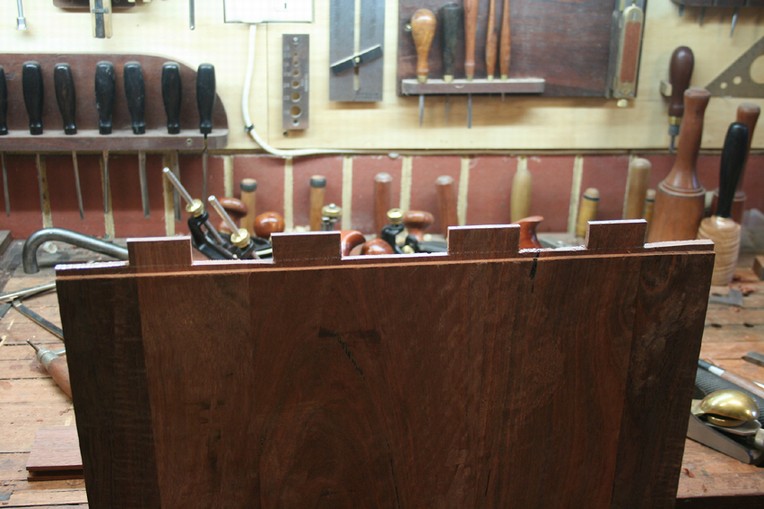
All the mortices ..
Positioning the tenons ..
Tenons and tongue … the mortice is wider than the tenon, so that the tenon floats in the mortice to deal with expansion (of the tenon across the grain) … the tongue will be the same depth as the groove …
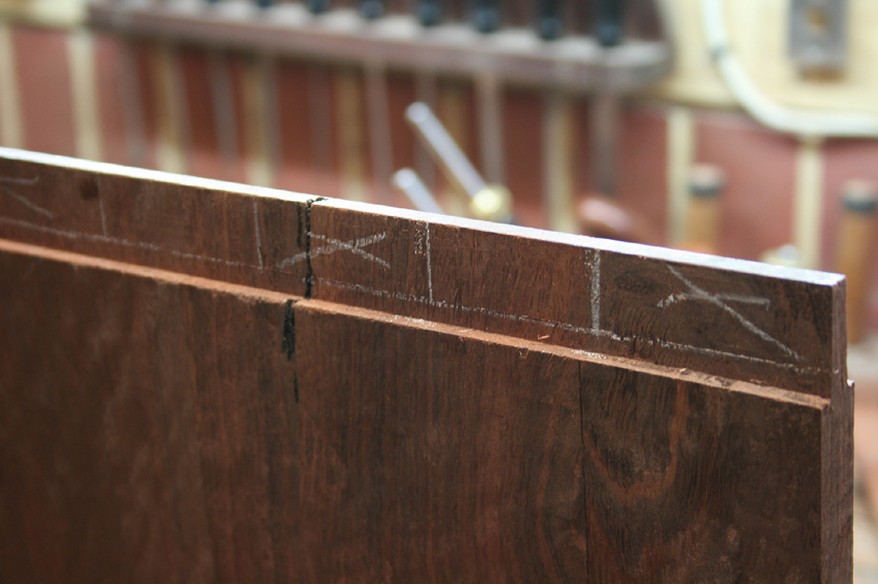
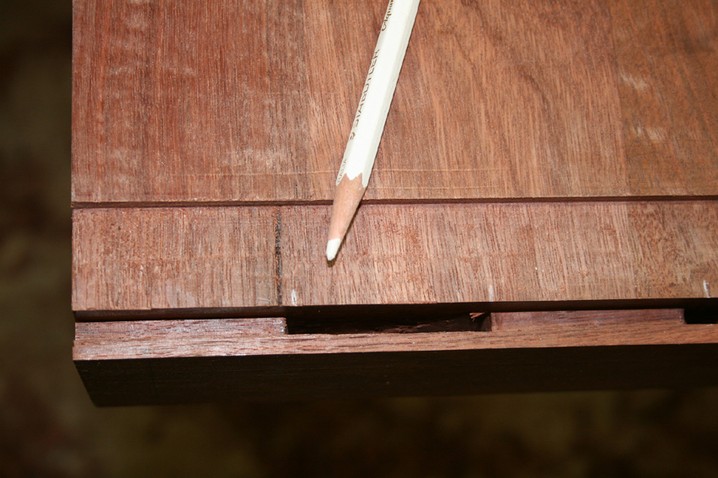
Line marked for visibility … use a knife when you do this.
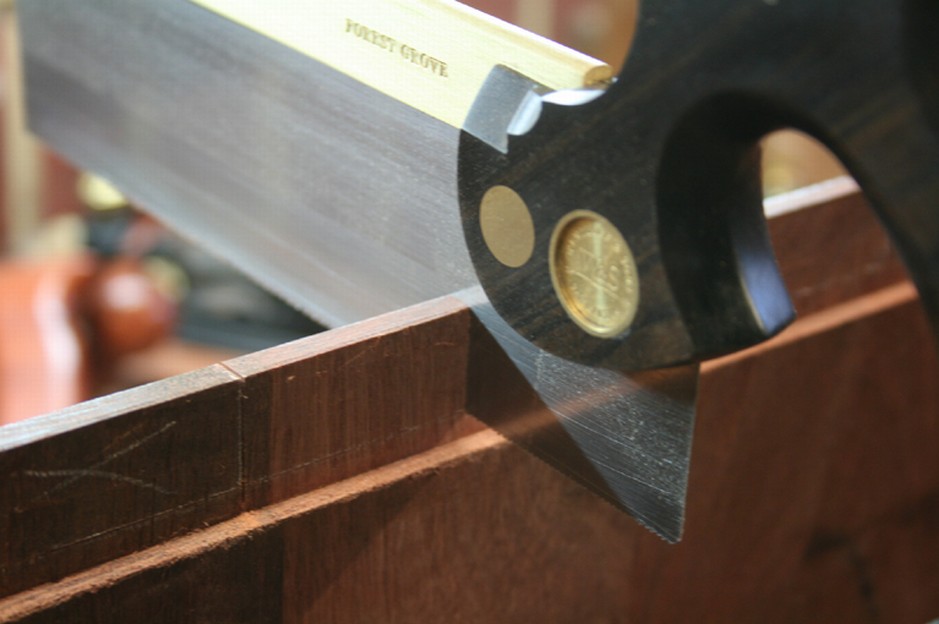
Saw the tenons
Remove the waste with a coping saw
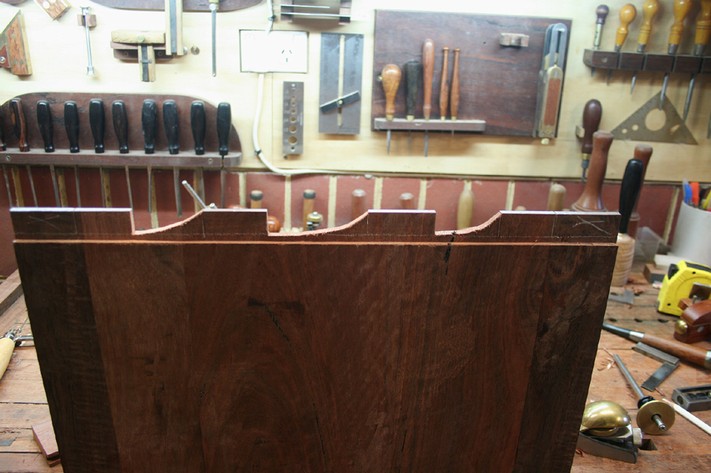
Done
Trial fit

Drawbore and glue the centre only to lock the boards together while allowing expansion to take place at the sides.
For aesthetic reasons I decided to trim the width at the end ..
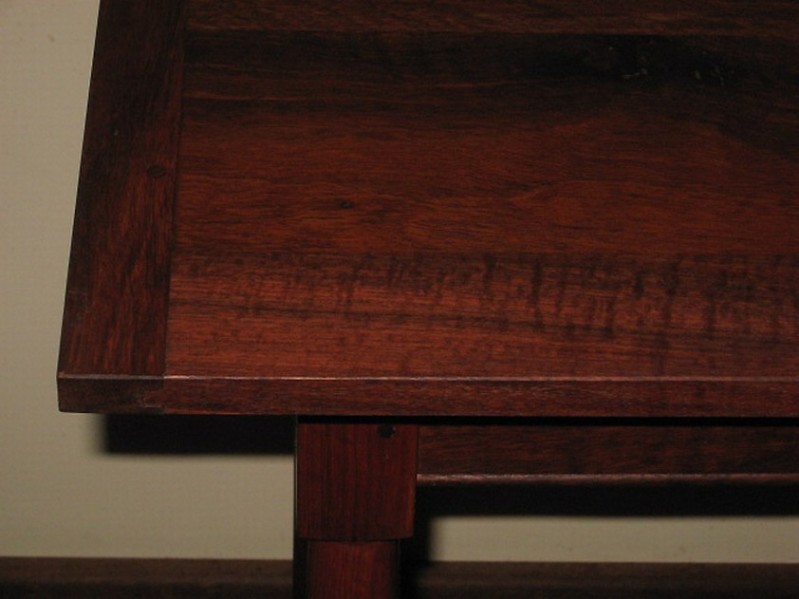
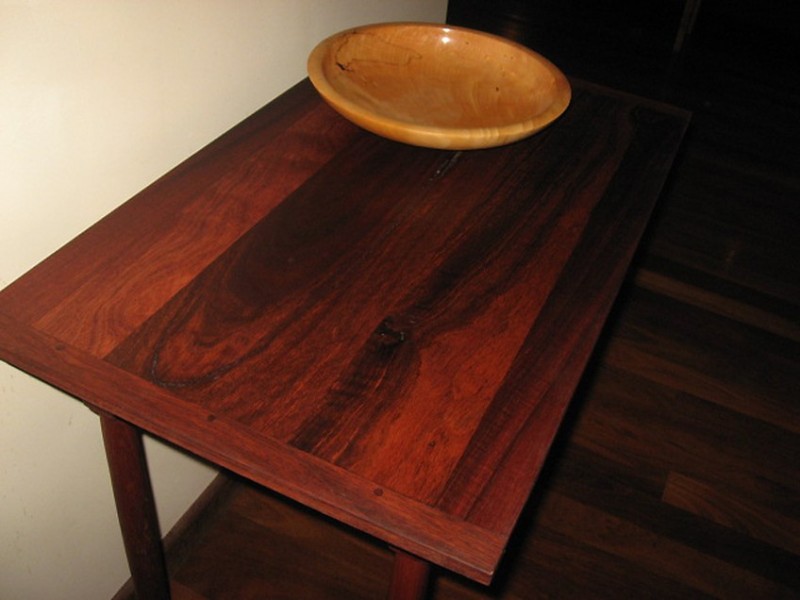
Final result ..
Regards from Perth
Derek
May 2010