
Raising a panel with the Veritas Skew Rabbet Plane
Completing the raised panel doors began with making the frames, then raising panels to insert into the frames.
The panel inserts consist of a rebated flat panel for the rear, and a raised profile for the front.
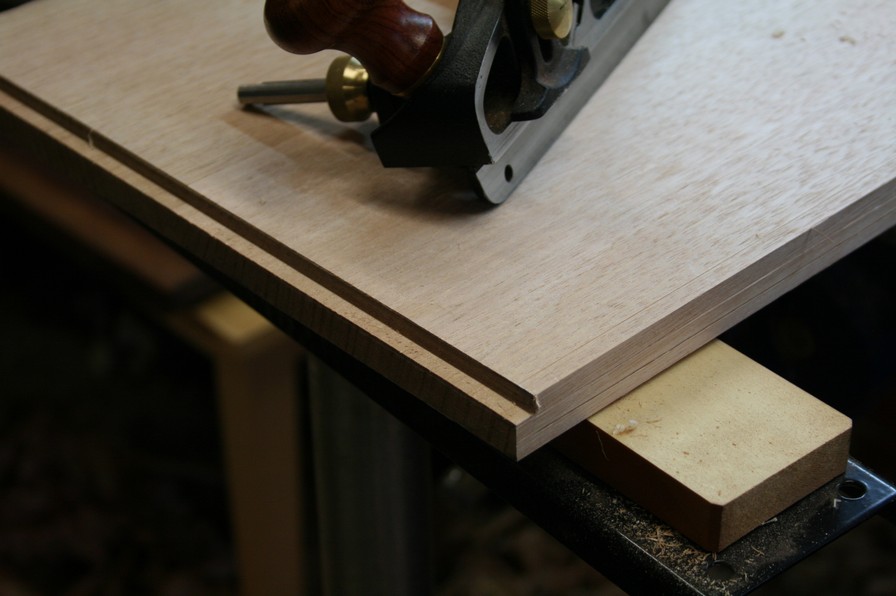
The back of the panel first
We begin by marking the edge …
… and the face of the back of the panel. I planned on ¼” deep and wide grooves in the frames, so this is the measurement here.

I am using a long and thick fence for the Skew Rabbet Plane. See “Using Rebate Planes” for more details.


The second modification is to glue a veneer of hardwood to the underside of the depth stop. This prevents the metal marking the light wood. It also runs more smoothly with a dab of wax.

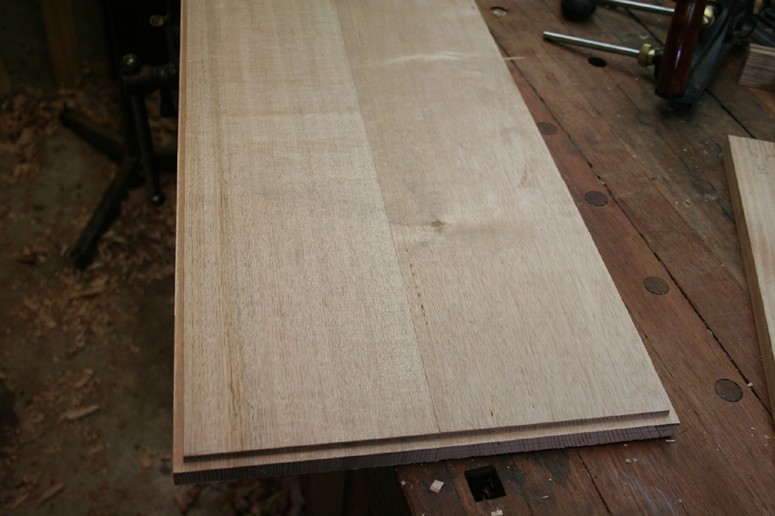
Planing to the lines …
And the finished rebate ..
Raising the panel
The flat fence is now replaced with an angled fence. There is no “ideal” angle – it depends on the width of the slope. I made the width of the slope here 1 ¼”, but no doubt you will have something different.
Of relevance, the combination of a thick fence along with a wide angled rebate means that you will run out of room with the standard (regular) fence rods. Use the optional long fence rods to this task.

Progression shots as the slope widens ..

Progression shots as the slope deepens ..

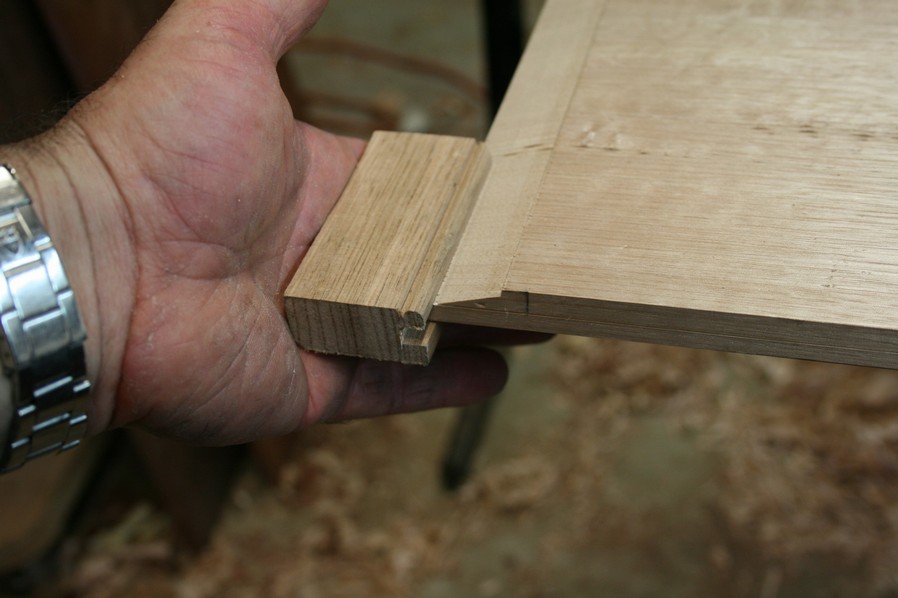
Test the fit of the tongue for the grooved frame …
Dry fit of the completed raised panel dry …

Regards from Perth
Derek
December 2009