
The Proof of the Pudding is in the Eating
The question is not whether the idea to build the sliding dovetails inside the rear legs was a wise one – after all, that is part of the design; the question is whether the strategy to build the housings for the front of the chest from the rear of the chest is a sound strategy (having written this on at least three occasions, the phrasing still sounds as convoluted as ever!).
Below is the last housing to be made. It is time to test out the theory.
Below are the drawer blades and the fillet pieces (there is no other name I can think of to refer to these).
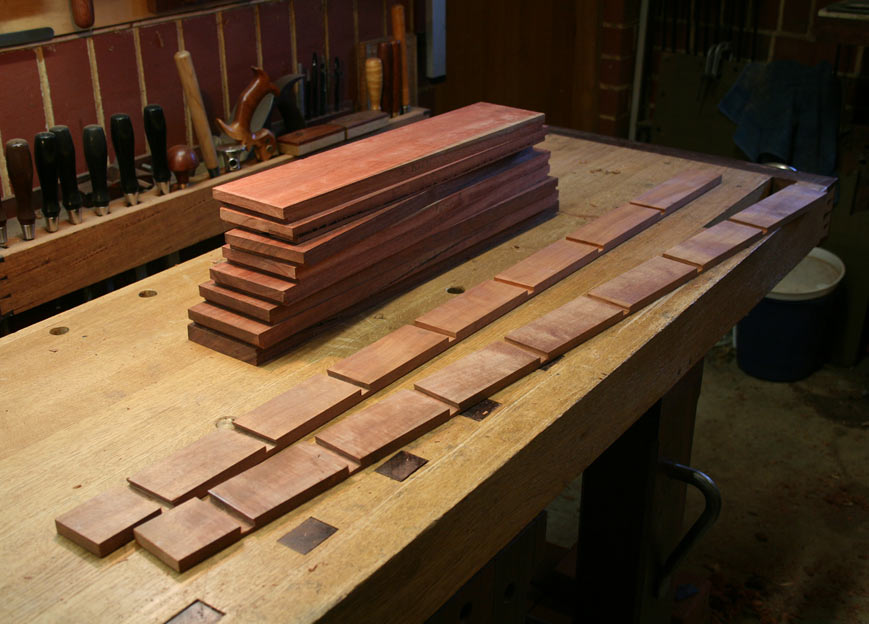
These are all about to be ripped into two sections. The drawer blades are separated into front- and rear blades approximately 48mm wide each. The fillet is separated into a 25mm width for the front leg, and 20mm width to be added to the rear leg.

The ripped fillets, above.


Above: the front fillet (the lighter strip – it has not yet been given a finish) has been glued to the panel. Since the panel must be allowed to expand and contact, it will be encouraged to do so towards the rear of the carcase, where movement will not affect the fit of the drawers. To enable this, the rear fillet has been glued 3mm in front of the rear leg, thereby providing 3mm of expansion into the frame at the rear.

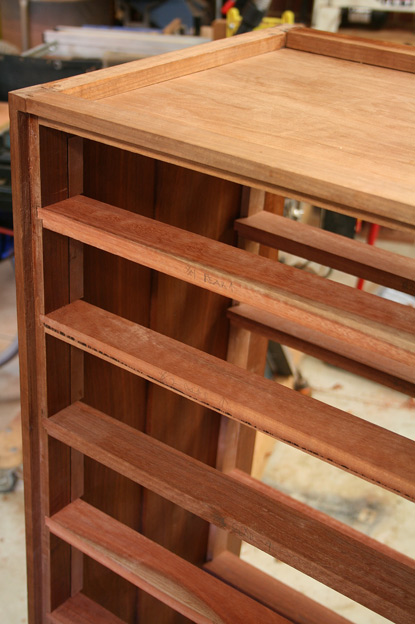
The drawer blades are now slid into position. And all fits both front and rear!
This is so reassuring as, with the drawer blades exactly the same length, the drawer space will be perfectly parallel. This will make fitting them so much easier than the alternative.
Above is the rear of the carcase.


Above is the front of the carcase. At this stage the housing into the front leg has still to be cut. This will extend the drawer blade 22mm into the front leg. The leg is 45mm deep. The bowed drawer fronts are 22mm thick. A bowed filler section will be glued to the front of the drawer blade.
Now since I am not going to be back to this project for a few weeks, I decided to put my energy into the rear panel for the chest.

This had been glued up some time back, and then set aside. The trouble is that this ¼” thick panel is in the way. It has to be kept in cauls to prevent from bowing, and that takes up space. In this picture you can also see small frames. These will be used to provide the case back will a finished, clean line.

The panel was sawn and planed to fit. At this stage it fits exactly and will be reduced for the narrow frames.


Above is one of the frames. These are ½” x ½”, with a ¼” groove for the panel. The frames are made from Makore, as is the panel. To be completed later.
Next up is to complete the front housings, which will create a stopped sliding dovetail. Then to complete this structure by adding the drawer runners. These will be mortice-and-tenoned into the blades (glued at the front only). This will be followed by shaping the bowed drawer fronts, since the bowed filler sections need to be fitted to the interior of the drawers and the shaping of these must follow the shape of the drawer fronts. Not much to do ...
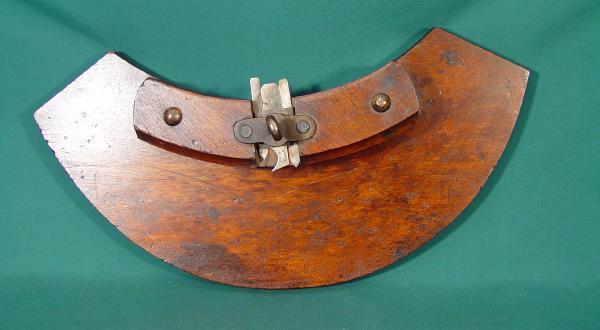
And, unless I can purchase one somewhere, I also may need to construct a cooper’s croze plane to groove the front of the drawers …
Something like this …
Regards from Perth
Derek
August 2015