Underbench Cabinet: The Rebate
A
rebate can be made with a handheld router, router table, table saw, a
handsaw and chisel, and a hand plane such as a moving fillister. My
preference is the latter.
What can be more simple than a
fillister plane along an edge? Well, the plane needs to be set up,
especially when planing interlocked grain, as we have here. And
before this can take place, the case needs to be prepared if the
desired result is an accurate - flush and square - rebate.
The
first step is to level and square the front and back edges of the
case. My plane of choice here is a small bevel up plane with a high
cutting angle. It is low like a block plane for easy handling, which
is helpful when the case is high on the bench ...
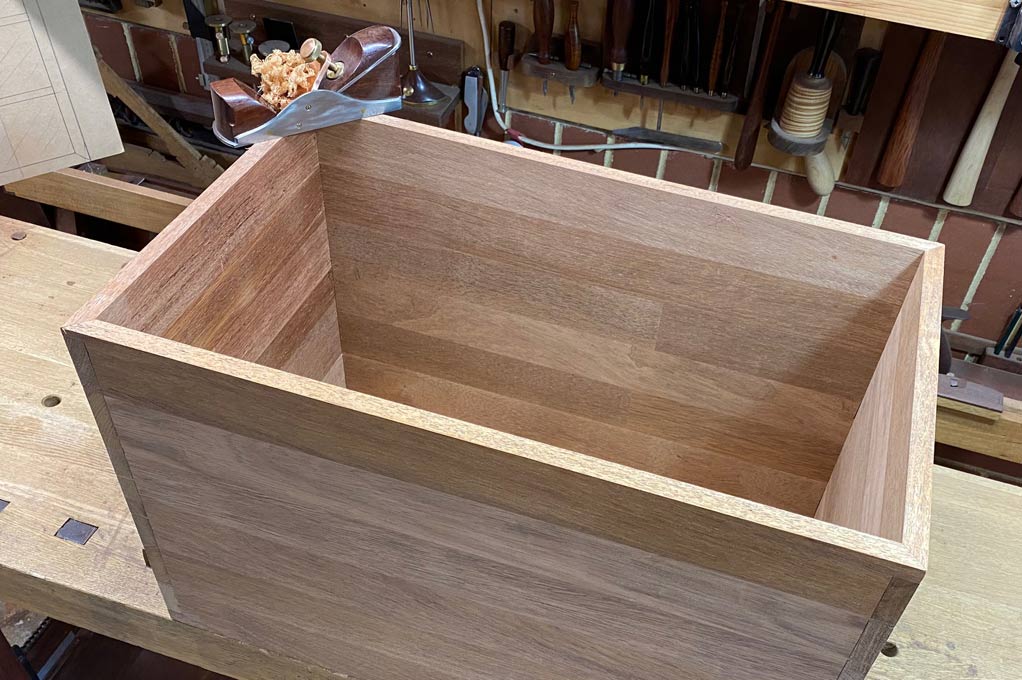
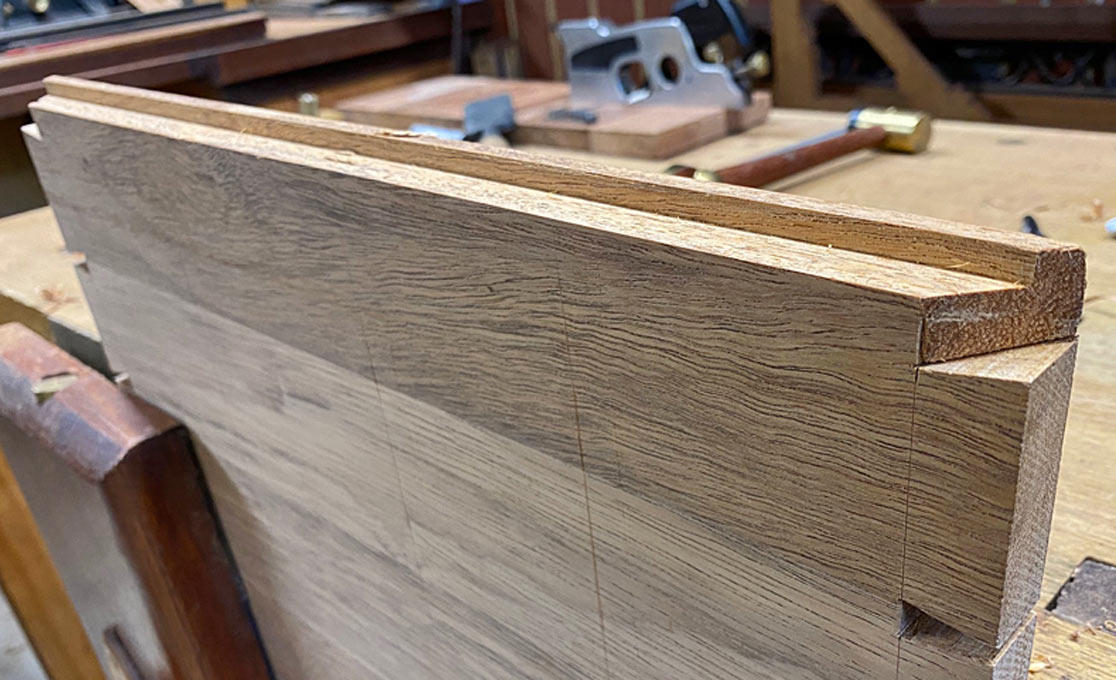
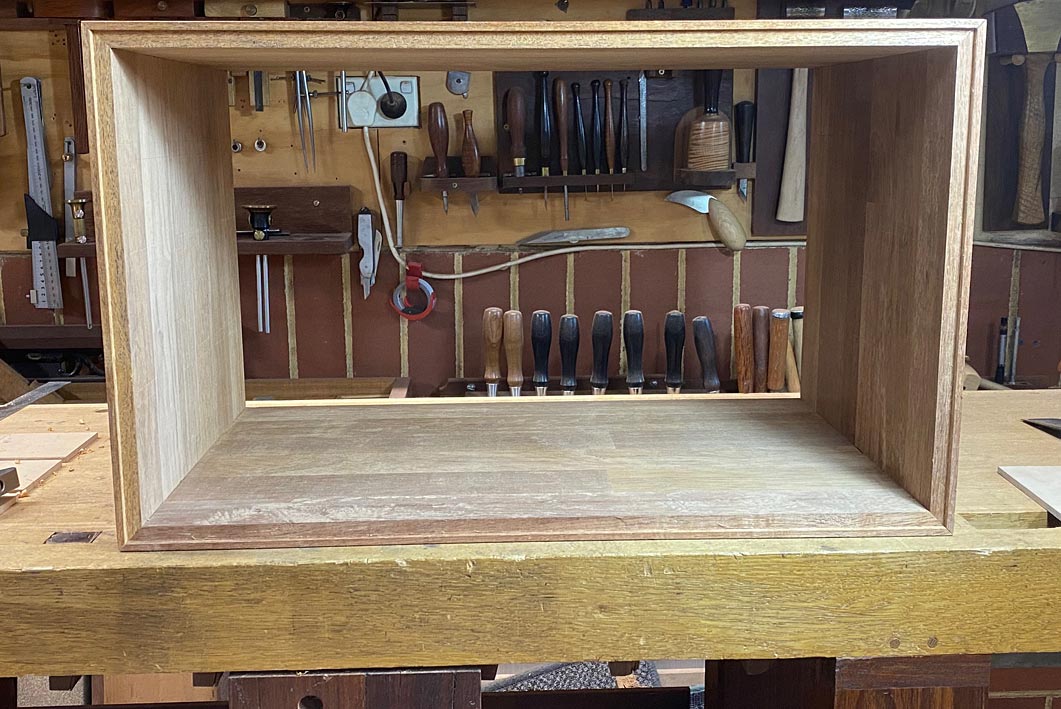
The case
is 18mm (3/4") thick. The rebate will be 7mm deep x 12mm wide.
This will allow for a 6mm thick rear panel.
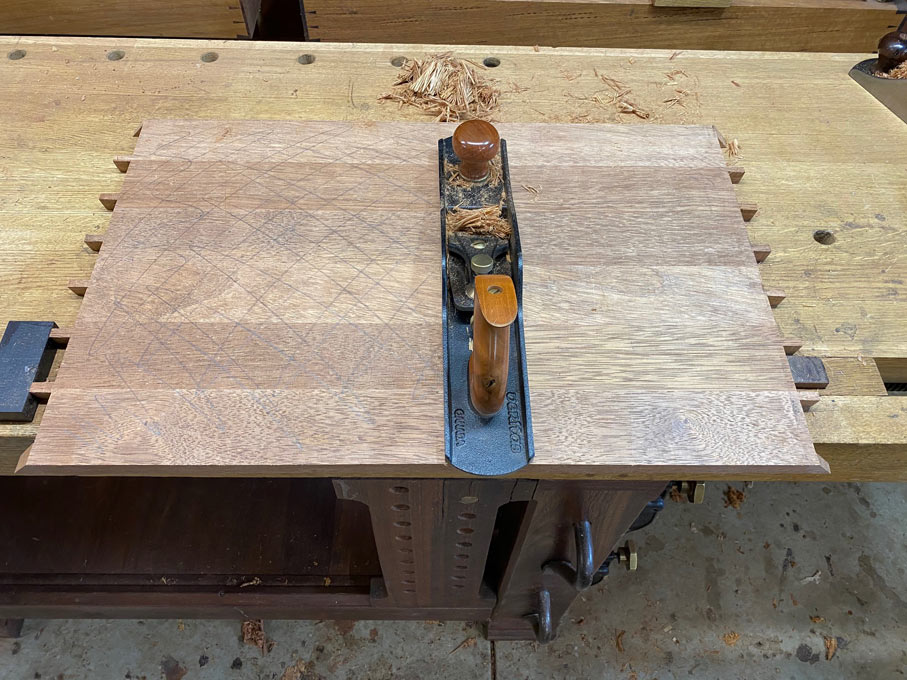
The cabinet will
have four rows of drawers, with the lowermost row running on the
bottom of the case. It is important that this surface is perfectly
flat in order that the drawers run smoothly. The boards making up the
sides were flat out of the packaging. Certainly flat enough for a
case, but not quite flat enough for drawers to run on with the level
of precision desired here. They need further work ...
The case
is pulled apart, and the lower panel is traversed. Note that the
surface is first covered in pencil scribble to monitor where the
high- and low points are ...
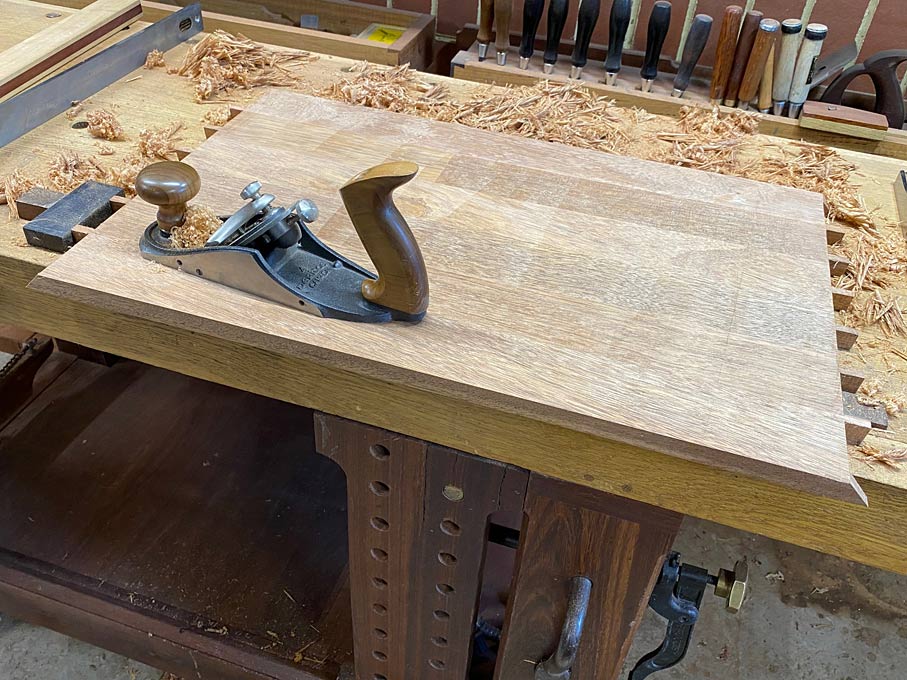
A straight edge and a longer plane are used here ...

The blade here is slightly cambered to avoid leaving track lines. A very light surfacing is completed with a smoother, more to remove any fuzz than to level ...
The moving fillister of choice is the Veritas Skew Rabbet Plane ...

Those familiar with this plane will note that the front knob has been removed. My preference is to rest my thumb on that spot and apply downforce, while the palm applies force against the side of the plane. Here is an example from another build ...

This fillister has a deeper subfence. The depth stop knob has also been slotted for ensure that it has been tightened securely ...

The plane is generally only set up to slice with the knicker ahead of the blade when planing across the grain. However, the Merbau used here has especially interlocked grain, and the nicker it employed to prevent spelching on the shoulders.
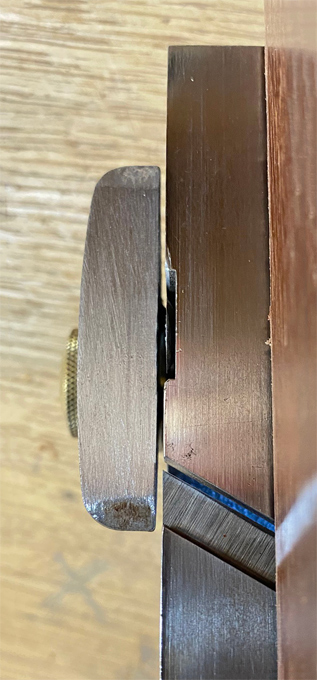
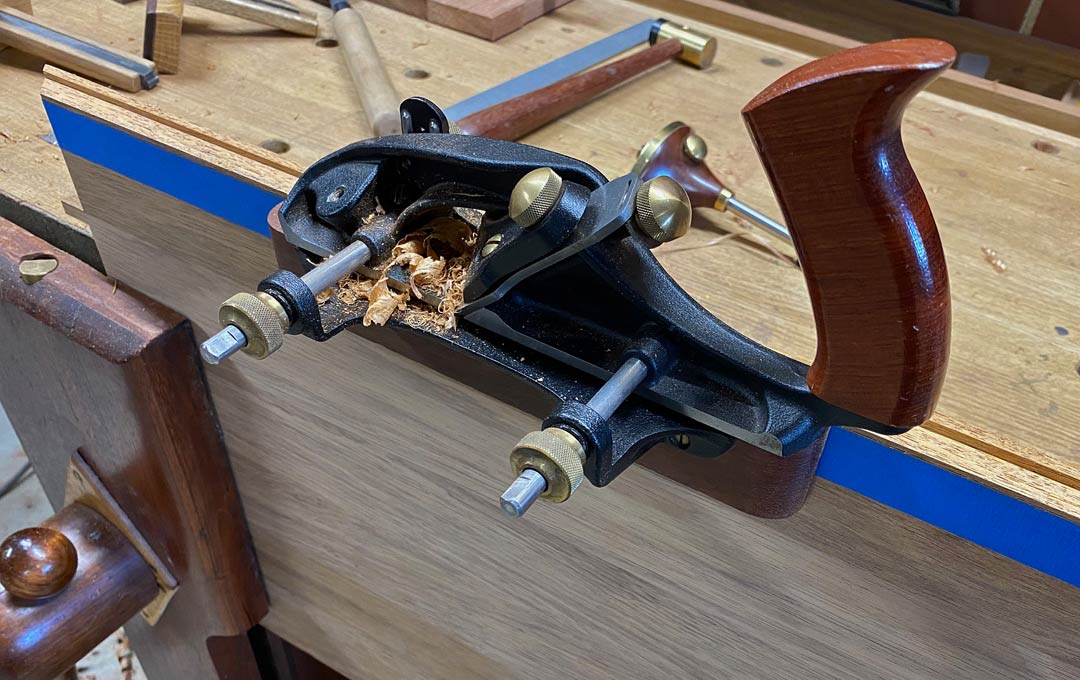
Here,
the nicker is a smidgeon outside the body of the plane. The skewed
blade lies in-line with the nicker. This has another purpose, which
is to cut into the lower corner of the rebate and keep it clean and
square. Otherwise it would allow waste to build there, and the inside
would create a slope.
In addition to the line created by the
nicker, a cutting gauge is run along the rebate boundary. This may be
used after or during the rebate is cut to clean out the inside
corner.
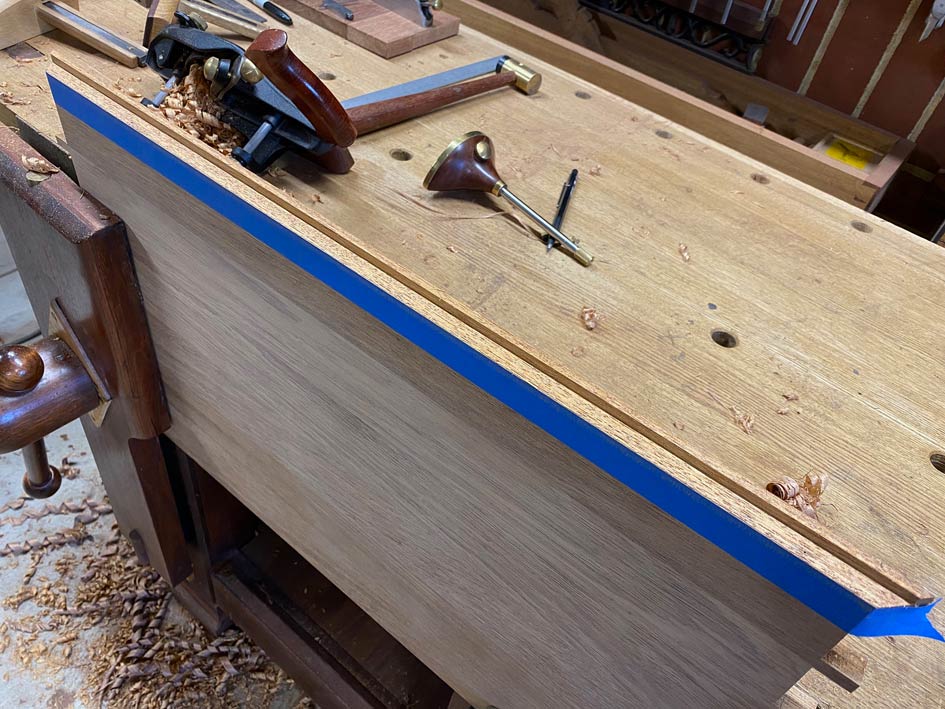
One last item of preparation is, following marking out
the rebate (again with a cutting gauge), the lower boundary line is
highlighted with blue painter's tape. This is simply to aid in
monitoring the plane as it gets close to the line.
This is
what the shavings from fairly straight-grained wood looks like ...
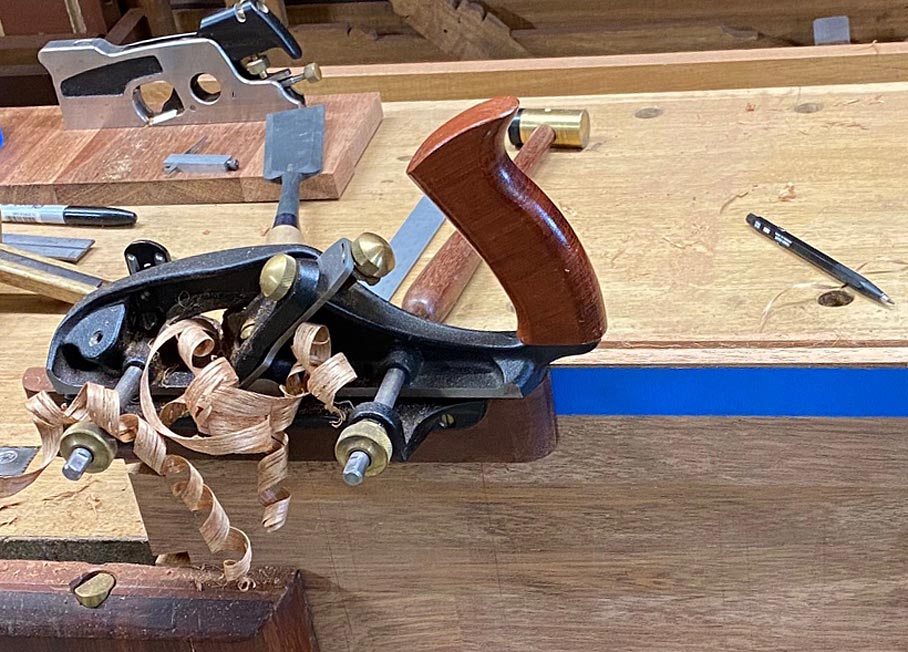
This is the result when the grain is significantly interlocked ...
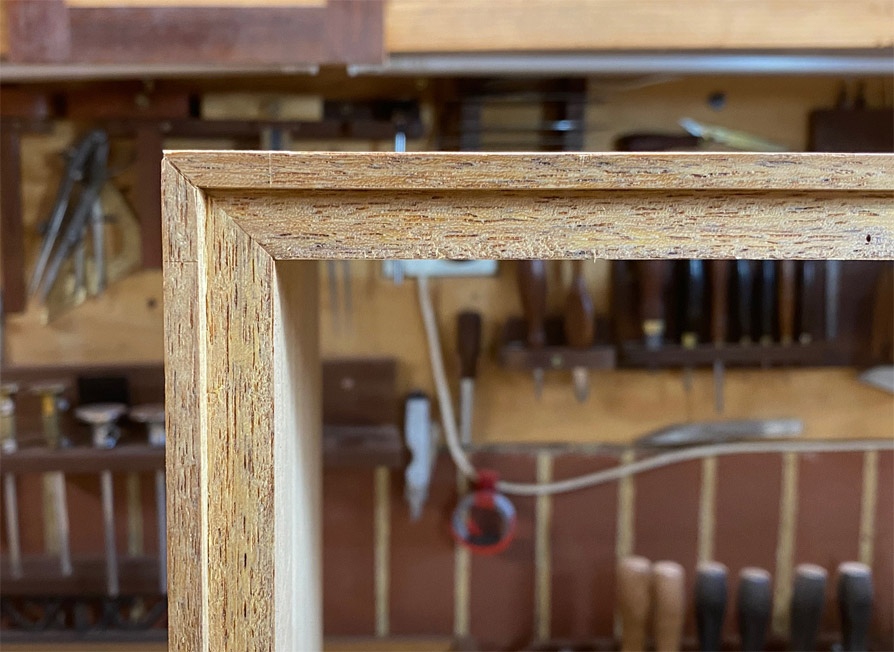
The case is dovetailed with mitres at each corner. There are two benefits for this: the first is aesthetic; the second is that it permits the panels to be rebated through the full length (otherwise stopped rebates are needed) ...
Here is a better glimpse of the grain direction ...
The case back is done ...
The finish we were looking for ...
Regards
from Perth
Derek
December 2020