
Back to Powered Tools and Machinery
Building a MFT: Part One – dog holes
While
I have a Roubo-style workbench and prefer hand tools ...
...
and have a Hammer K3 slider to take care of rip- and crosscutting
...

...
it has dawned on me that that a MFT (multifunction table) would
provide more than just another option for sawing - it could provide
an ideal small assembly bench as well as a bench for holding small
parts for routing and sanding. The balance was tipped when I recently
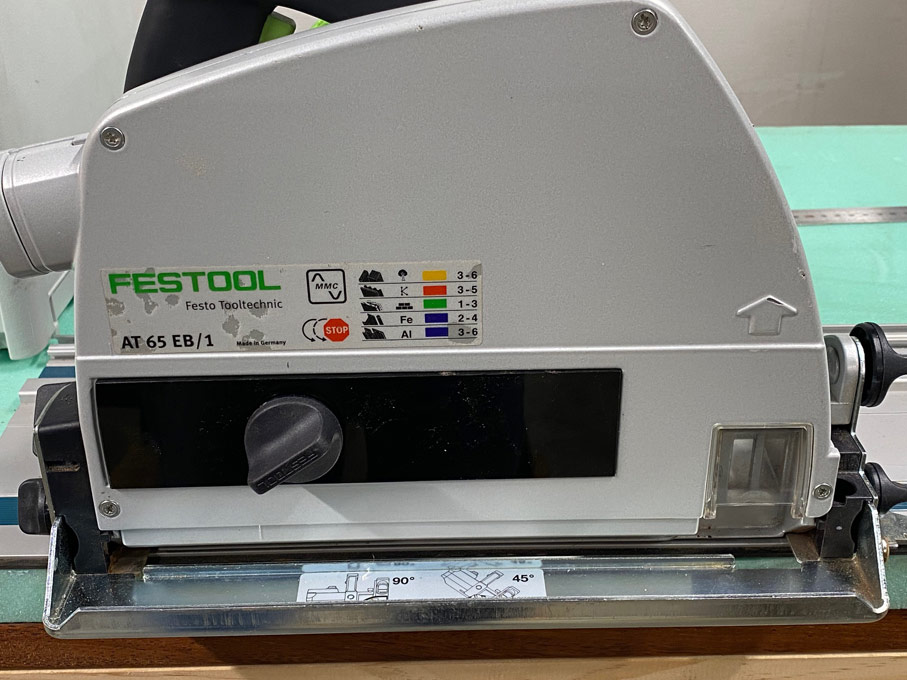
acquired a (new) Festool AT 65EB track saw ... 20 years old but used
once or twice at most.
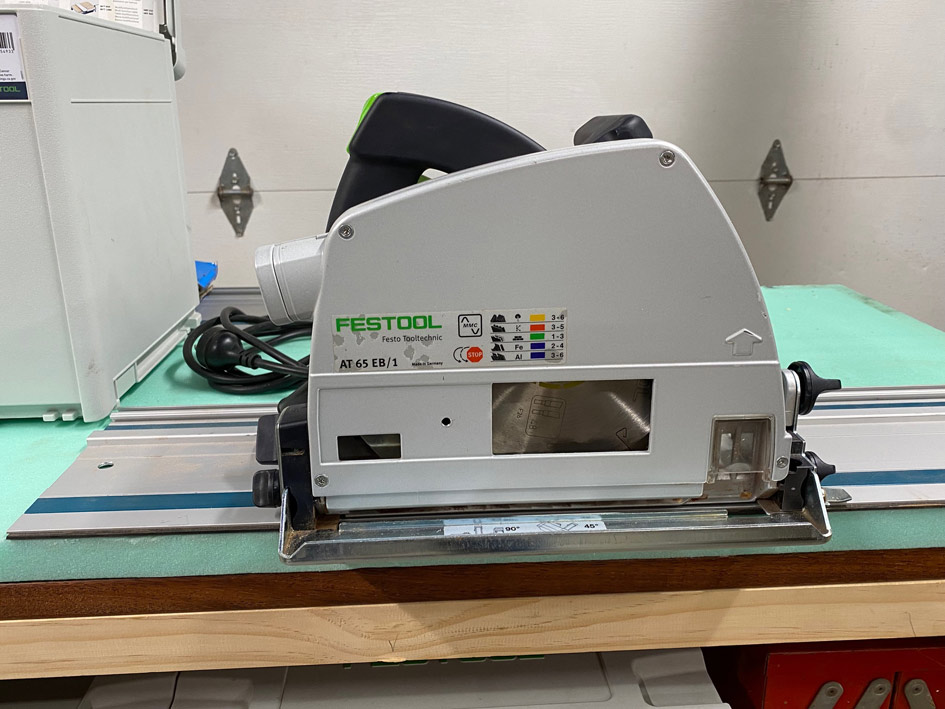
Incidentally, I made a dust cover from perspex for the blade-changing slot …
I
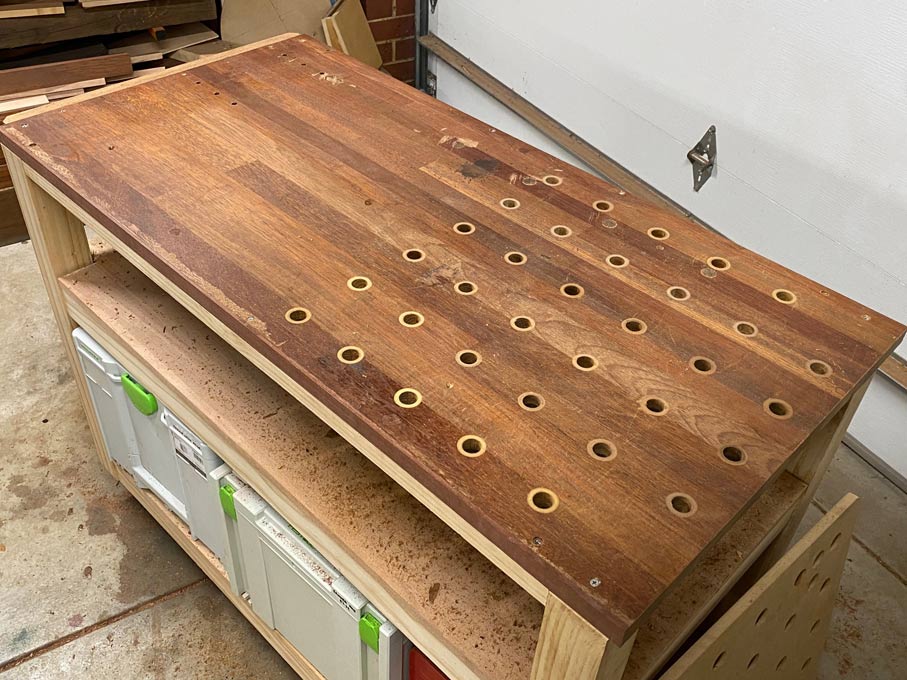
build a small workbench in solid timber: 1200 x 600mm pine frame and
merbau top. Although I have a Domino, the construction was
mortice-and-tenon. Since the top was not a standard MFT, it was
necessary that I drill the 20mm holes. These were to be 96mm apart,
as with the original Festool MFT.
There are basically two
methods to make one's own: the UFK Parf guide (drill), and the Trend
template (router). The cheaper Trend template is $300 in Australia.
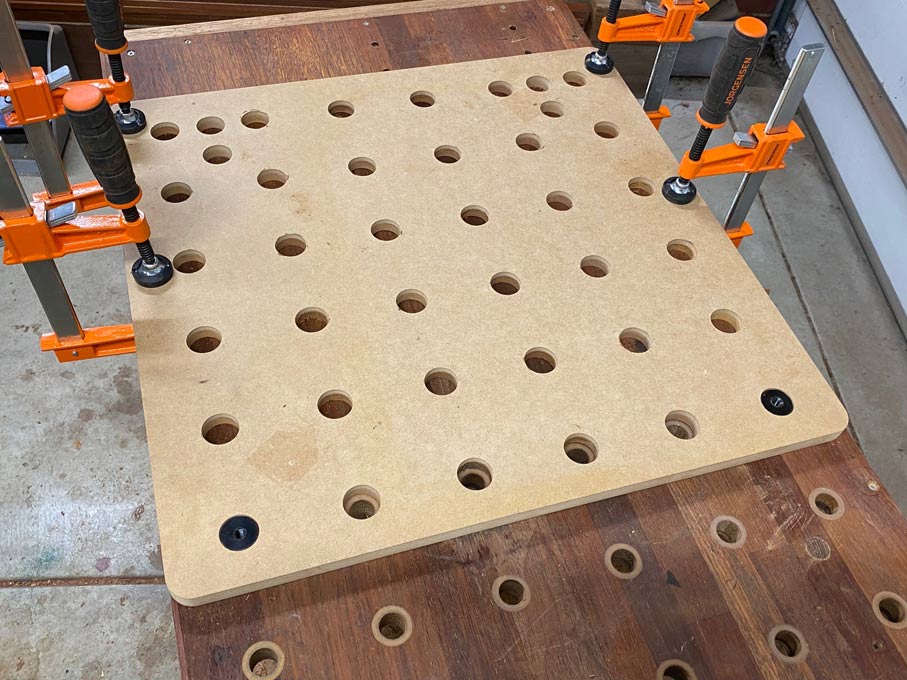
Fortunately, I was offered the opportunity to make a template by a
Australian forum friend, Nick, with a CNC. This went one better than
the Trend, by doubling it in size. The template has 30mm holes and is
used with a guide bush and 20mm router bit to create the 20mm holes.

The
bench top was prepared by ensuring all sides were square, and then
the template was squared to the front and right side ...
My
old Elu router is at least 25 years old. It used a 30mm Trend guide
bush fitted into a custom made adapter ..

The
router bit is a Trend 20mm ...

I
was also very pleased to see how well the dust collection worked. The
Elu did not come with dust collection - this was not important 25
years ago! - and I adapted the fitting from a Dewalt to fit it.


Once
all the holes were routed ...
...
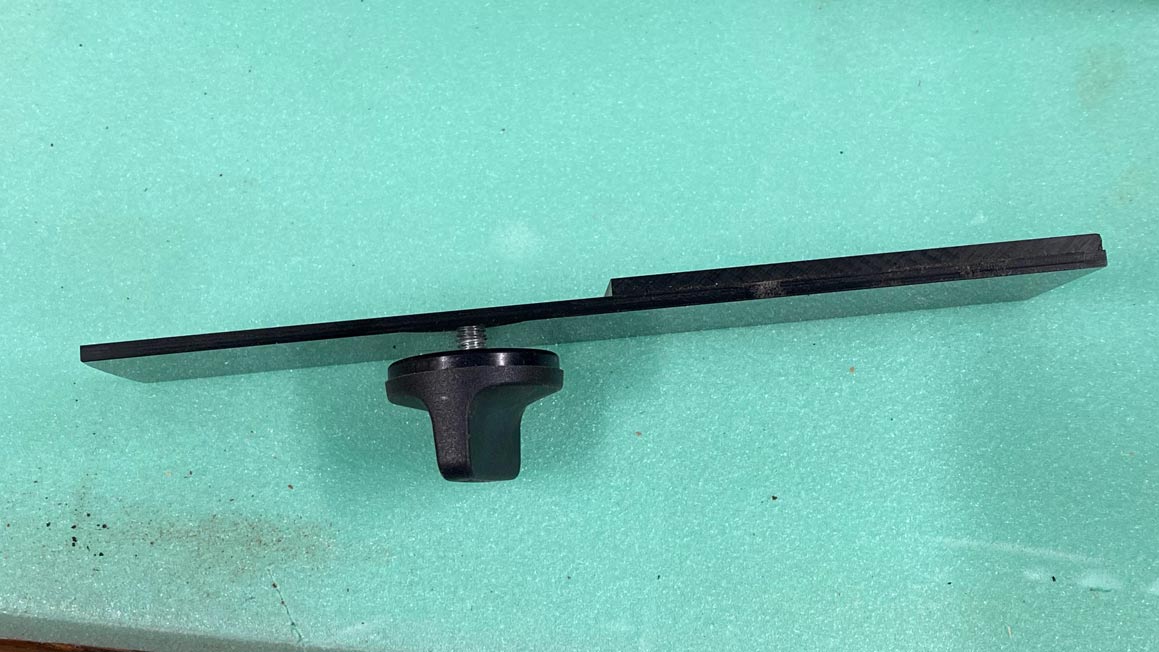
the template needed to be moved to complete the bench top. This was
facilitated by two dogs which my friend had thoughtfully made for
this purpose ...
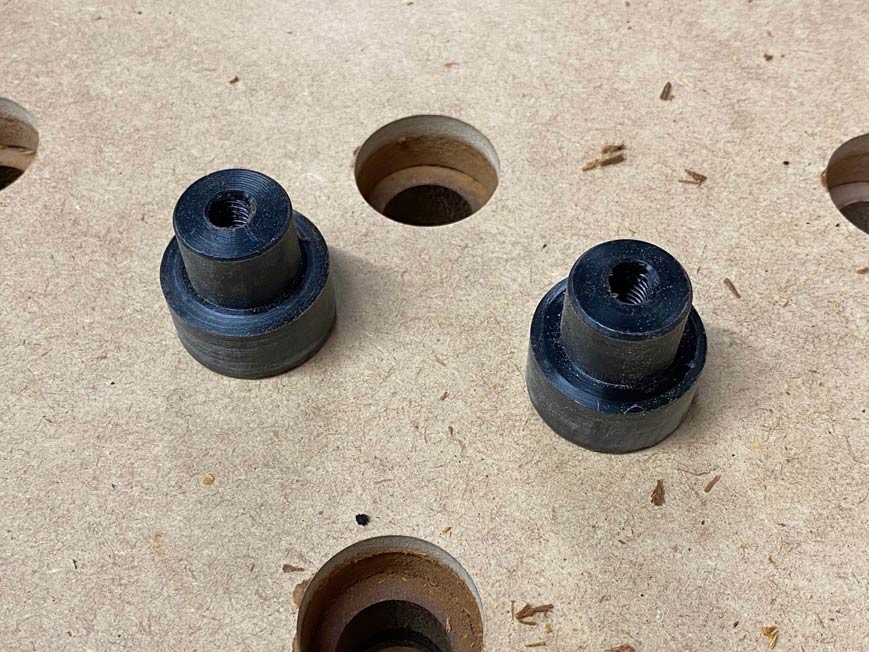
The
dogs are fitted into the existing holes to align the pattern ...
The
remaining holes were drilled.
It only then occurred to me to
check the bench top for flat - I should have done this earlier,
although the top was flat when I first put it together. There was a
0.5mm gap at the centre, and I decided to plane it flat ...

The
top was then sanded(80 grit) ...
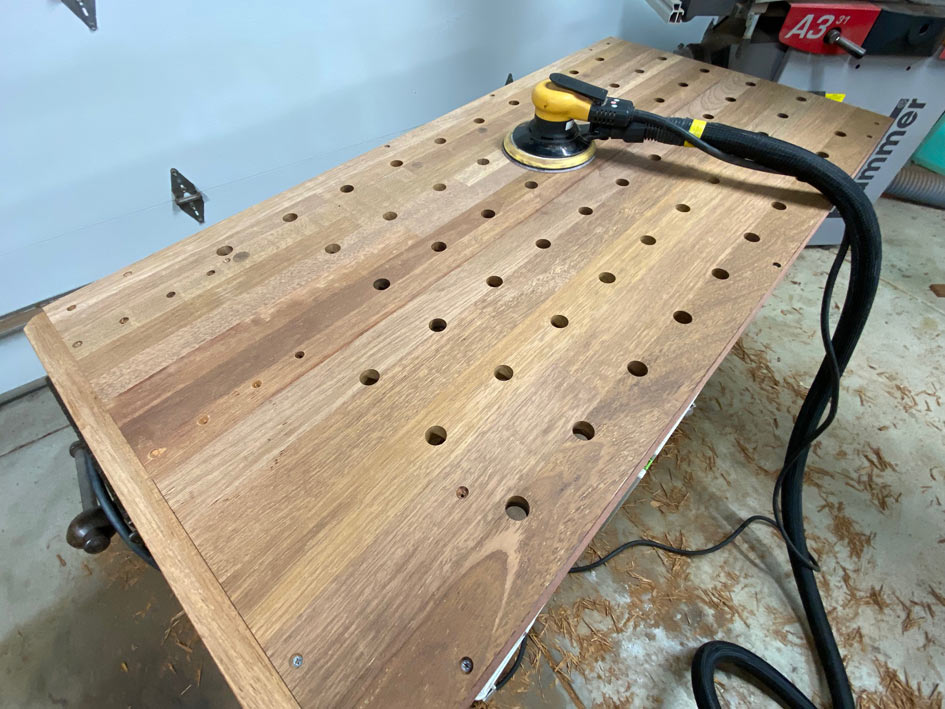
...
all is flat ...
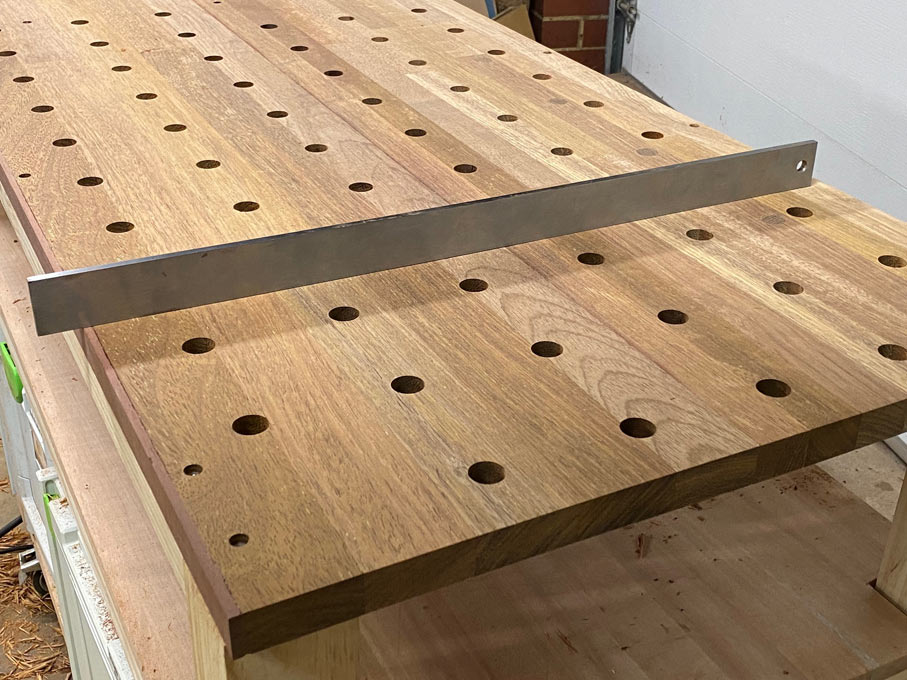
The
holes received a fine chamfer ...

...
and the right side was bevelled at 20 degrees.
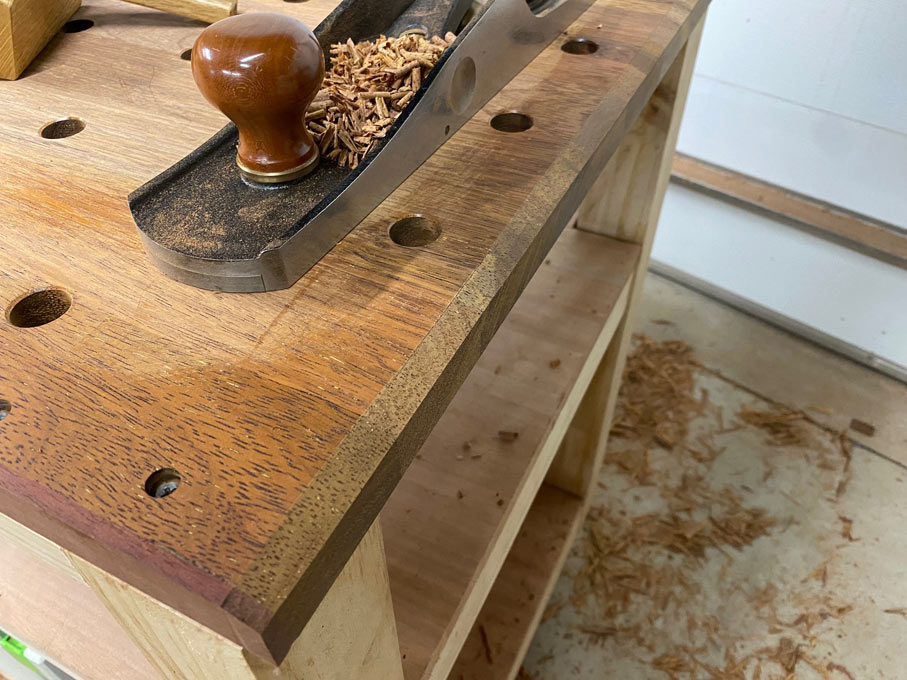
The
reason for this is that the bench will also act as a outfeed for the
jointer/thicknesser-planer and sliding tablesaw ...

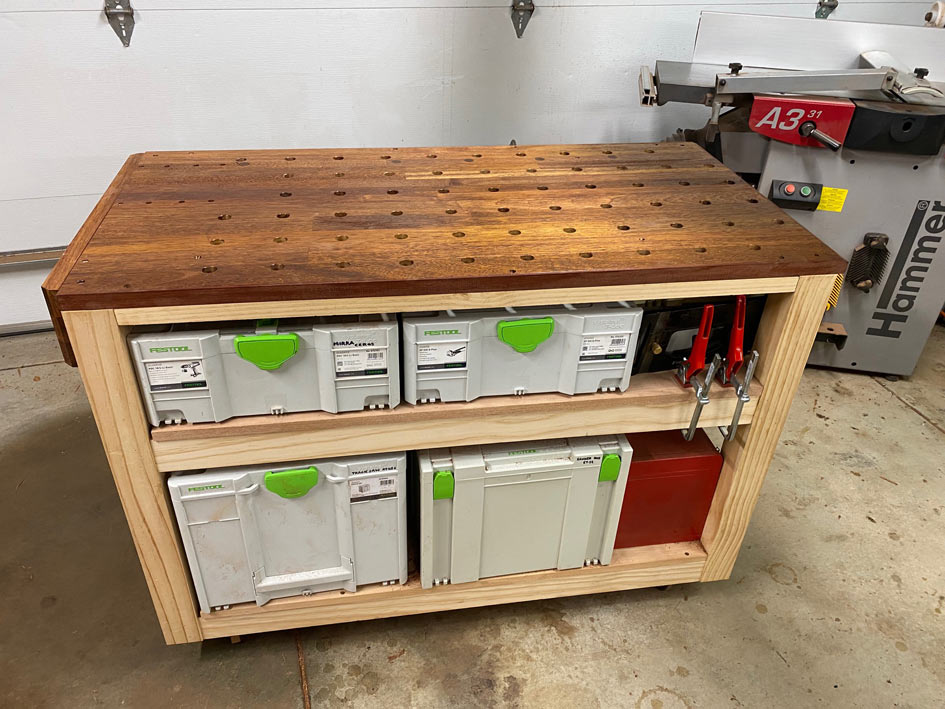
Finally,
the top received a coat of flat poly to protect it during glue-ups
..

Regards from Perth
Derek
December 2022