
Chisel Paring – 6 Steels
For this second experiment I included six ¾” chisel steels: A2 (Blue Spruce), O1 (Stanley 750), White Steel (WS or K – Koyamaichi), and the three powdered metal (PM) steels supplied by John Payne – CPM M4, CPM 3V, and CPM 10V. These were the same 5 chisels from the first experiment, along with the addition of the A2.
So as to make direct comparison against the focus in the first experiment, which dealt with impact resistance, this experiment maintains the bevel angles used previously (30 degrees for all, with the exception of the O1, which was 25 degrees). The A2 was honed at 30 degrees.
There are a few factors to clarify to facilitate others reproducing the conditions of this experiment. These are to grinding and honing methods, bevel angles, and the method of testing the paring ability of each chisel steel.
Grinding and honing
Should the PM steel prove to have a significant advantage in edge-holding, the big issue with be in edge-taking. In other words, if these chisels require too great an effort to achieve a sharp edge, then they will not be worth serious consideration. One of the attractions of O1 and W1 steels is that they are easy to hone on basic media, such as oilstones, waterstones and sandpaper.
Allied to this is the ease or difficulty in grinding a primary bevel. The PM steels are rated highly for abrasion resistance, and this includes resistance to grinding wheels. We know that PM steels respond well to honing on diamond, but the question is whether they will work acceptably with the same equipment used for O1 and A2 steels.
For this experiment I chose to use a Tormek wet grinder with its original 220 grit wheel. The advantage of this machine was that I could create a hollow grind with an accurate and repeatable primary bevel angle.
My observation was that the O1 and A2 were noticeably easier to grind on the Tormek. The laminated WS was close behind, with no real, significant difference separating them.
The PM steels had established bevels at 30 degrees from the first experiment, all nearly flat by this stage, and consequently these were re-hollowed on the Tormek. This process was quite rapid (and much more quickly than I had anticipated). Indeed it was not that much more difficult than the non-PM steels, however I was aware that some extra effort was needed with the latter. The exception here was the 10V, which was as much more effort over the 3V and M4 steels as these were over the non-PM steels.
The difficulty in grinding the 10V steel cannot be overstated. Pre-empting the results, the relevance here is that the 10V suffered poor performance overall, and this is very likely due to the difficulty in achieving as sharp an edge as with the other steels. This reinforces the notion that a durable steel’s Achilles Heel is the difficulty with which it gets sharp. There is not much point in using durable steel if one cannot sharpen it sufficiently.
The Methodology
Below are the chisels used in the research. From left to right:
10V, M4, 3V, WS, A2 and O1 …
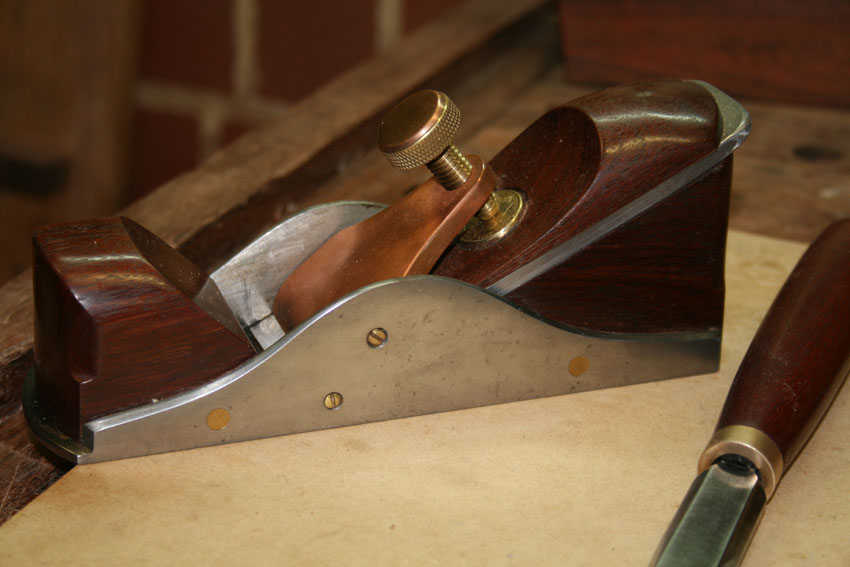
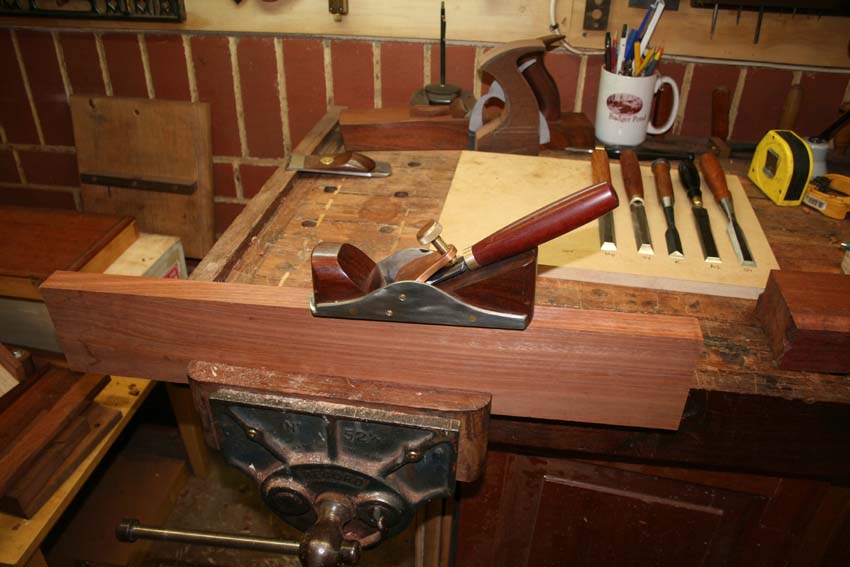
I used a BU infill plane, one I built a few years ago, to regulate the paring. This has a 25 degree bed. Chisel blades were swapped for the plane blade …
… and run along the edge grain of a reasonably straight-grained example of Jarrah (chosen for it abrasiveness).
Below is an example of the shavings obtained. In this case the shaving is from an A2 Blue Spruce chisel.

The procedure initially involved taking 25 shavings with each chisel. At the end of this, each chisel would pare a short length of end grain Pine to examine its sharpness in a real world setting. This period of paring was extended, first by a further 50 strokes, and then by another 50 strokes.
Initial sharpening
All the blades were sharpened to 0.5 microns. In the case of the non-PM steels, this was initially completed on 1000/5000/12000 Professional Shaptons, and finished on 0.5 micron diamond paste. The PM steels were honed on 40/10/0.5 micron diamond paste on cast iron plates.
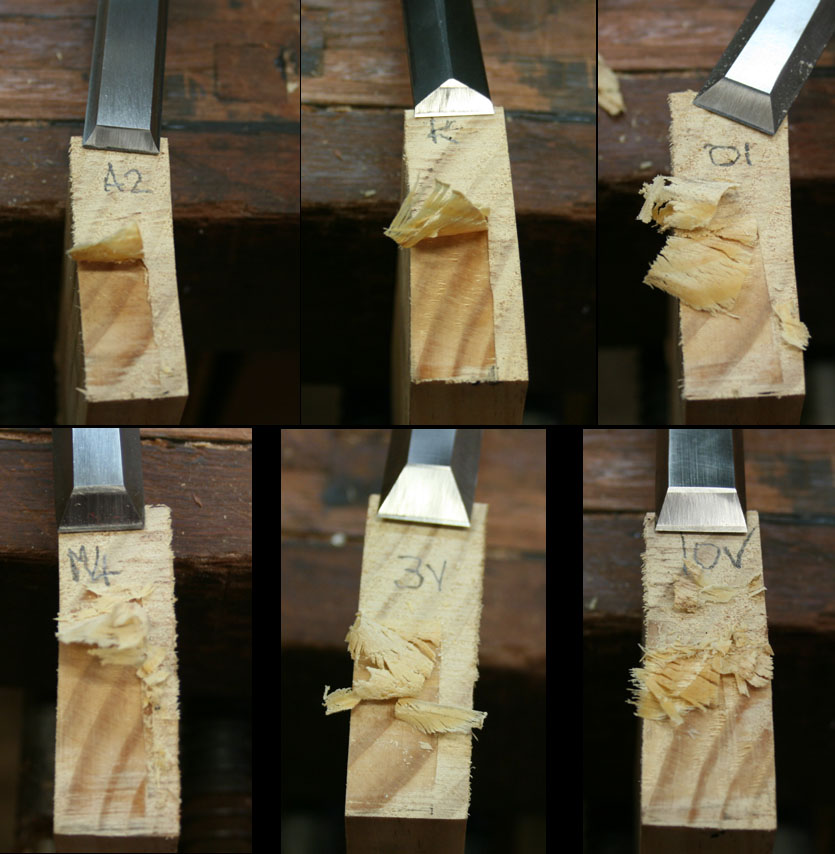
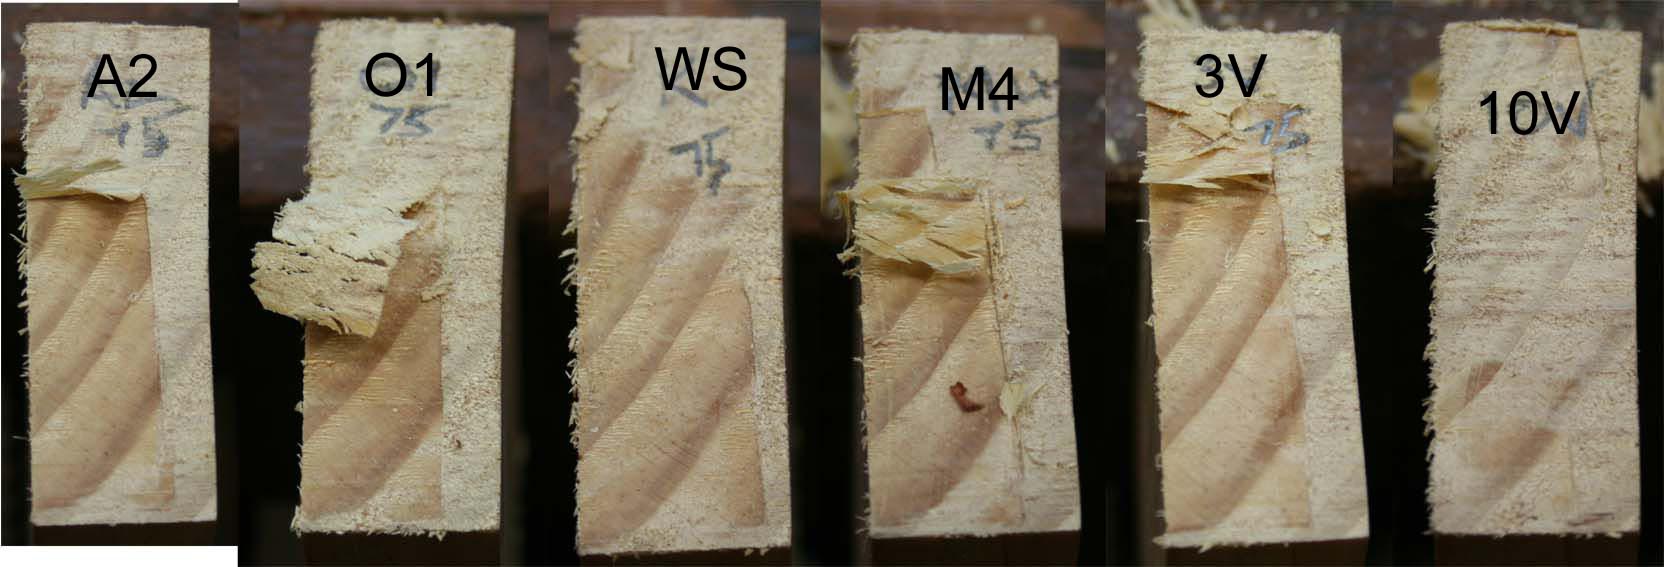
Below is visual evidence of their ability to pare end grain Radiata Pine. All the chisels completed this with much ease, with the exception of the 10V, which pared well but I could experience a touch more resistance than with the other blades.
Sharpness at 25 strokes
At the end of 25 planing strokes all the chisels bar the 10V were working well. No chisel stood out as clearly sharper than another and one would be happy using any of the blades with which to work. Because at this stage it was difficult to separate the blades, I progressed a further 50 planning strokes to 75.
Ratings at end of 25 (best to worst): WS (or K), O1, A2, 3V, M4 and 10V
Sharpness at 75 Strokes
At 75 strokes the subjective order of ease in paring had shifted to (best to worst): M4, 3V, A2, O1, WS (skipping a little now), and 10V.
It was apparent by the end of 75 strokes that differences were beginning to emerge, and so I continued on for another 50 strokes to a total of 125 shavings in all. The 10V was not used from this point on.
Sharpness at 125 strokes
After 125 strokes the 3V was taking the best shavings of all blades. The M4 shaded the O1, which was taking shaving more easily than the A2. The latter, in turn, felt easier to use than the WS.
Ranking: 3V, M4, O1 A2, WS.
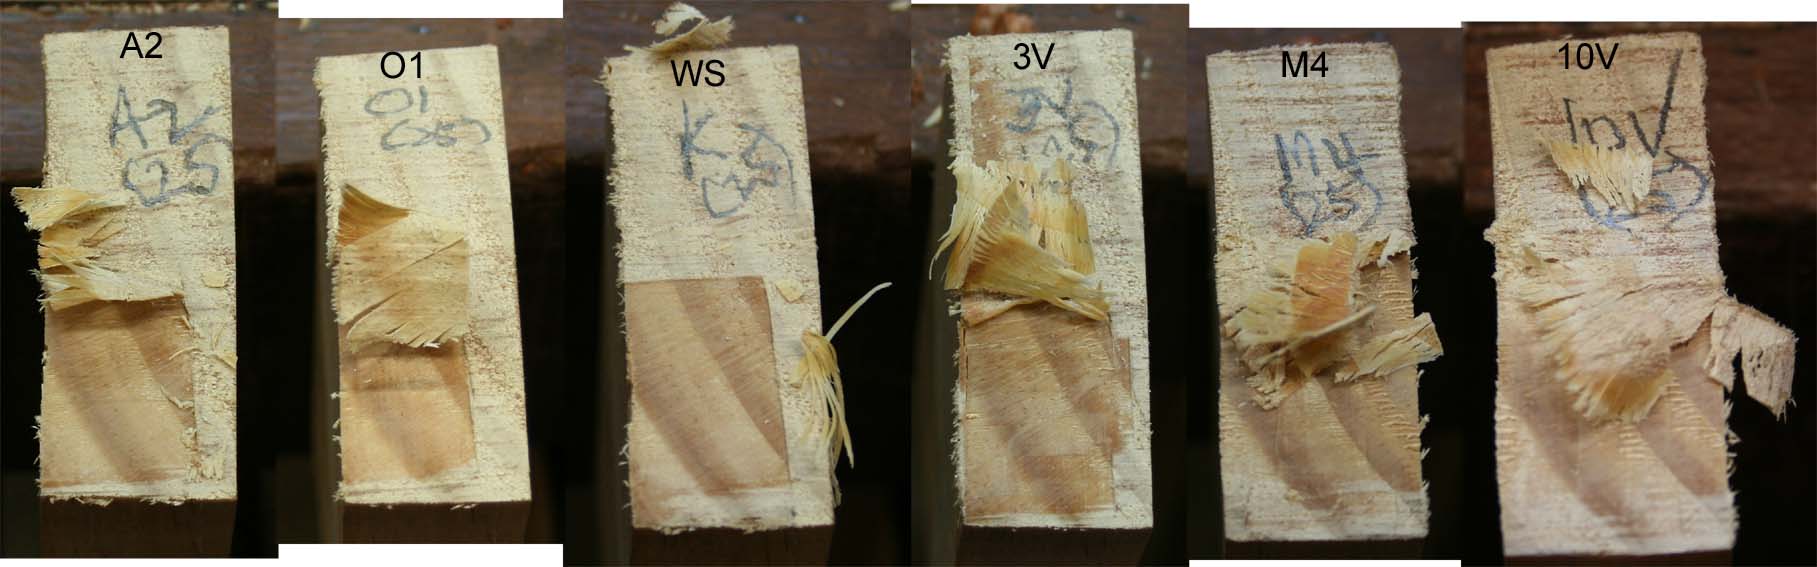
Ratings at end of 125 as evidenced by the final photos of pine end grain paring (best to worst)….

In addition to the use of Radiata Pine paring, photographic evidence was sought at the end of the 125 strokes. I used a Digital Blue series QX5 Computer Microscope at 200x magnification.
I must confess that I find it difficult to interpret the images. They are not as detailed as I hoped they would be. Interpretations are offered, but I am hoping that others will offer their comment here.
Bevels at 125 strokes
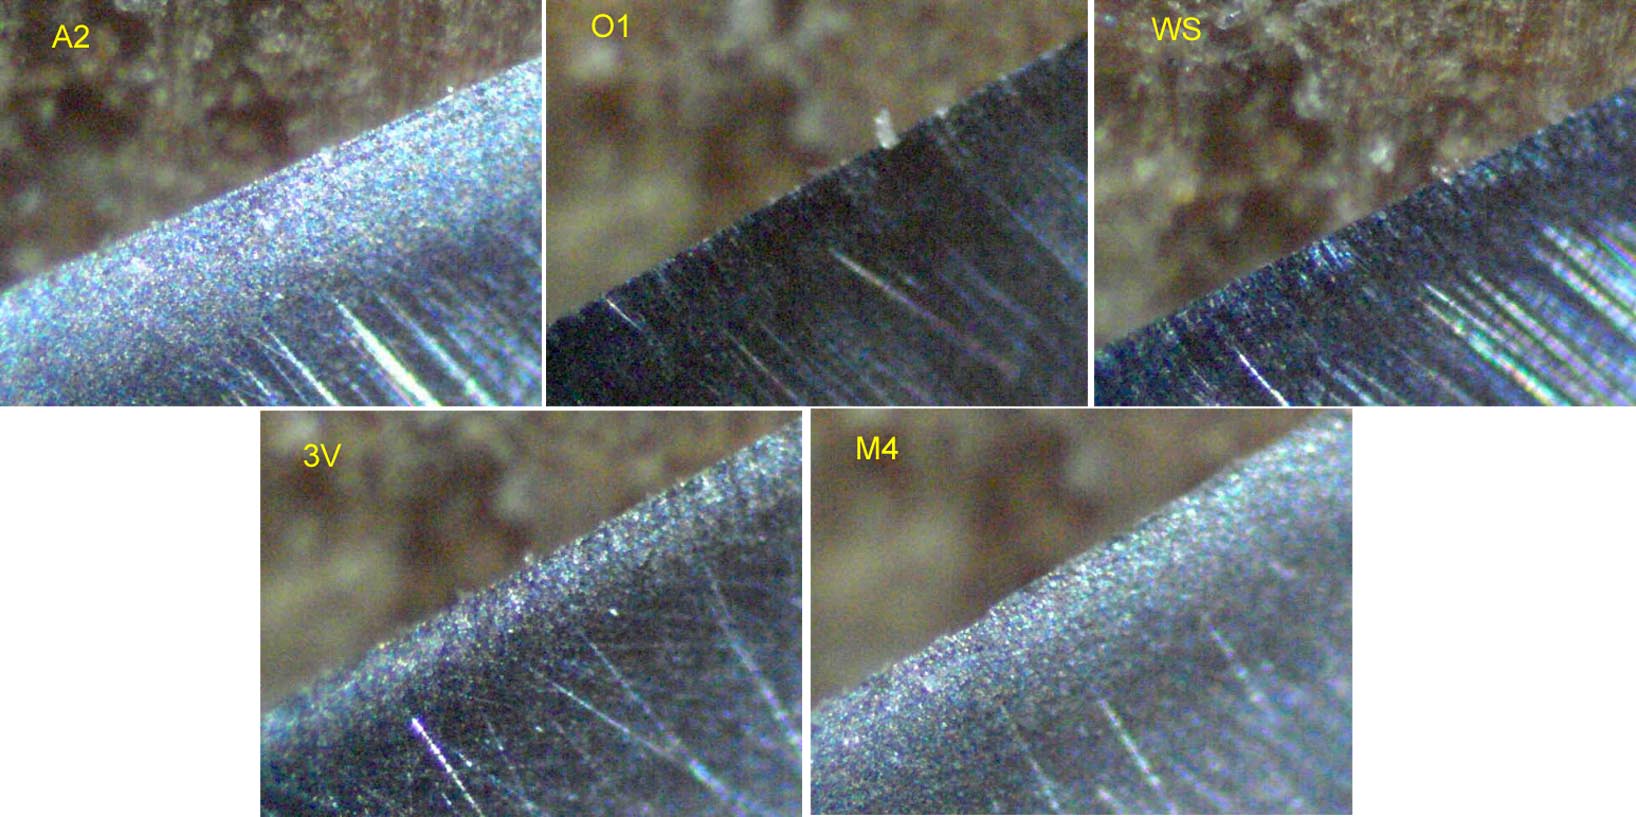
Observations: No obvious chipping evident. I am not sure if the coarseness at the bevel edge on the images of O1 and WS represents a loss of sharpness (that is, a loss of smoothness)?
Blade backs at 125 strokes

Observations: No significant chipping or folding on any of the blades. Minor chipping on the O1. There is evidence of greatest edge rounding on the 10V.
In Conclusion
Taken overall, 10V struggled to hold an edge over the duration of the test. I strongly suspect that this was due difficulties in creating a good edge at the outset. This highlights the major drawback in using this steel, and it is doubtful that the average woodworker would see any advantage here. I cannot recommend 10V as a steel for woodworking blades.
In the initial stages the laminated WS appeared to take the sharpest edge, better than any other blade in the test, but it did not hold this as well as the M4 and 3V blades. The latter made up for this by holding a “good” edge longest.
With the memory of the WS’ strong performance in the chopping test, the question is whether the construction of bench/dovetail and paring chisels are similar?
The A2 and O1 blades were almost as good as the WS, really only a little behind. I’d place the O1 fractionally ahead of the A2 in the first 25 strokes and at the end of the experiment. The extra durability of the A2 was not evident in this assessment.
Clearly, the non-PM blades were easiest to get sharp, and this helped in their strong performance early on. While they could not sustain this as well as the PM blades, their performance was not far off the pace, and possibly close enough that many may question whether PM steels are enough ahead of the game to warrant their use.
Regards from Perth
Derek
May 2011