Back
to Building Furniture
Hinge
Morticing
It
is said that the devil lies in the details. That is, a project can be
made or broken by the way small details are handled.
I was
installing the hinges in the cabinet doors today and it occurred to
me that my way of doing so may not be the best way. I think the
method works OK, but I do wonder if others do it differently, and if
so, how?
So I put together a detailed sequence of photos for
the examination of the wise heads, and await a critical review.
We
begin with the doors adjacent to the side frame.
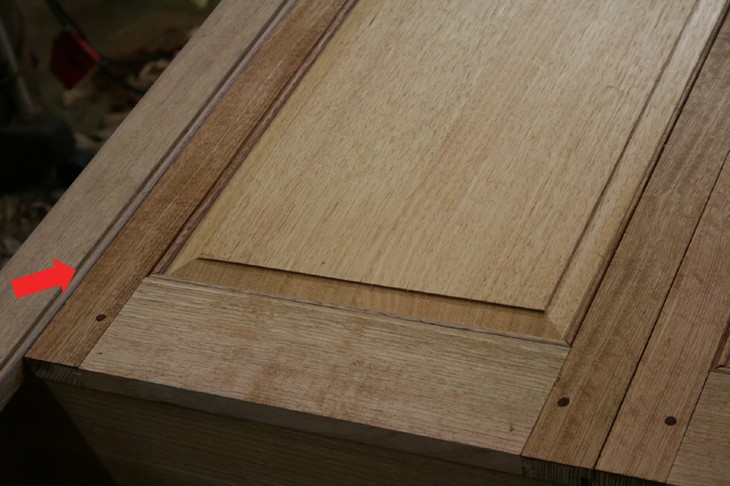
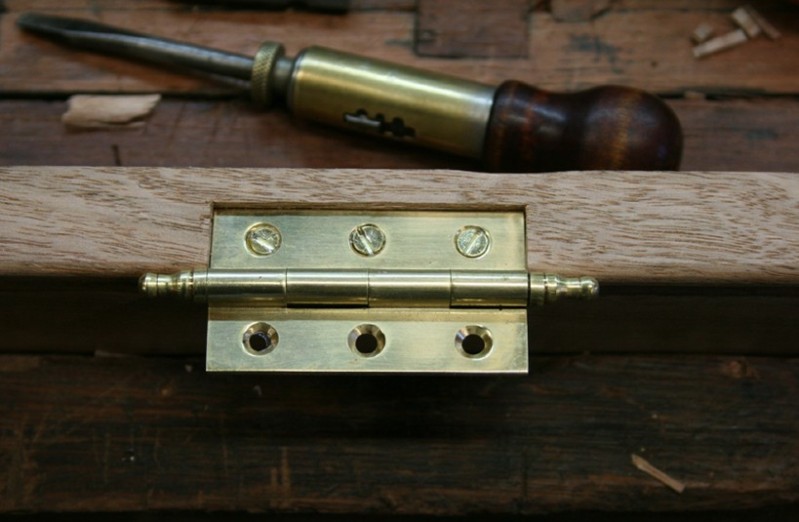
I
mark the position on both frame and door with a small knife stroke.
This lies in line with the lower edge of the bead.
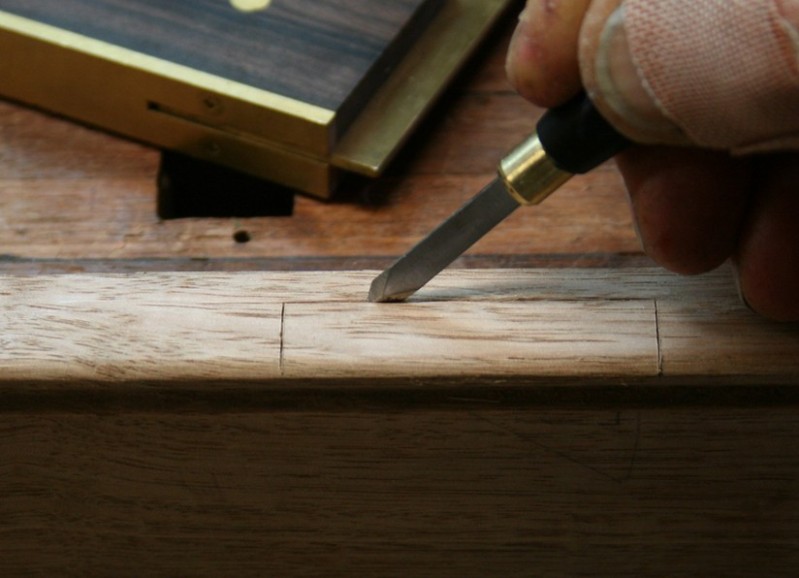
The
work proper begins with knifing both sides of the hinge
..
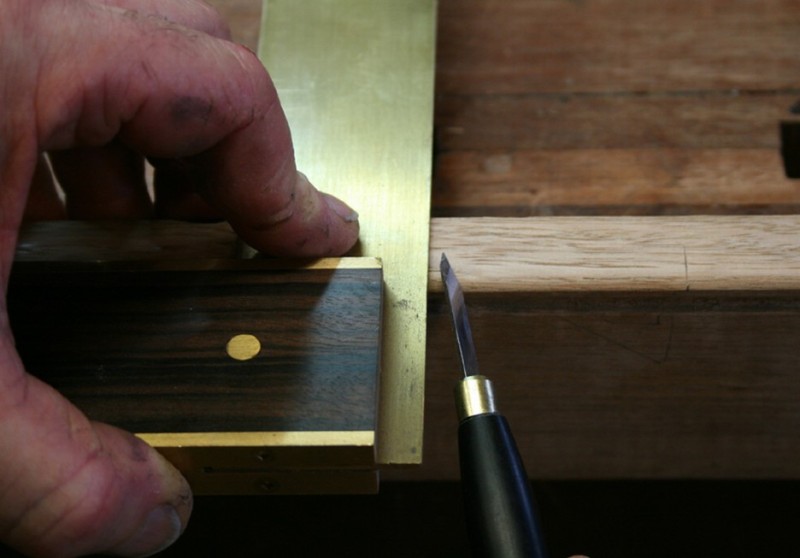
Then
the baseline of the hinge is set on a marking gauge. This is the
width of the leaf.
Now
I set for the depth of the mortice. This is more critical since too
shallow a mortice and the gap between door and frame is too large,
and too deep a mortice and the door will not rotate. The full
thickness of the hinge (including the joint) is 6mm. I have set the
gauge for a depth of 2 ½ mm. That will leave a gap of 1 mm
between the door and the frame.
Knife
the outline as deeply as possible. Use light strokes at first as a
sharp knife will want to follow the grain. Increase pressure as you
increase depth.
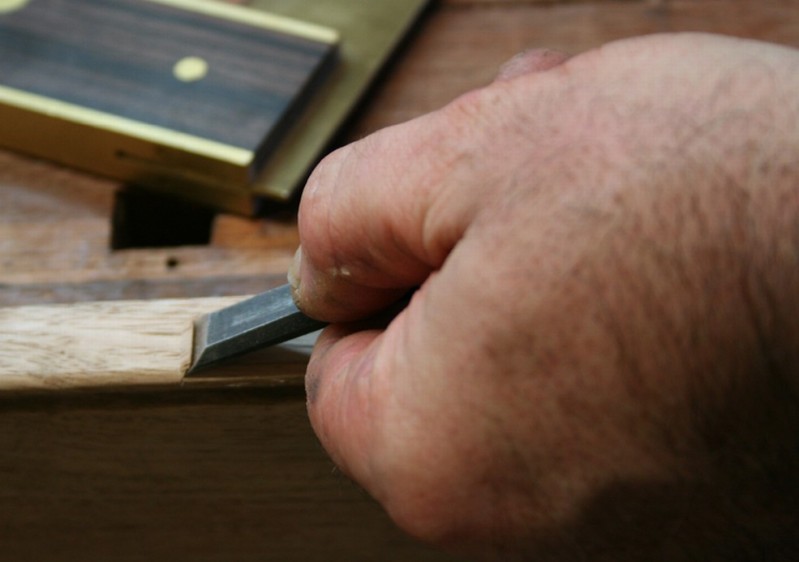
Now
chamfer the inside edges of the mortice. This is to move all
chiselling inside the mortice and away from the sidewalls (which you
want to preserve at all costs).
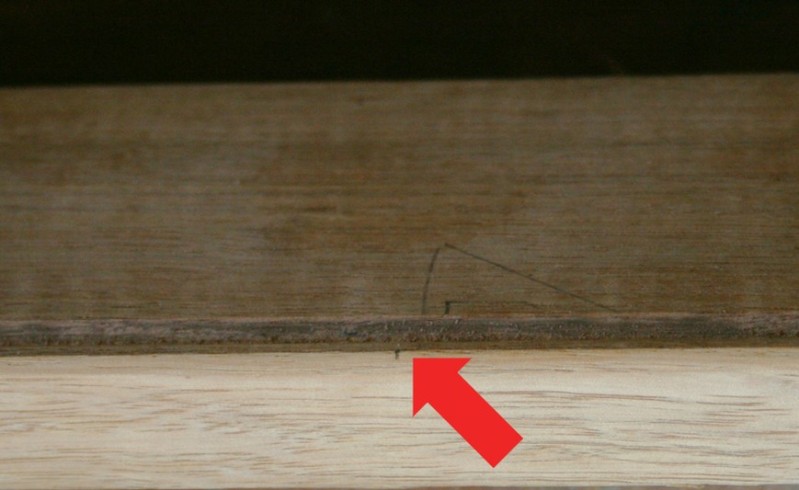
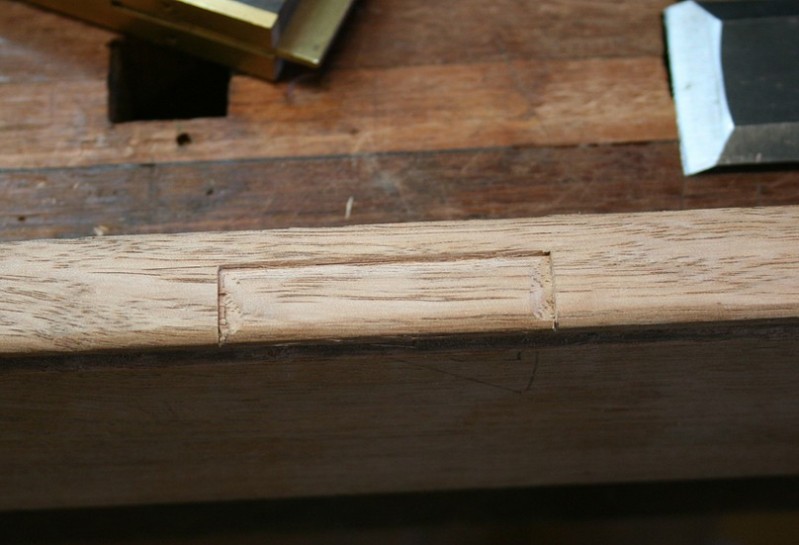
This
is what it should look like (well,
I’ve had it a lot crisper looking – this Tassie Oak has a
high degree of interlocked grain going in all directions, and walls
crumble just where you do not wish them to – keep an eye on
grain direction as you knife the lines)
…
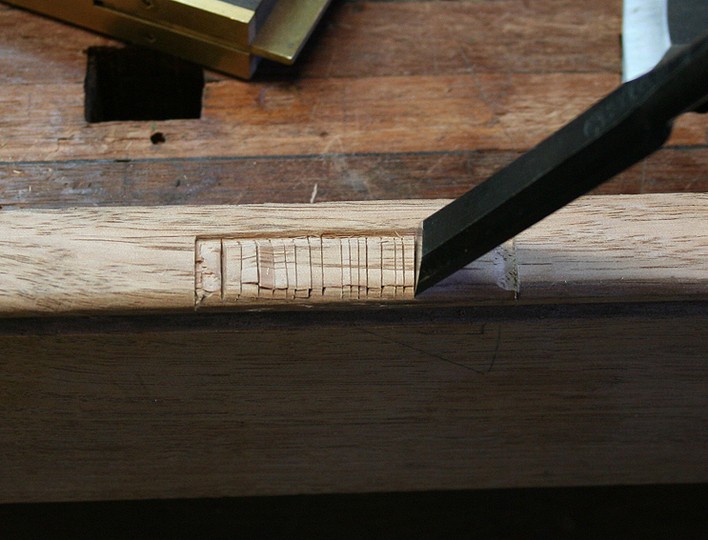
Next,
kerf the surface with a chisel (I aim to go about half the depth of
the mortice).
Note:
I think that hinges look better when they end up flush with the
surface, but in this case they were required to be set deeper to
accommodate the wider-than-average barrel.
I
remove this – carefully! – with a paring chisel ..
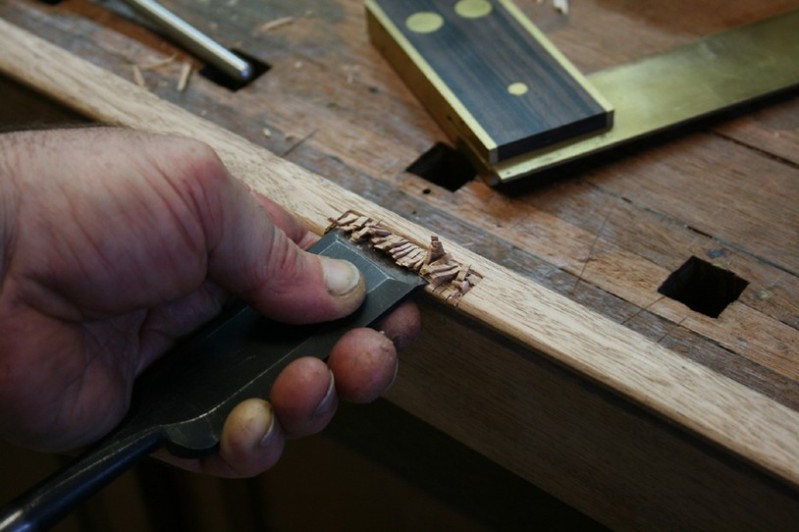
It
is possible to go directly to a router plane, which I use next, but
the chisel is easy enough to use and the aim is to remove the kerfed
surface. This defines the area to be cleared.
From
here on I use a router plane. It is important that you set the blade
depth at the start, and then work by taking thin shavings until you
reach this level. A sharp blade makes this easy.

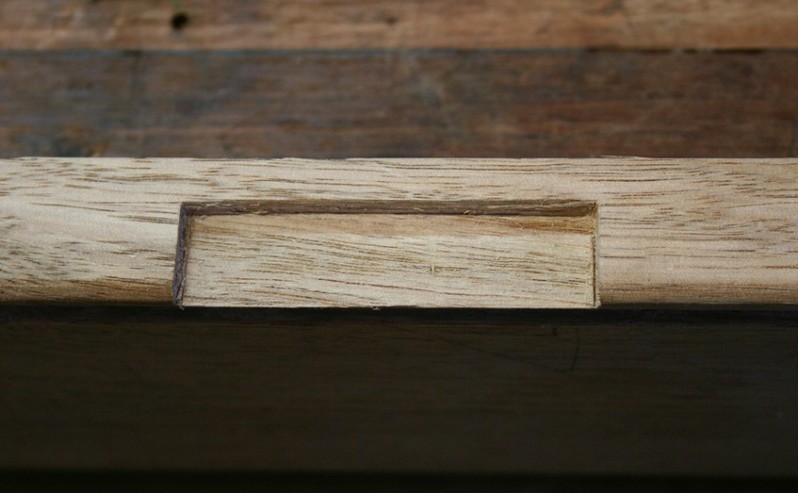
This
is the completed mortice. Not my best work at the rear side –
as I noted earlier this Tasmanian Oak is interlocked and a bit
crumbly. Well, you get the build along warts-and-all …
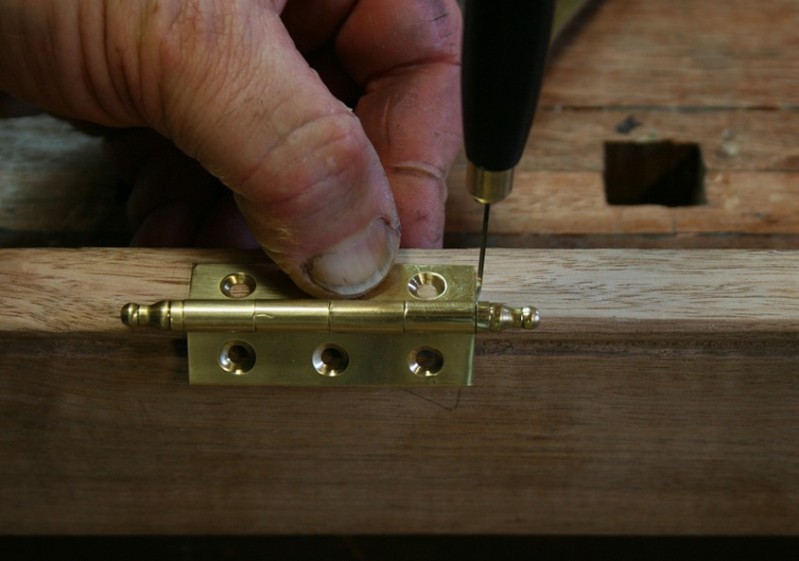
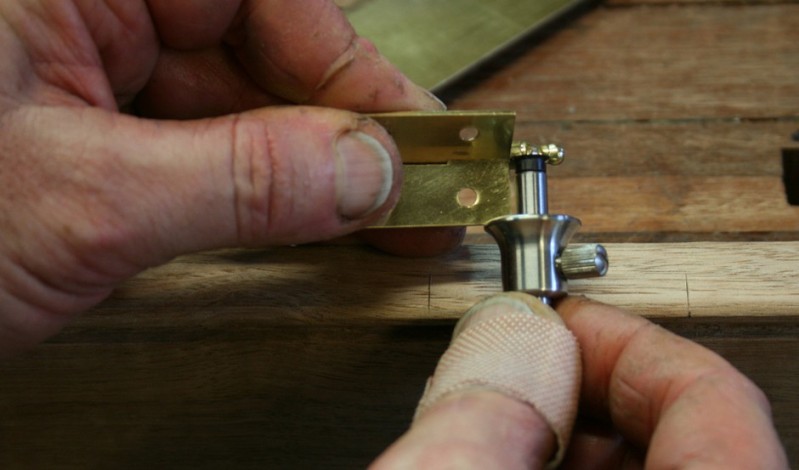
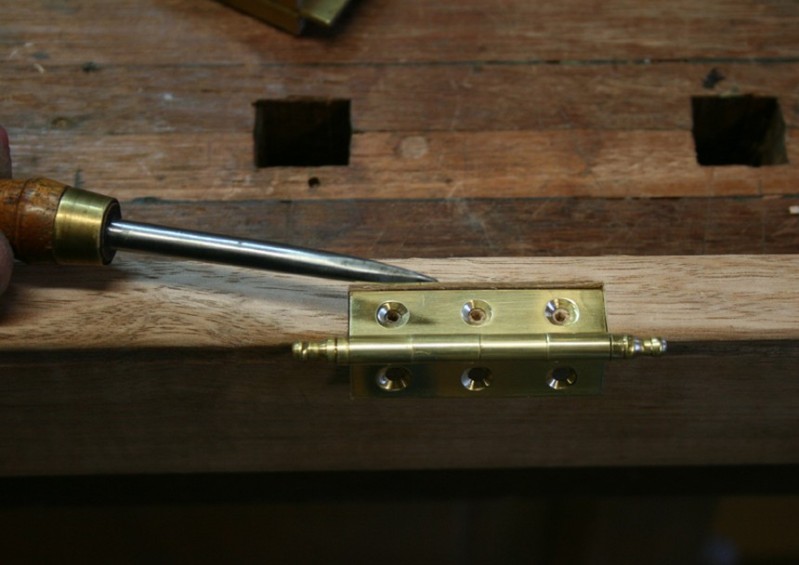
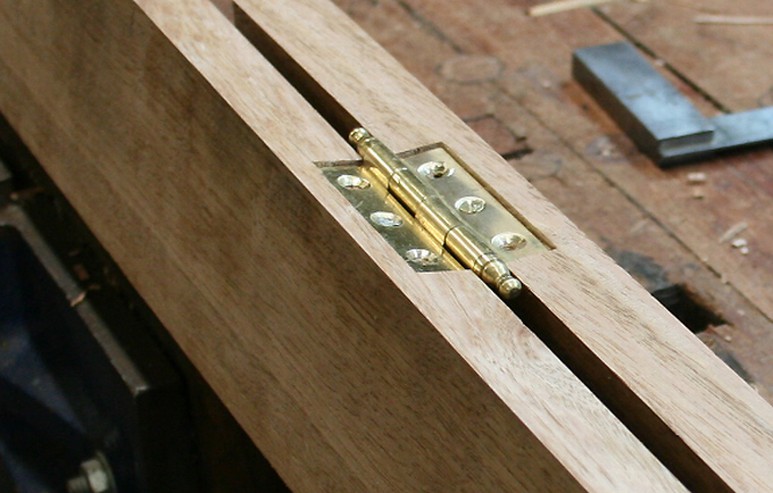
With
hinge in place and an awl for marking the screw holes. The holes are
made centre or very slightly forward of centre to pull the hinge
against the rear end. I have also found a centre punch to be a useful
tool here (that is the one with the spring-loaded pin).
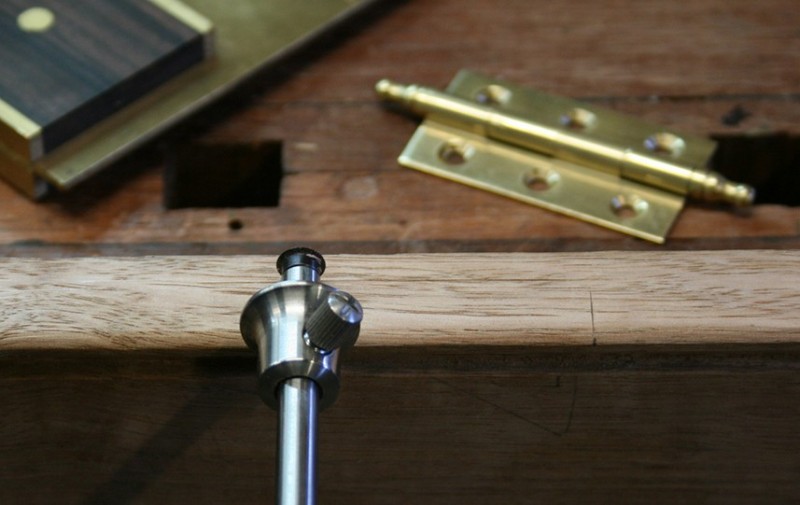
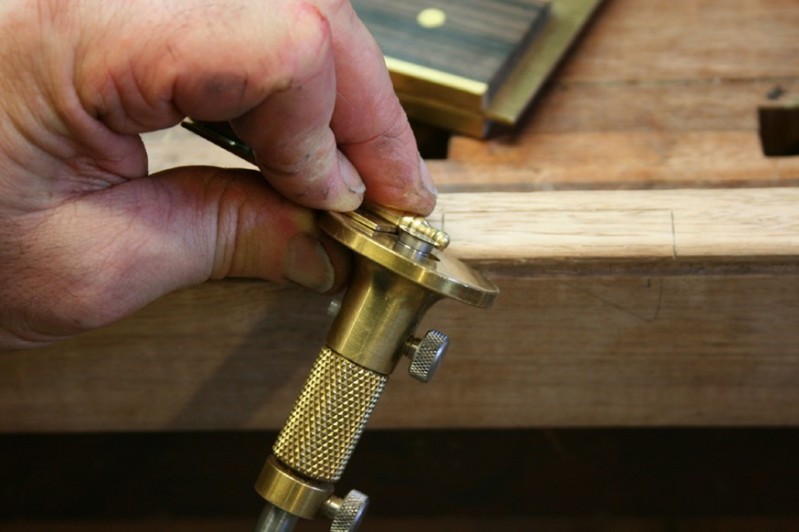
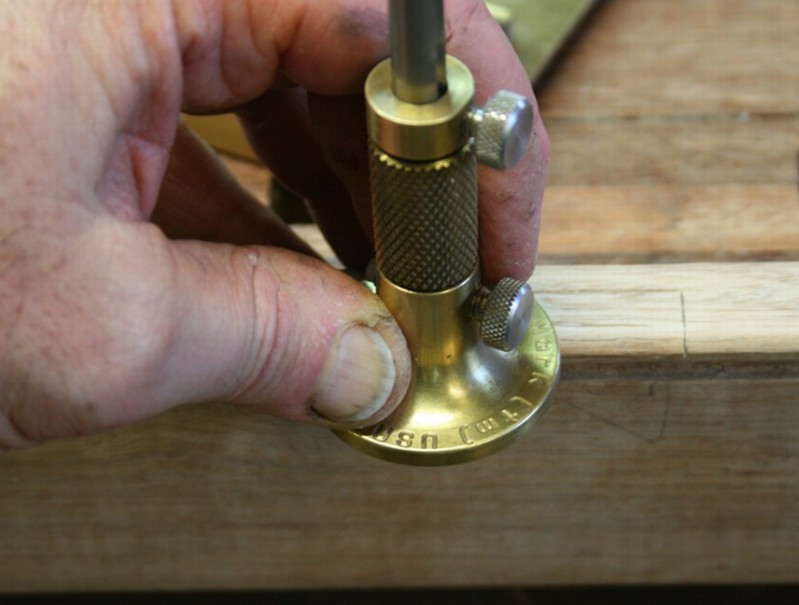
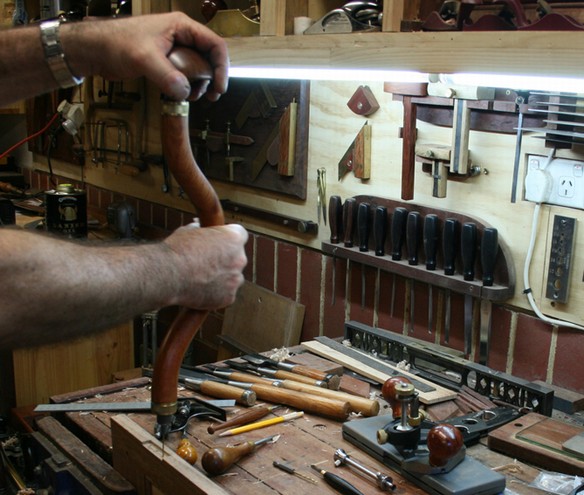
Drilling
the holes – I prefer to use a brace as this provides more
control for angle and depth. Hence building the one in use below
…
Here
is a hinge with screws in place. Really awful screws that came with
the hinge. The hinge is fine but the screws have slots which are all
off centre. It is hard to avoid buggering up these slots. I shall
replace the screws once the hinges are fitted.
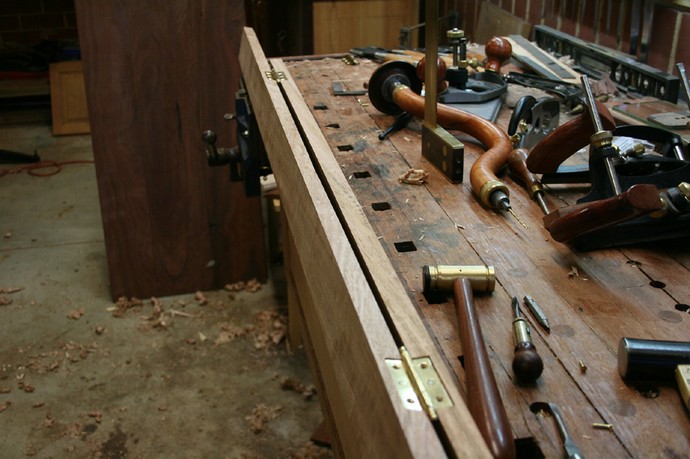
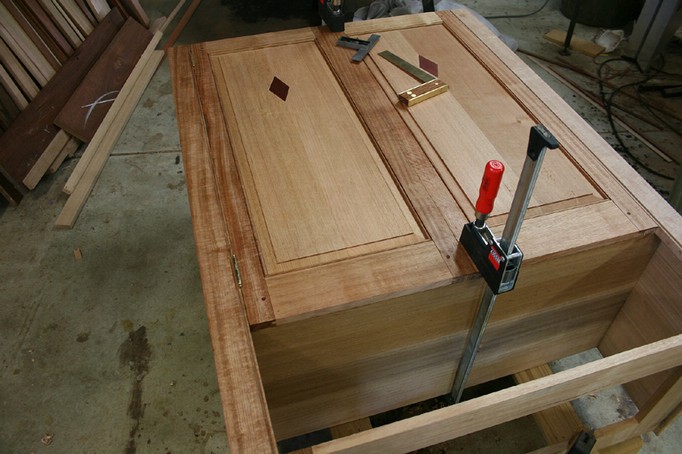
The
frame is joined to the door ..
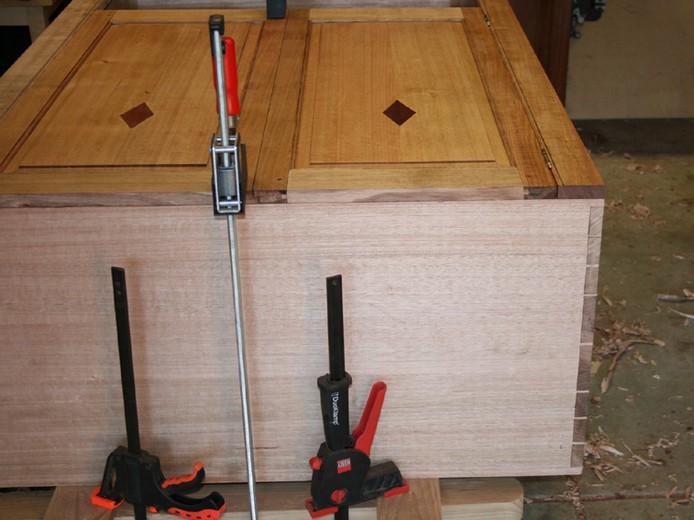
Here
is the full length temporary fit (the frame is still to be joined to
the carcase) ..
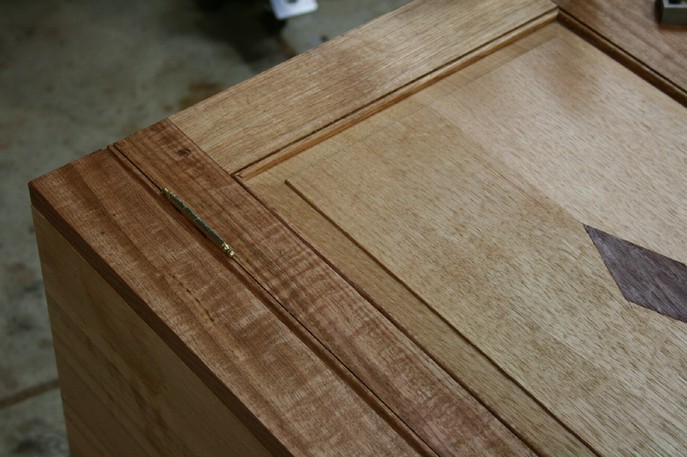
Here
are a few tests as to the quality of the fit ..
Firstly, the
hinge is centred between the door and the frame, and the gap is the
size I wanted ..
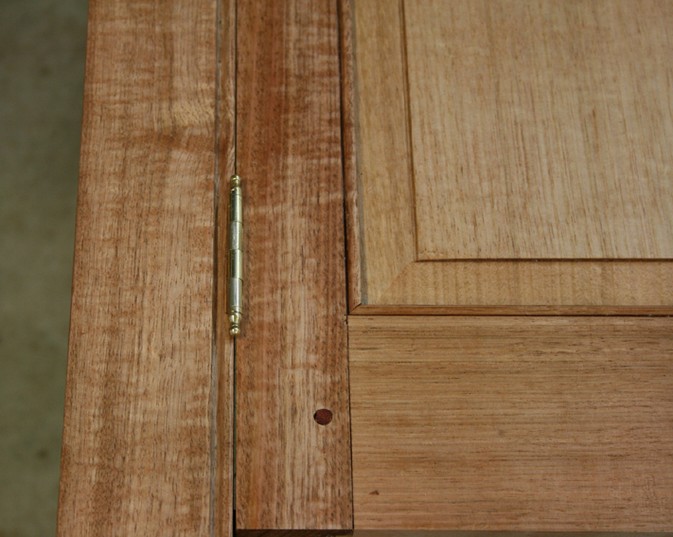
Secondly,
the two pieces lie in the same plane ..
So
this side is now complete ..
Last
shot of WIP ...
Regards
from Perth
Derek
December
2009